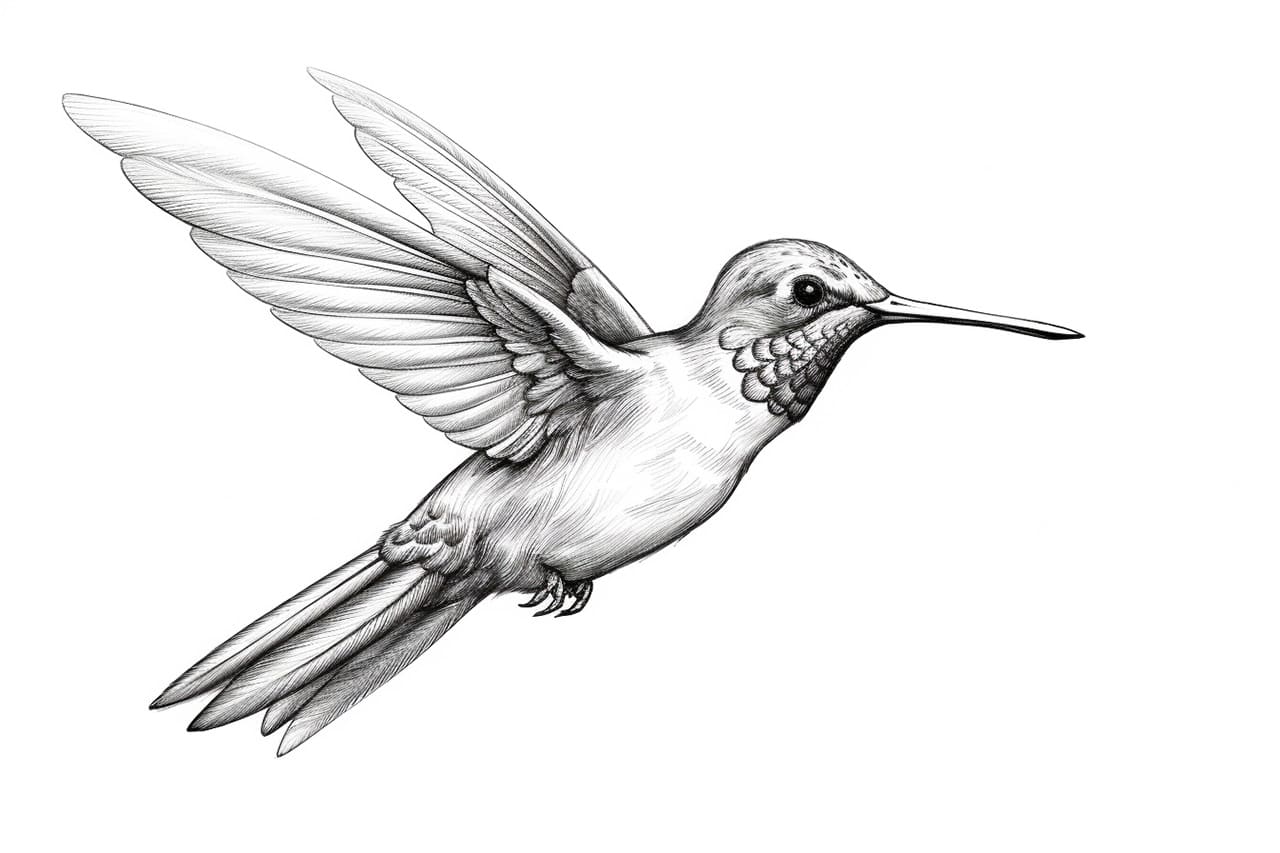
Welcome to this step-by-step guide on how to draw a hummingbird! Hummingbirds are fascinating creatures known for their vibrant colors and swift movements. In this tutorial, we will break down the process into simple and easy-to-follow steps, allowing you to create a beautiful hummingbird drawing. So, let’s grab our materials and get started!
Materials Required:
- Pencil
- Eraser
- Drawing paper
- Colored pencils or markers (optional)
Now that we have our materials ready, let’s dive into the process of drawing a hummingbird.
Step 1: Basic Guidelines
Start by lightly sketching a circle for the head and an oval for the body. These shapes will serve as the foundation for your hummingbird drawing. Remember to keep your lines light, as they will be erased later.
Step 2: Beak and Body
Draw a small triangle for the beak, pointing downwards from the head. Then, connect the oval shape to the head to complete the body. The body should be slightly elongated, reflecting the slender shape of a hummingbird.
Step 3: Wings and Tail
Next, draw two elongated shapes on either side of the body for the wings. These wings should curve slightly upwards and be symmetrical. Extend a long, thin shape from the lower part of the body, creating the tail of the hummingbird. You can experiment with different tail shapes, such as a fan or sword shape, to add personality to your drawing.
Step 4: Head Details
Now, let’s focus on the head of the hummingbird. Draw a small circle within the head to represent the eye. Add a tiny dot inside the circle to indicate the pupil. Just above the eye, draw a curved line for the eyebrow of the hummingbird. Then, add a curved line under the beak to represent the bird’s lower beak line.
Step 5: Feathers
Hummingbirds are known for their beautiful feathers, so let’s add some detail. Start by drawing small, curved lines all over the bird’s body, giving the appearance of feathers. Pay attention to the direction of the lines, as they should follow the shape of the body and wings.
Step 6: Patterns and Colors
Hummingbirds come in a variety of colors and patterns, so this is your chance to get creative. You can draw stripes, dots, or even mimic the colors of a specific hummingbird species. Use colored pencils or markers to add vibrant hues to your drawing, blending and layering colors to create depth and texture.
Step 7: Shadows and Highlights
To make your hummingbird drawing more realistic, add shadows and highlights. Identify the light source in your drawing, then shade the areas that would be in shadow. Use lighter tones to highlight the parts that would catch the light. This technique will bring dimension and depth to your artwork.
Conclusion
Congratulations on completing your hummingbird drawing! By following these step-by-step instructions, you have created a beautiful representation of this fascinating creature. Remember, practice makes perfect, so don’t be discouraged if your first attempt doesn’t meet your expectations. Keep honing your skills, and soon you’ll be able to draw hummingbirds with ease.