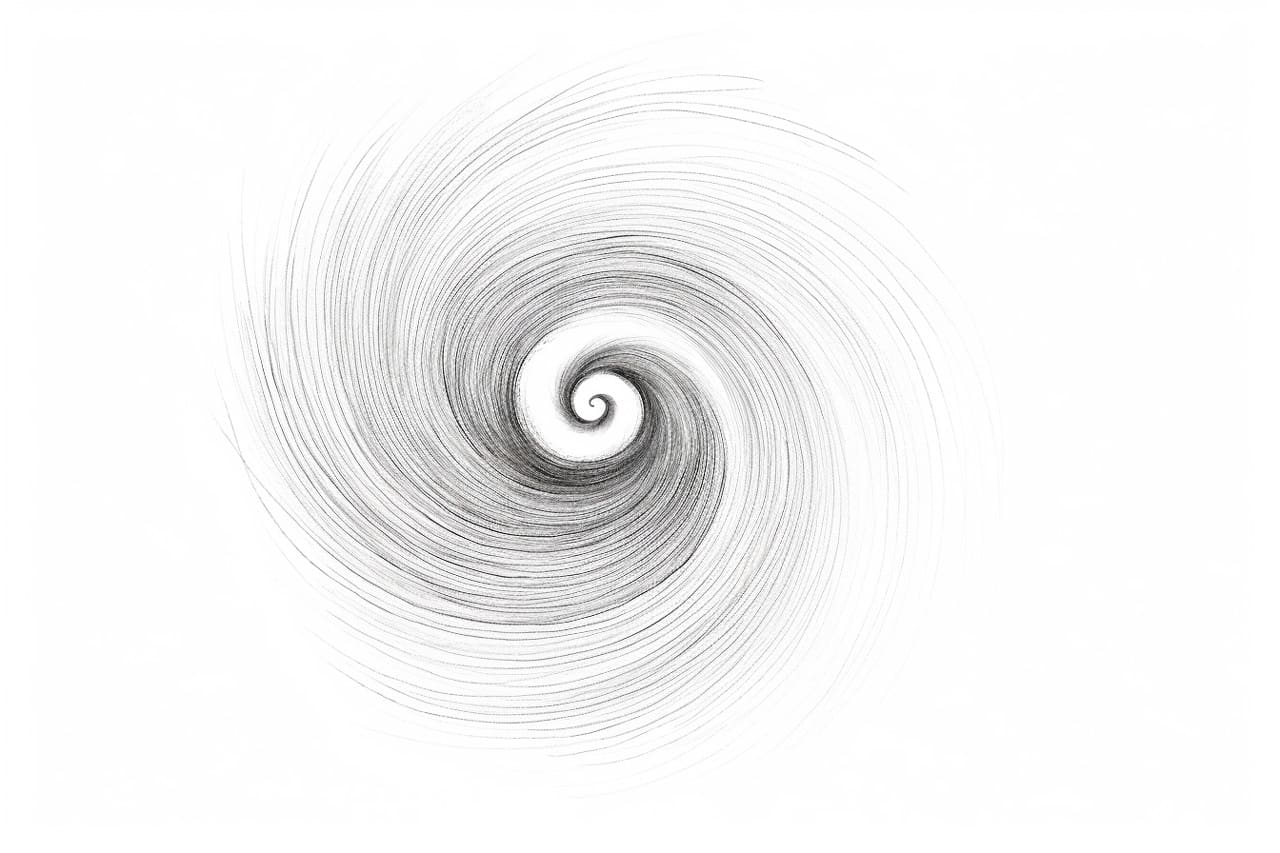
Learn how to create beautiful and intricate swirl designs with this step-by-step guide
Drawing swirls can be a fun and creative way to add flourish to your artwork. Whether you want to incorporate swirls into a larger piece or create a standalone design, mastering this technique will bring your drawings to life. In this article, we will explore the step-by-step process of how to draw a swirl. So grab your pencils, and let’s get started!
Materials Required:
Before we dive into the tutorial, make sure you have the following materials ready:
- Drawing paper: Choose a smooth or slightly textured paper suitable for sketching.
- Pencils: A set of graphite pencils ranging from hard (H) to soft (B) for various shading effects.
- Eraser: A soft eraser, preferably a kneaded eraser, to clean up any mistakes.
- Ruler: A straight ruler will help you create clean and precise lines.
- Compass: A compass will come in handy for drawing perfectly round circles if needed.
- Colored pencils (optional): If you want to add color to your swirl, have a set of colored pencils ready.
Now that you have all the necessary materials, let’s begin the drawing process.
Step 1: Planning your Swirl
Start by visualizing the size and shape of your swirl. Consider whether you want it to be small and compact or large and flowing. Envision the general direction and flow of the lines within the swirl. Having a clear idea of what you want to achieve will make the drawing process smoother.
Step 2: Creating a Base Line
Using a ruler, draw a straight line as the base for your swirl. This line will serve as a guide to ensure that your swirl remains consistent and balanced.
Step 3: Drawing the Outer Shape
Decide where you want the center of your swirl to be and use the compass to draw a small circle. This circle will act as the starting point for your outer shape. From this circle, draw curved lines in an outward direction, gradually increasing the size of the curves. Keep the curves smooth and pleasing to the eye.
Step 4: Adding Details
Now it’s time to add more intricate details to your swirl. Start from the outermost curve and draw smaller, shorter curves that intertwine with the previous lines. These smaller curves can be irregular in size and direction, creating an organic and dynamic look.
Step 5: Filling in the Swirl
Once you are satisfied with the shape and details of your swirl, you can choose to leave it as an outline or fill it in with shading. If you prefer shading, use your pencils to add light and shadow to different areas of the swirl. This will create depth and dimension, making your swirl appear more realistic.
Step 6: Adding Color (optional)
If you want to make your swirl more vibrant, grab your colored pencils and add some color to the design. Choose colors that complement each other and apply them to different sections of the swirl. Blend the colors gently to create a smooth transition between hues.
Conclusion
Drawing a swirl may seem intricate at first, but with practice, it becomes a rewarding and enjoyable process. By following the step-by-step instructions outlined in this article, you can create beautiful swirl designs that add flair to your artwork. Don’t be afraid to experiment with different shapes, sizes, and colors to make your swirls unique. So grab your drawing supplies, unleash your creativity, and let your imagination flow as you create stunning swirl designs!


