Welcome to this step-by-step tutorial on how to draw a gecko! Geckos are fascinating creatures known for their unique abilities and beautiful patterns. In this article, we will guide you through the process of drawing a gecko, from understanding its basic anatomy to adding intricate details. So grab your pencils and let’s get started!
Materials Required
Before we begin, let’s gather the materials you will need for this drawing:
- Drawing paper
- Pencils (preferably a set of graphite pencils with varying lead hardness)
- Eraser
- Fine-tipped markers (optional, for outlining)
- Colored pencils (optional, for adding color)
Now that we have everything ready, let’s dive into the drawing process!
Step 1: Sketch the Basic Shape
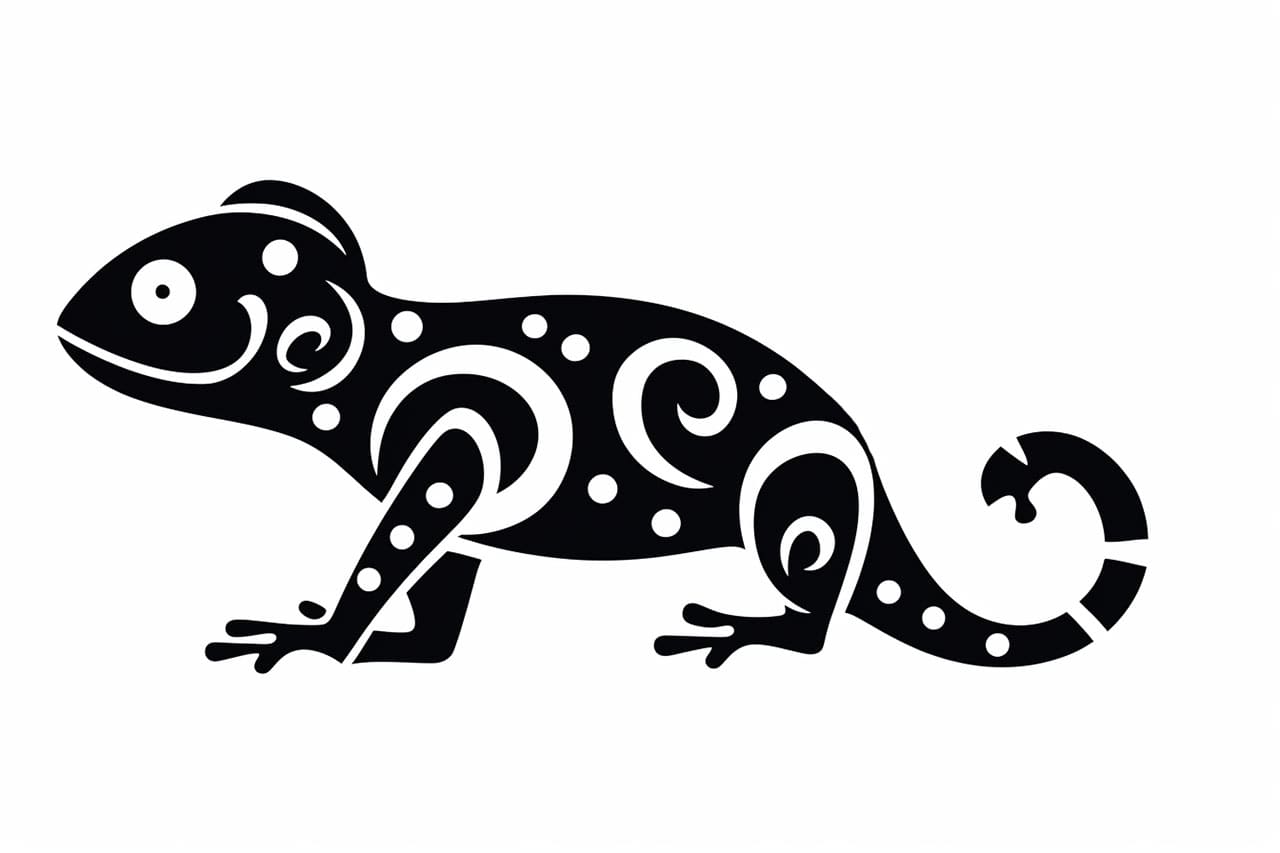
Start by lightly sketching the basic shape of the gecko. Geckos have elongated bodies with a distinct triangular head and a slender tail. Use simple geometric shapes, such as circles and ovals, to outline the body and head proportions. Remember to keep your pencil strokes light, as this is just the initial sketch.
Step 2: Add Legs and Feet
Next, draw the four legs of the gecko. Geckos have short, stocky legs with webbed feet that help them climb walls and surfaces. Pay attention to the positioning of the legs, as they should appear proportional to the body. Use basic rectangles and circles to outline the leg and foot structures.
Step 3: Outline the Head and Facial Features
Now, focus on the gecko’s head and facial features. With the help of reference images, observe the shape of the head, including the snout and eye placement. Geckos have large, round eyes and a unique pattern around them. Take your time to add these details, as they give the gecko its distinctive look.
Step 4: Add the Tail
Extend the body shape to form the tail. Geckos have long, slender tails that aid in balancing their body weight. Add some curves and irregularities to make the tail look more natural. Experiment with different pencil strokes and pressures to create a sense of texture and volume.
Step 5: Refine the Body Structure
Now that you have the basic outline, it’s time to refine the body structure. Geckos have smooth and streamlined bodies, so make sure to smoothen out any rough edges or inconsistencies in your sketch. Pay attention to the overall proportions and make any necessary adjustments to achieve a more accurate representation.
Step 6: Add Details and Patterns
Geckos are known for their intricate patterns and textures. Take a closer look at reference images to observe the details on the gecko’s skin. Use small, curved lines to replicate the scales and patterns on the gecko’s body. Take your time in this step, as it is where the gecko’s unique characteristics come to life.
Step 7: Shade and Add Depth
To bring your gecko drawing to life, add shading and depth. Geckos have a combination of light and dark tones, creating a sense of volume and three-dimensionality. Start by identifying the light source and imagine where the shadows would fall. Use a range of graphite pencils with different lead hardness to create various levels of shading.
Step 8: Outline and Finalize
Once you are satisfied with the shading and overall look of your gecko drawing, it’s time to outline the final lines. You can use fine-tipped markers to make the lines more prominent and cohesive. Take care not to outline every single detail, as it can make the drawing appear too busy. Instead, focus on the main outlines and significant features.
Conclusion
Congratulations on completing your gecko drawing! By following these step-by-step instructions, you have learned how to capture the unique features and patterns of a gecko. Remember that practice makes perfect, so don’t hesitate to try drawing geckos in different poses and styles. With time and dedication, your drawing skills will continue to improve. Enjoy the process, and have fun exploring the world of gecko art!