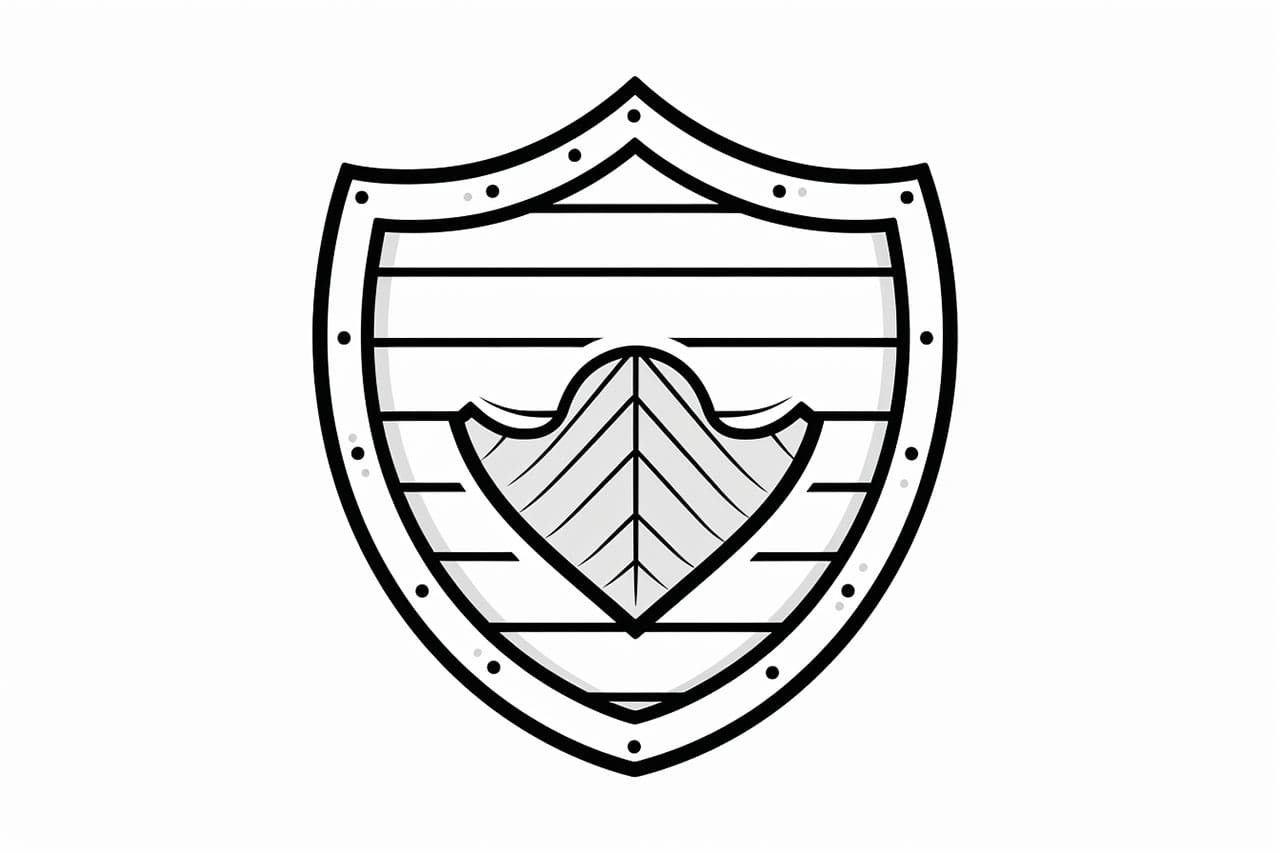
Welcome to this step-by-step tutorial on how to draw a shield! Whether you’re looking to create your own family crest or want to add a shield to your favorite character, learning how to draw this iconic symbol can be a fun and rewarding experience. In this guide, I will walk you through the process of drawing a shield, starting from the basic shapes, and adding details to make it unique. So grab your drawing materials and let’s get started!
Materials Required
Before diving into the drawing process, let’s make sure you have all the necessary materials at hand. Here’s what you’ll need:
- Paper: Choose a medium-weight paper that can handle both pencil and ink.
- Pencils: A range of pencils with different hardness, such as 2B, 4B, and 6B.
- Eraser: A kneaded eraser works best for easily removing pencil lines.
- Ruler: A straight ruler will help you create precise lines and shapes.
- Compass: If you want to draw circular designs on your shield, a compass will be useful.
- Pens/Markers: Optional, but if you prefer to add ink details, have some pens or markers on hand.
Now that you have all your materials ready, let’s begin!
Step 1: Sketch the Basic Shape
Start by lightly sketching a rough outline of your shield using a pencil. Shields come in various shapes, including round, rectangular, and kite-shaped. For this tutorial, we’ll draw a classic shield shape with a slight point at the bottom.
Step 2: Add the Outline
Using your sketch as a guide, darken the outline of the shield to make it more defined. Pay attention to the curves and angles of the shape, as they will give your shield a realistic look. You can use a ruler to ensure straight lines if needed.
Step 3: Divide the Shield
To add some depth to your shield, draw a horizontal line slightly above the center of the shield. Then draw a vertical line that intersects the horizontal line at the center. This will create four equal quadrants on your shield.
Step 4: Create the Boss
At the center of the shield, draw a circle or an oval shape to represent the boss, which is a raised center on the shield. The boss adds strength and stability to the shield design.
Step 5: Design the Background
Choose a pattern or design for the background of your shield. You can create diagonal lines, checkerboard patterns, or any other design you prefer. This will add visual interest to your shield and make it more unique.
Step 6: Add Borders and Edges
To make your shield look more authentic, add borders and edges. You can draw a thicker line around the outer edge of the shield, and thinner lines around the boss and the quadrant divisions. These lines will give your shield a finished look.
Step 7: Decorate the Shield
Now comes the fun part – decorating your shield! You can add various elements to customize your shield to your liking. Here are a few ideas to get you started:
- Heraldic Symbols: Research different heraldic symbols such as lions, eagles, or fleur-de-lis, and incorporate them into your shield design.
- Emblems: Draw an emblem or symbol that represents something meaningful to you, such as a star, a sword, or a book.
- Personalization: If you want to create a family shield, consider adding initials, family crests, or mottoes that reflect your heritage.
Step 8: Finalize the Design
Take a moment to review your shield design and make any necessary adjustments. Erase any stray lines or mistakes and refine the details. Once you’re satisfied with your design, you can proceed to the next step.
Step 9: Ink or Color the Shield (Optional)
If you want to give your shield a more finished look, you can ink the final design using pens or markers. Start by outlining the main features of your shield with a fine-tipped pen. Then, add shading and details as desired. If you prefer, you can also add color using colored pencils or markers. Be creative and experiment with different techniques to bring your shield to life!
Conclusion
Congratulations! You have successfully learned how to draw a shield from start to finish. By following these step-by-step instructions, you can create your own unique shield designs and let your imagination soar. Remember, practice makes perfect, so keep experimenting with different shapes, patterns, and details to refine your skills. Now go forth and create fantastic shields for your illustrations, stories, or personal enjoyment.


