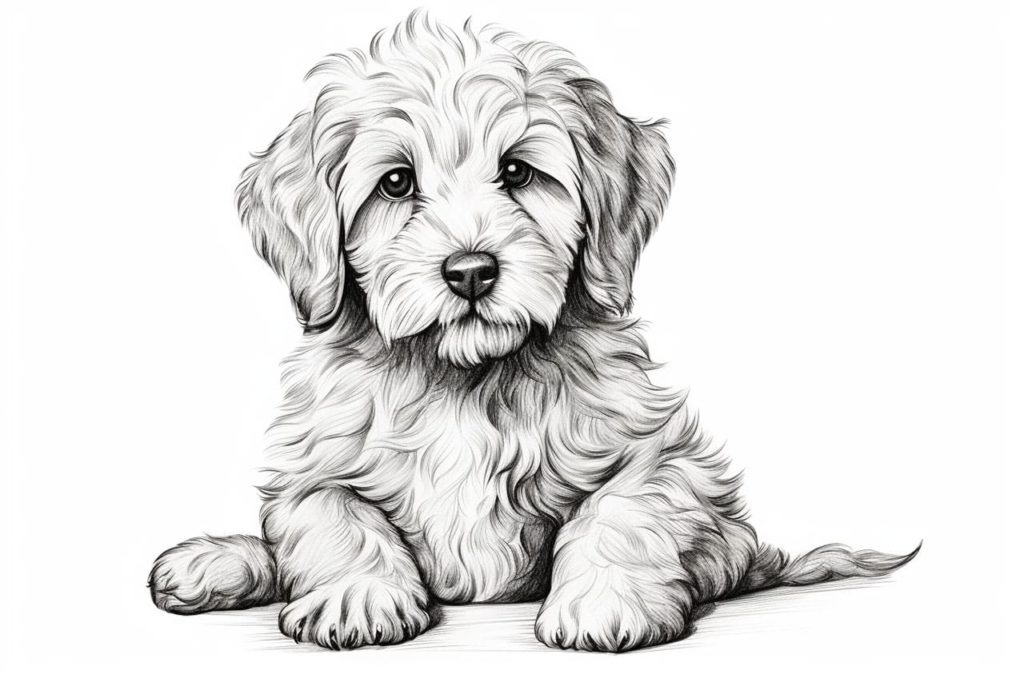
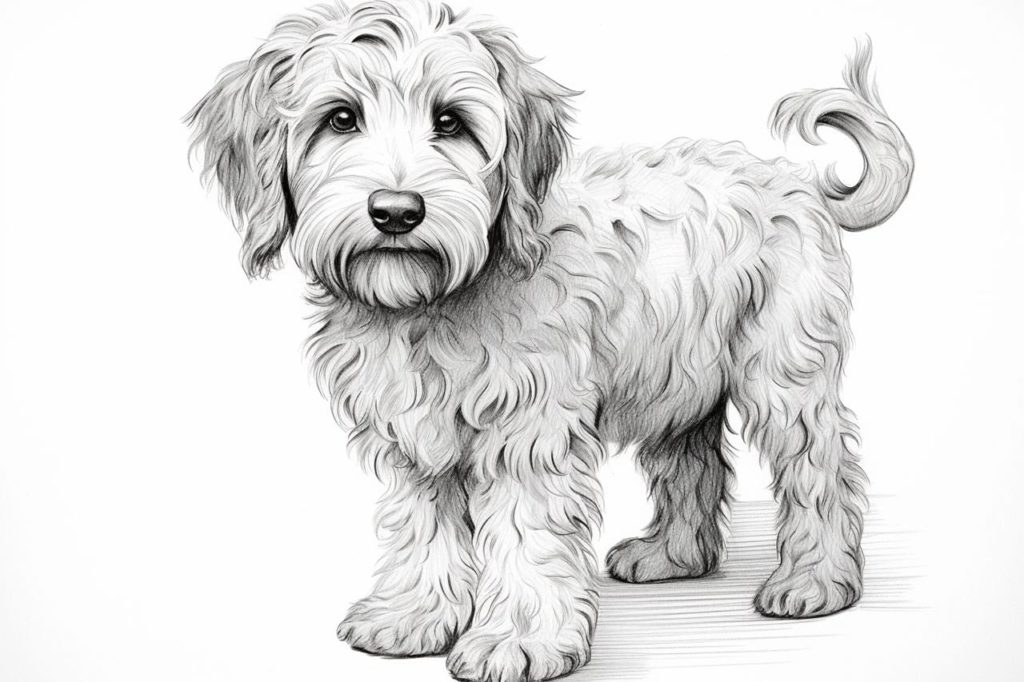
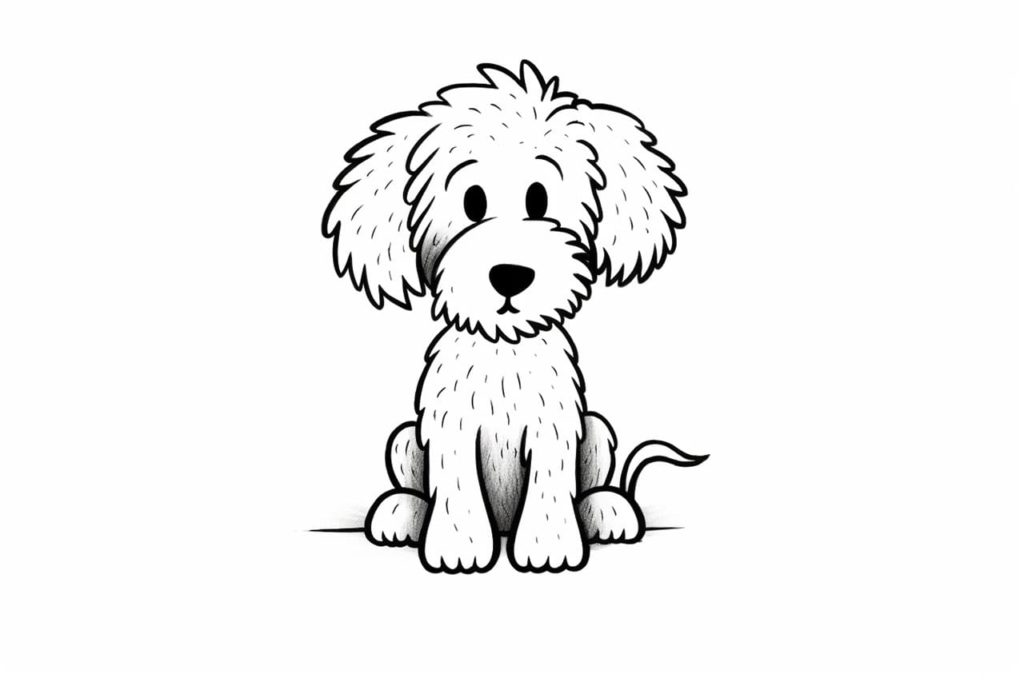
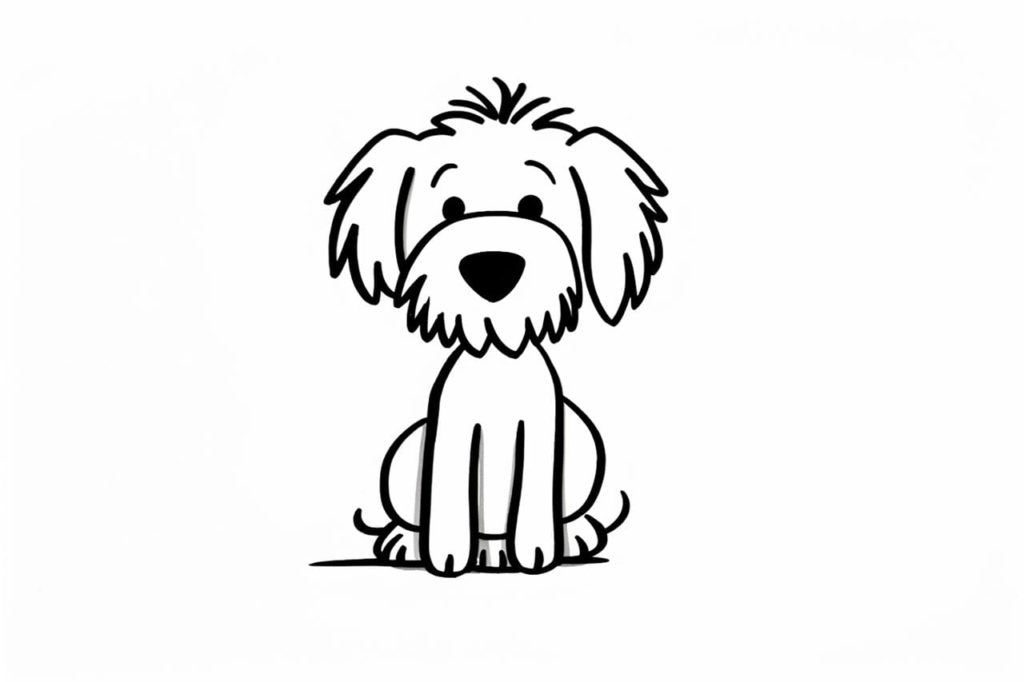
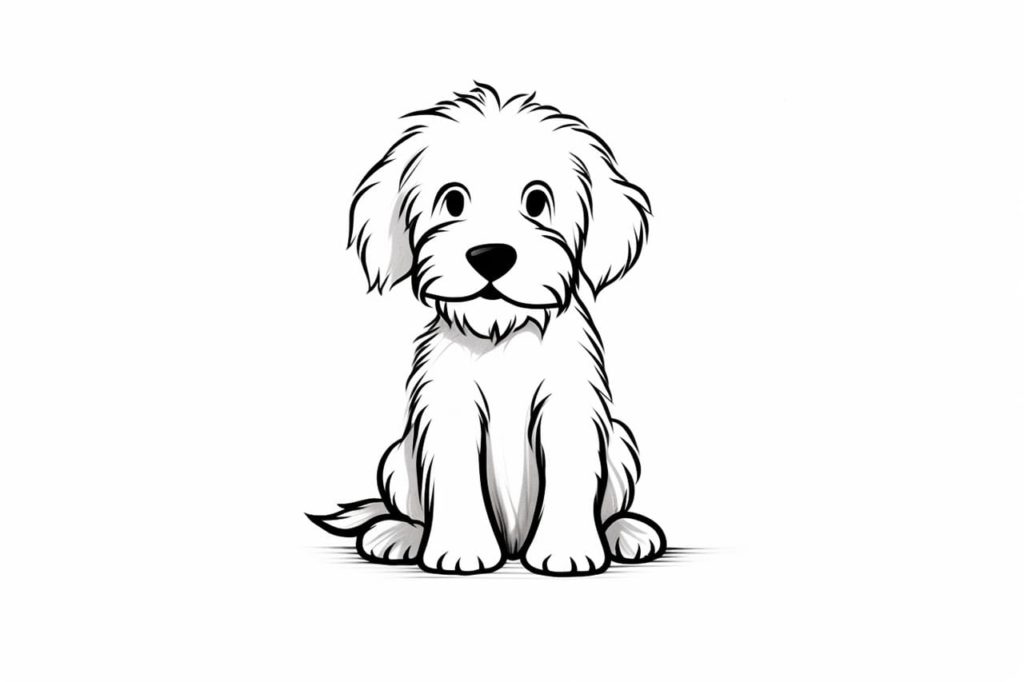
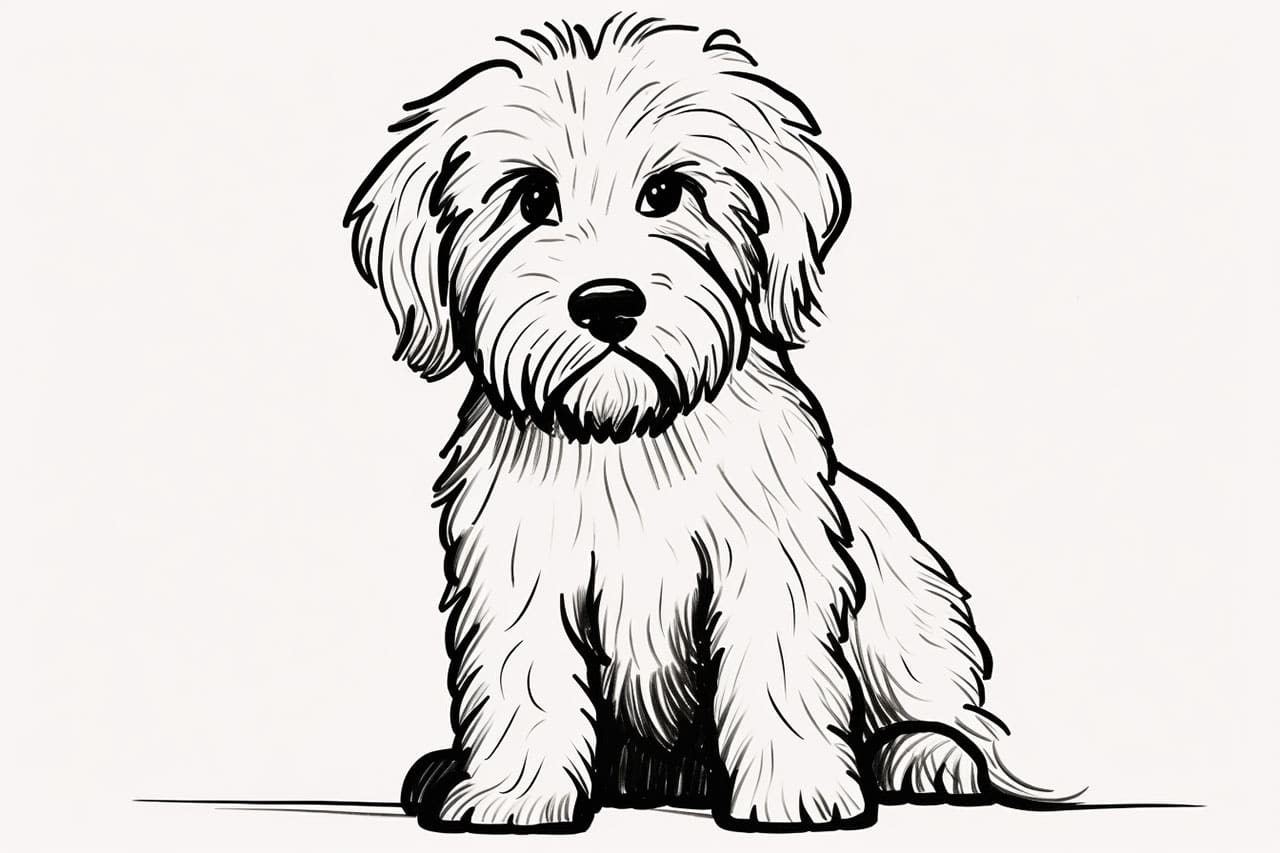
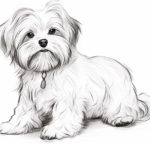
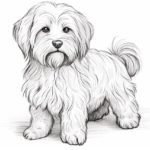
Welcome to this step-by-step guide on how to draw a Goldendoodle. In this tutorial, we will explore the process of capturing the unique features and playful personality of this popular dog breed. Whether you are a beginner or an experienced artist, this guide will provide you with clear instructions to help you create a beautiful drawing of a Goldendoodle.
Materials Required
Before we dive into the drawing process, let’s gather the materials you’ll need:
- Drawing paper or sketchbook
- Pencils of various hardness (HB, 2B, 4B, 6B)
- Eraser
- Blending stump or tortillon
- Reference image of a Goldendoodle (either a photograph or a printout)
Now that we have everything ready, let’s get started with the drawing process!
Step 1: Basic Outline
To begin, lightly sketch the basic shape of the Goldendoodle’s head using a hard pencil (HB or 2B). Start with a circle for the head and add a slightly curved line for the muzzle. Remember, this is just a rough outline, so keep your lines light and loose.
Step 2: Facial Features
Next, let’s focus on the facial features of the Goldendoodle. Use a reference image to carefully draw the eyes, nose, and mouth. Pay close attention to the size, shape, and placement of each feature. Take your time and make any necessary adjustments until you are satisfied with the overall look.
Step 3: Ears and Hair
Goldendoodles are known for their soft, floppy ears and curly hair. Use long, flowing lines to sketch the shape of the ears, giving them a gentle curve. Then, add loose, wavy lines to represent the fur on the head and around the ears. Don’t worry about getting every strand of hair perfect; the goal is to capture the texture and overall impression of the Goldendoodle’s coat.
Step 4: Body and Limbs
Extend the head outline to create the body of the Goldendoodle. Use smooth, flowing lines to indicate the shape and size. Once the body is established, add the legs and paws. Pay attention to the proportions and angles, ensuring that they match the reference image. Again, keep your lines light and adjust as needed.
Step 5: Tail
Goldendoodles typically have a fluffy, plumed tail. Sketch the outline of the tail using loose, curved lines to depict its lush appearance. Make sure the tail flows naturally from the body and doesn’t appear stiff or rigid.
Step 6: Adding Details
Now that the basic structure of the Goldendoodle is complete, it’s time to add some finer details. Use a softer pencil (4B or 6B) to darken certain areas, such as the eyes, nose, and mouth. Add some shading to create depth and dimension. Pay attention to the direction of the fur and use short, quick strokes to mimic its texture.
Step 7: Blending and Smoothing
To achieve a more realistic and polished look, use a blending stump or tortillon to gently blend the shading and create smooth transitions. This technique helps to soften any harsh lines and gives your drawing a more lifelike appearance. Remember to work gradually and lightly to avoid over-smudging.
Step 8: Final Touches
Take a step back and assess your drawing. Make any necessary adjustments to ensure accuracy and symmetry. Refine the details, add additional shading if needed, and make sure the overall rendering captures the essence of a Goldendoodle. Don’t be afraid to experiment and add your own personal artistic touch.
Conclusion
Congratulations! You have completed your drawing of a Goldendoodle by following these easy step-by-step instructions. Remember that practice is key, and with time and dedication, you will continue to improve your drawing skills. Enjoy the process, embrace your creativity, and have fun capturing the lovable nature of this adorable dog breed!
Gallery of Goldendoodle Drawings
