Welcome to this step-by-step guide on how to draw a stamp! Drawing a stamp can be a fun and creative way to add a unique touch to your artwork or personal projects. Whether you want to design your own stamp or simply learn the art of stamp-making, this tutorial will take you through the process in a clear and concise manner. So, let’s get started!
Materials Required
Before we begin, gather the following materials:
- A sheet of paper (preferably drawing paper)
- Pencil
- Eraser
- Fine-tipped pen or marker
- Ruler
- Compass
- Colored pencils or markers (optional)
With all your materials at hand, let’s dive into the step-by-step process of drawing a stamp.
Step 1: Outline the Stamp Shape
Start by lightly drawing a square or rectangular shape on your paper using a pencil. The size of the stamp is up to you, but it is commonly around 1 inch by 1 inch. Use a ruler to ensure the lines are straight and the angles are perfect.
Step 2: Add the Perforations
Inside the square or rectangle you drew, create a series of small dots along each edge using a fine-tipped pen or marker. These dots represent the perforations around the stamp’s border. Be sure to space them evenly and avoid making them too large.
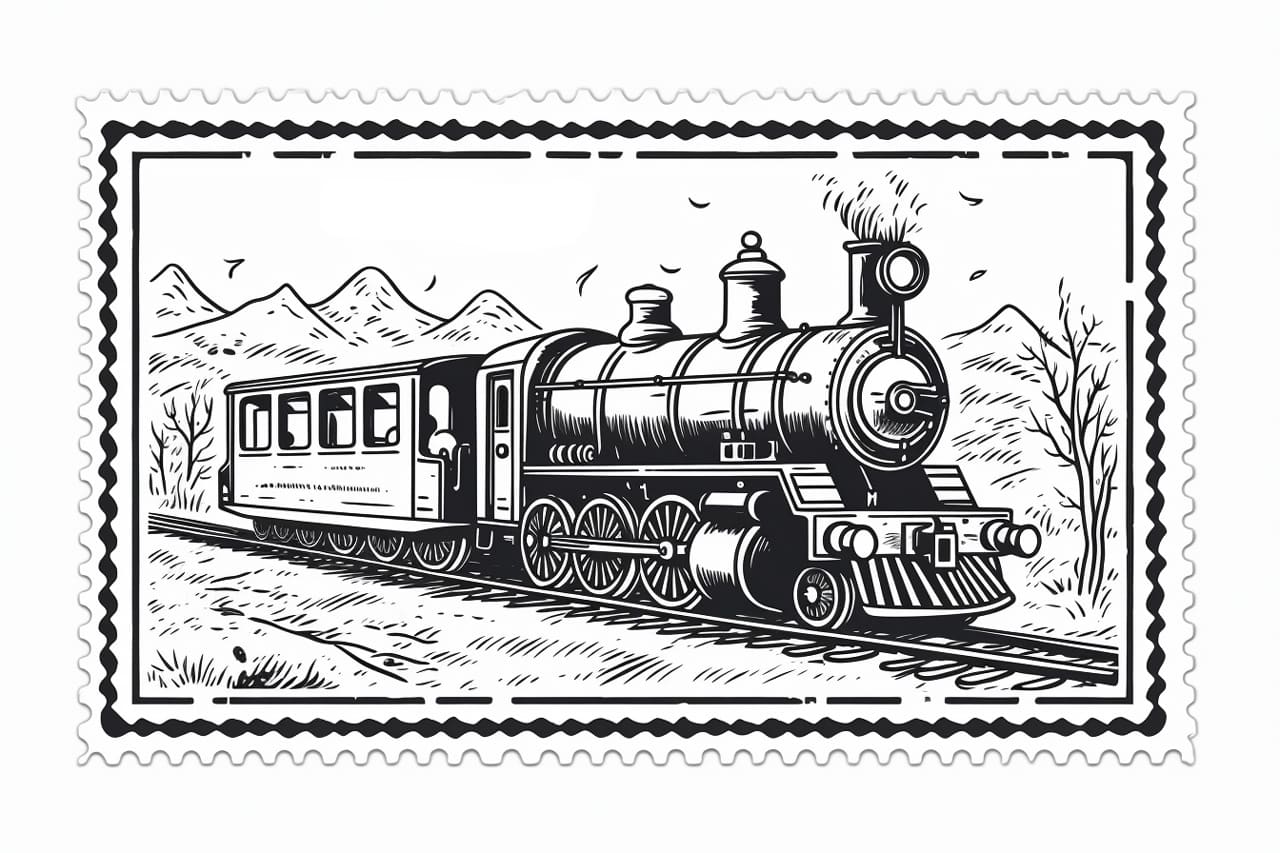
Step 3: Draw the Design
Now comes the creative part – designing your stamp! You can choose to create a custom design or replicate an existing one. To begin, sketch your design lightly using a pencil. Remember that stamp designs are typically small and simple, so keep it minimalistic and easy to recognize.
Step 4: Refine the Design
Once you are satisfied with your initial sketch, use your pencil to refine the lines, ensuring they are clean and precise. Pay attention to details and add any necessary adjustments or embellishments.
Step 5: Ink the Design
Now it’s time to ink your stamp design. Use a fine-tipped pen or marker to carefully trace over the pencil lines, making them bolder and more defined. Take your time and work slowly to avoid any mistakes.
Step 6: Erase Guidelines
With the ink dry, gently erase any remaining pencil guidelines to clean up the design. Be cautious not to smudge the ink while erasing.
Step 7: Color (Optional)
If you wish to add color to your stamp, go ahead and use colored pencils or markers to fill in the design. Remember to choose colors that are vibrant and complement your design well. Take your time to color neatly and stay within the lines.
Step 8: Add Details (Optional)
For those looking to add more depth and detail to their stamp, you can use a fine-tipped pen or marker to add shading, highlights, or additional elements. This step is entirely optional and depends on your personal preference and desired outcome.
Conclusion
Congratulations! You have successfully learned how to draw a stamp. Whether you want to create your own custom stamps or simply enjoy the art of stamp-making, this step-by-step guide will help you achieve your goal. Remember to have fun with your designs and let your creativity shine through. So grab your materials and start drawing those stamps today!