Welcome to this step-by-step guide on how to draw a kite! Drawing is a wonderful way to express your creativity, and in this article, I will walk you through the process of creating a beautiful and realistic kite artwork. Whether you’re a beginner or an experienced artist, these instructions will help you master the art of drawing a kite. So grab your materials and let’s get started!
Materials:
Before we begin, make sure you have the following materials:
- Drawing paper
- Pencil
- Eraser
- Ruler
- Colored pencils or markers (optional)
Step 1: Drawing the Kite Shape
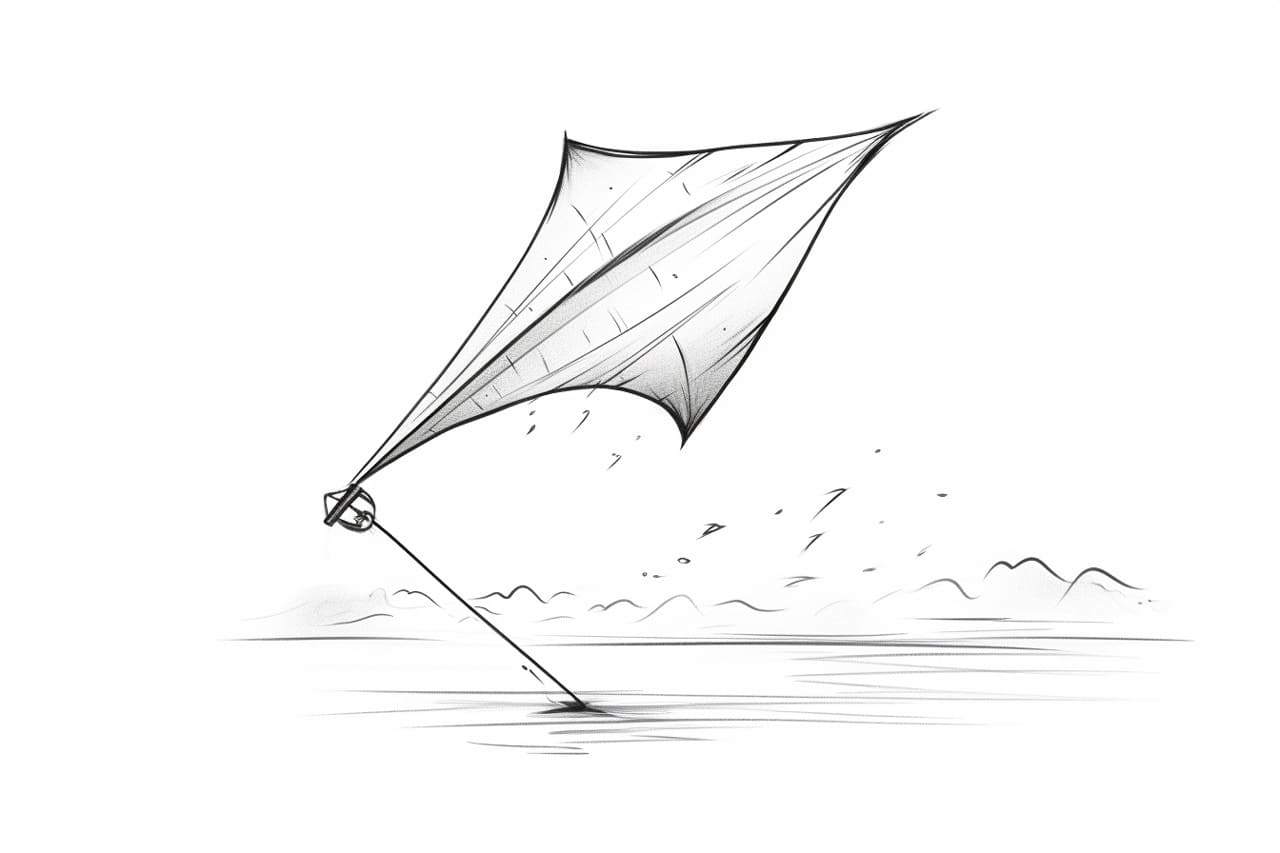
Start by drawing the shape of your kite. Using a pencil, lightly sketch a diamond shape on your drawing paper. Remember that kites can come in various sizes, so feel free to adjust the dimensions based on your preference. Avoid pressing too hard with the pencil so that you can easily erase any unwanted lines later on.
Step 2: Adding the Tail
Next, let’s add a tail to your kite. Draw a long, thin rectangle at the bottom of the diamond shape. The length of the tail is up to you, but make sure it is proportionate to the size of the kite. You can get creative here by making the tail colorful or adding patterns later on.
Step 3: Creating a Frame
Now, it’s time to add a frame to your kite. Using a ruler, draw two diagonal lines that intersect at the center of the diamond shape. These lines will give your kite a three-dimensional look. Then, draw two more diagonal lines in the opposite direction, intersecting at the same center point. You should now have an “X” shape on your kite.
Step 4: Drawing the Bow
To make your kite more visually appealing, let’s add a bow at the center. Draw a small circle where the diagonal lines intersect. From the circle, draw two curved lines on each side, resembling a bow shape. Feel free to adjust the size and shape of the bow according to your preference. This detail will add a touch of elegance and interest to your drawing.
Step 5: Adding the Spine
Now, let’s draw the spine of the kite. Starting from the top of the diamond shape, draw a vertical line that extends down to the center of the kite. This line will give your kite stability and structure. Make sure the line is straight and centered.
Step 6: Creating the Border
To make your kite stand out, let’s create a border around the diamond shape. Using a ruler, draw lines that follow the shape of the diamond, approximately 0.5 cm away from the edges. This border will add definition to your kite and make it pop off the page.
Step 7: Adding Details
Now that you have the basic structure of your kite, it’s time to add some details. You can draw additional lines across the diamond shape to give it a pattern or texture. You can also create a design within the bow, such as small circles or dots, to make it more visually interesting. Use your creativity to personalize your kite.
Step 8: Erasing Unwanted Lines
Before moving on to coloring or shading, take a moment to erase any unwanted lines that are still visible. Use your eraser to carefully remove any stray marks or guidelines that you no longer need. This step will ensure that your final artwork looks clean and polished.
Step 9: Coloring Your Kite (Optional)
Now comes the fun part – coloring! You can use colored pencils, markers, or any other coloring tools you prefer. Think about the colors you want to use for your kite and tail. You can go for a traditional rainbow design, a single color scheme, or get creative with unique patterns and combinations. Take your time and enjoy the process of coloring your artwork.
Step 10: Shading and Highlights (Optional)
To add depth and dimension to your drawing, you can experiment with shading and highlights. Identify the direction of your light source and darken the areas that would be in shadow, such as the underside of the kite or the bow. Additionally, use a white pencil or eraser to add highlights on the areas that would catch the light, such as the top of the kite or the bow’s edges. This step will bring your artwork to life.
Conclusion
Congratulations on completing your kite drawing! By following these step-by-step instructions, you have learned how to draw a realistic and visually appealing kite artwork. Remember, drawing is a skill that can be improved through practice, so don’t hesitate to continue exploring and experimenting with different techniques. Enjoy the process and have fun with your art!