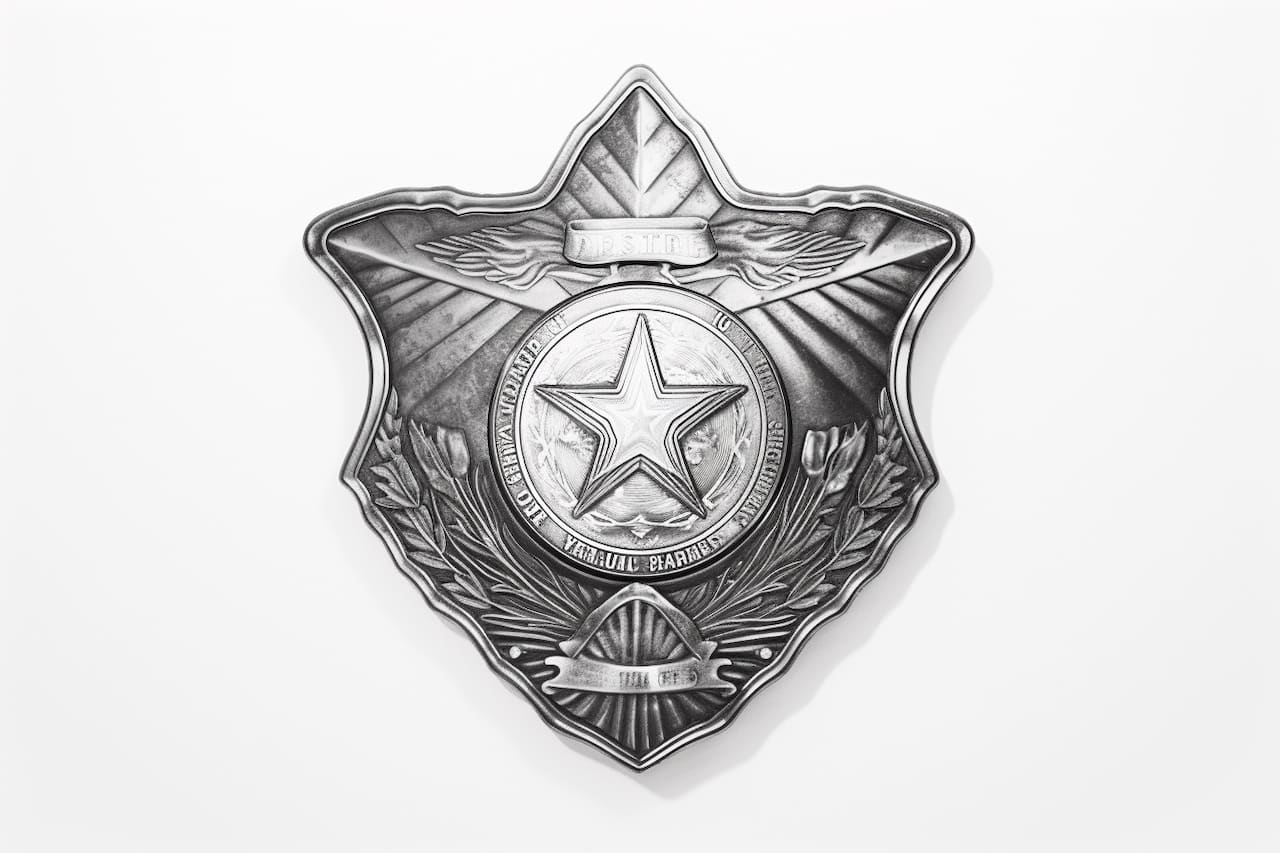
As an expert artist and drawing instructor, I will guide you through the process of how to draw a police badge step-by-step. With clear and concise instructions, you can create a realistic and detailed representation of this iconic symbol. Let’s get started!
Materials Required
Before we begin, gather the following materials:
- Pencil
- Paper or sketchbook
- Eraser
- Ruler
- Markers or colored pencils (optional)
- Reference image of a police badge (optional)
Having these materials ready will ensure a smooth and enjoyable drawing experience. Now, let’s move on to the steps involved in drawing a police badge.
Step 1: Basic Shape
Start by drawing a vertical oval shape in the center of your paper. This will be the main body of the police badge. Use light, gentle strokes with your pencil so that you can easily make adjustments as you progress.
Step 2: Top Arch
Above the oval shape, sketch a slightly curved line to create the top arch of the badge. This arch should be wider than the oval shape and extend slightly beyond its edges on both sides. Ensure that the arch is symmetrical.
Step 3: Bottom Arch
Now, draw a similar curved line below the oval shape to create the bottom arch of the badge. Again, make sure it matches the symmetry of the top arch and slightly extends beyond the oval shape on both sides.
Step 4: Side Panels
Extend two straight lines down from the top arch to create the side panels of the badge. These lines should run parallel and be slightly curved to match the shape of the oval. The length of the side panels will depend on the proportions you want for your badge.
Step 5: Inner Oval
Inside the main oval shape, draw a smaller oval. This oval should be slightly narrower and shorter than the outer oval. It should be centered and spaced evenly within the main oval.
Step 6: Center Design
Now, let’s work on the center design of the badge. Depending on the specific police department or badge design you are referencing, this design may vary. Take your time to carefully observe the reference image or create your own unique design.
You can draw a shield shape, a star, or other meaningful symbols as the focal point of the badge. Use gentle strokes with your pencil to outline and define the design.
Step 7: Details and Text
Next, add details and text to the badge. This may include the police department name, badge number, or other relevant information. Refer to the reference image or use your imagination to create the text and details in a stylized manner.
Step 8: Outline and Refine
Once you are satisfied with the overall design and details, go over your pencil sketch with a darker pencil or a pen to outline the final shape of the badge. Be careful and deliberate with your lines, ensuring that they are clean and accurate. Erase any unnecessary guidelines.
Step 9: Shade and Color (Optional)
If you want to add depth and dimension to your drawing, you can use shading techniques. Determine the light source and add shading accordingly, paying attention to the curves and contours of the badge.
If desired, you can also use markers or colored pencils to add color to your drawing. Refer to the reference image or use your creativity to choose appropriate colors for different parts of the badge.
Conclusion
Congratulations! You have successfully learned how to draw a police badge. By following these step-by-step instructions, you have created a detailed and realistic representation of this iconic symbol. Remember to practice regularly to improve your drawing skills and experiment with different badge designs.
Drawing a police badge requires attention to detail and precision. With patience and practice, you can master this skill and create impressive artwork. Enjoy the process and let your creativity shine through!