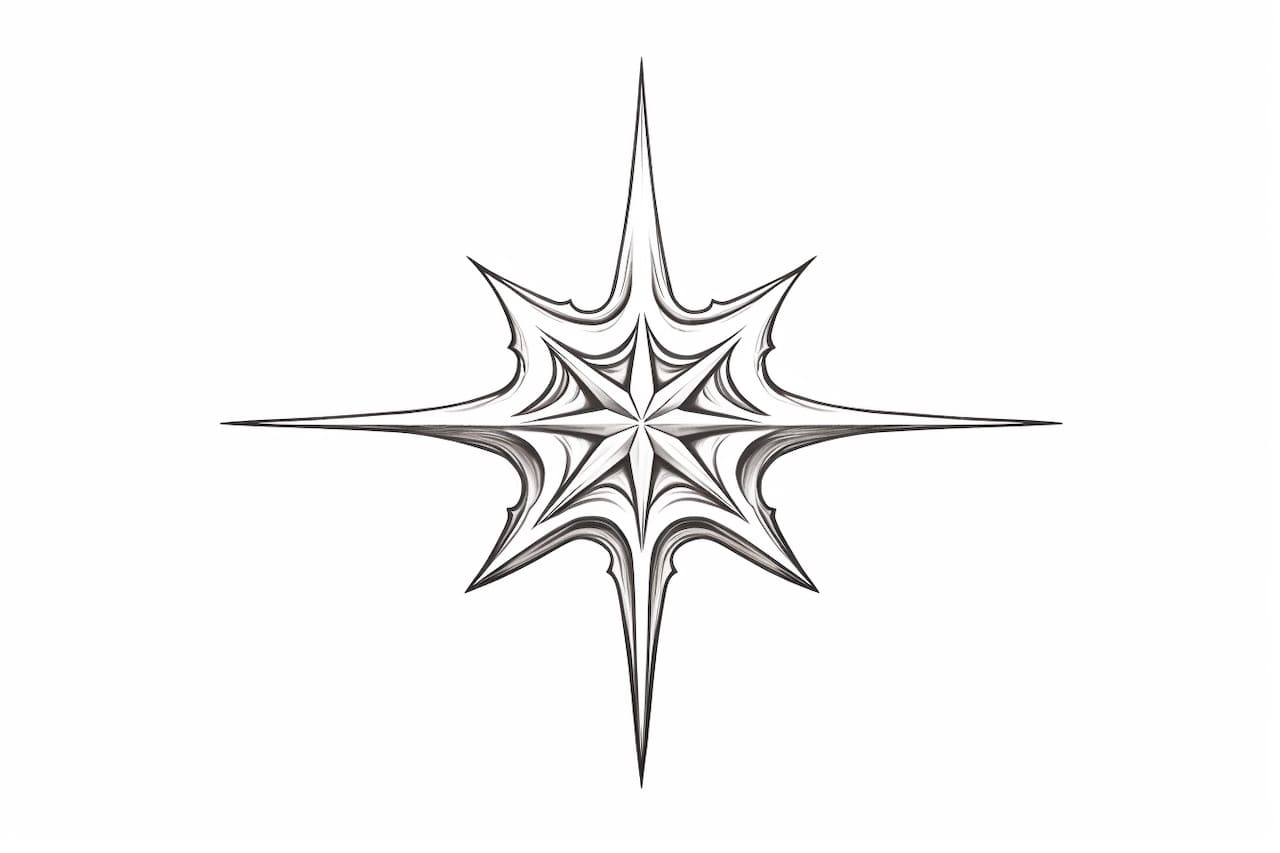
Ninja stars, or shurikens, are iconic weapons of the ninja. These small, star-shaped blades are known for their precision and lethalness. While we don’t encourage using them as weapons, drawing a ninja star can be a fun and challenging artistic exercise. In this step-by-step guide, we will walk you through the process of how to draw a ninja star, from the basic outline to the intricate details. So grab your drawing materials and let’s get started!
Materials Required:
- Paper
- Pencil
- Eraser
- Ruler
- Protractor
Step 1: Draw the Center Circle
Start by drawing a small circle in the center of your paper. Use a pencil and make it just big enough to fit the tip of your protractor inside. This circle will serve as the base for your ninja star.
Step 2: Divide the Circle
Using your ruler, draw two straight lines that intersect each other at the center of the circle, forming a cross. Make sure the lines extend beyond the circle. This will help you create the equal sections needed for the star’s points.
Step 3: Draw the Points
Starting from the top intersection point of the cross, use your protractor to measure and mark 45-degree angles clockwise. Rotate the protractor as you move along the circle, marking five more points at equal intervals. These six points will be the tips of your ninja star.
Step 4: Connect the Points
Connect the points you marked in the previous step with straight lines, creating a six-sided shape around the center circle. Make sure the lines are equal in length and meet at the center circle.
Step 5: Refine the Outline
With the basic shape of your ninja star in place, use your pencil to refine the outline. Smooth out any uneven curves, make the lines more defined, and adjust any proportions if necessary. Take your time with this step, as it will determine the overall appearance of your drawing.
Step 6: Add Details
To make your ninja star look more realistic, add small details to the design. Start by drawing a small circle in the center of the star, which will create the illusion of depth. Then, draw short lines from the center circle towards the tips of the star, intersecting with the outer lines. This will give your ninja star a more three-dimensional look.
Step 7: Shading
To add depth and dimension to your drawing, apply shading to different areas of the ninja star. Decide on a light source, and imagine where shadows would fall. Shade the areas that are farther away from the light source, using your pencil to create gradation and smooth transitions between light and dark areas.
Step 8: Erase and Finalize
Once you are satisfied with the shading and overall appearance of your ninja star, use an eraser to remove any stray pencil marks and smudges. Clean up the drawing and make sure the lines are crisp and clear. Take a step back and admire your work!
Conclusion
Drawing a ninja star may seem challenging at first, but with a little practice and patience, anyone can create a striking representation of this iconic weapon. By following the step-by-step instructions in this guide, you can learn the techniques needed to draw a ninja star with precision and attention to detail. So grab your pencil, start practicing, and unleash your inner artist!