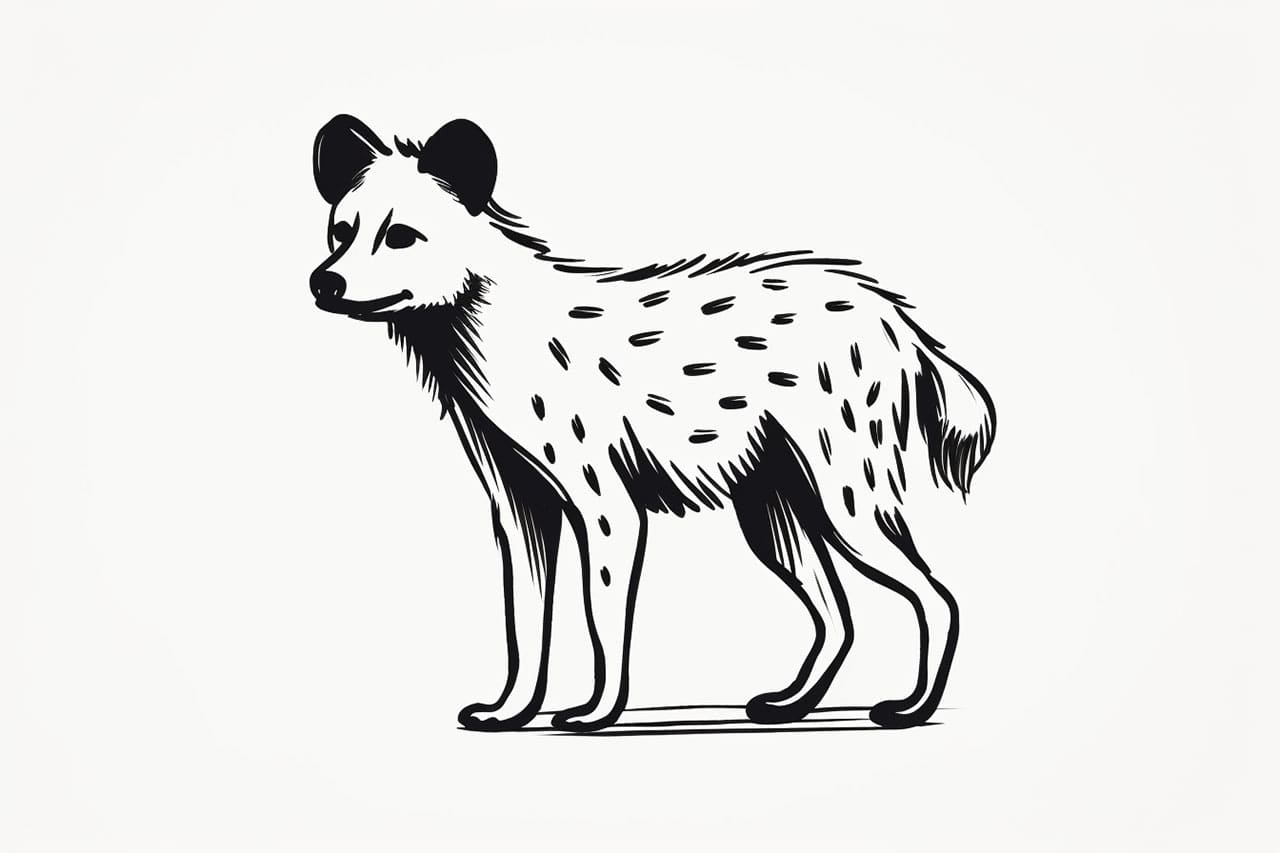
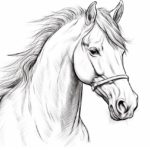
Hyenas are fascinating creatures with their unique appearance and distinct features. If you’re eager to learn how to draw a hyena, you’ve come to the right place! In this step-by-step guide, we will take you through the process of creating a realistic and detailed hyena drawing. So, grab your drawing supplies and let’s get started!
Materials Required
To complete this drawing, you will need the following materials:
- Pencil: A good-quality pencil will allow you to achieve different shades and details in your drawing.
- Drawing paper: Choose a smooth and sturdy paper that can withstand erasing and shading.
- Eraser: A kneaded or soft eraser will help you make corrections and clean up your drawing.
- Fine-tip marker: You can use a pen or a marker to outline and define the final drawing.
- Reference image: Find a clear and detailed image of a hyena to guide you throughout the drawing process.
Step 1: Basic Shapes
Start by sketching the basic shapes that form the foundation of your hyena drawing. Begin with a large oval for the hyena’s body, positioning it slightly to the right side of the paper. Then, add a smaller circle for the head at the top left part of the oval, overlapping slightly. Finally, draw a line connecting the head to the body, which will serve as the neck.
Step 2: Facial Features
Now it’s time to add some facial features to bring your hyena to life. Sketch two small circles within the head circle to represent the eyes. Then, draw a triangular shape below the eyes for the nose. Add a small curved line above the nose to indicate the hyena’s snout. Finally, sketch two small round ears on top of the head.
Step 3: Body Proportions
To ensure accurate proportions, it’s important to establish the body structure of your hyena. Use simple lines to create a rough outline of the hyena’s body, paying attention to the curves and angles. Add the legs and tail, using slightly curved lines to indicate their shape and position.
Step 4: Details and Textures
Now that you have the basic structure in place, it’s time to add some details and textures to make your hyena drawing more realistic. Start by refining the shape of the head and adding the hyena’s signature mane, using short, jagged lines to represent the fur. Then, carefully sketch the facial features, such as the eyes and nose, adding depth and shadow as needed.
Continue by adding the ears, paying attention to their shape and positioning. Use small strokes to create the fur texture and add some detailing within the ears. As you work on the body, emphasize the muscular structure of the hyena by adding lines to indicate the contours. Remember to add the distinct spots or patterns that hyenas often have on their bodies.
Step 5: Shading and Highlights
To give your hyena drawing depth and dimension, it’s essential to apply shading and highlights. Start by identifying the light source in your drawing and imagine how it would interact with the hyena’s form. Use your pencil to add shading in areas that would be naturally darker, such as the fur around the eyes or under the chin.
Create a smooth transition between the shaded areas and the lighter ones by blending the pencil strokes with a blending stump or a cotton swab. Don’t forget to add highlights by erasing small sections of the shaded areas. This will give the drawing a realistic sheen and make it appear three-dimensional.
Step 6: Finalizing the Drawing
Once you are satisfied with the overall look of your hyena drawing, it’s time to finalize it. Trace over your pencil lines with a fine-tip marker, being careful to create smooth and confident lines. Let the ink dry and erase any remaining pencil marks.
You can further enhance your hyena drawing by adding some background elements or placing the hyena in its natural habitat. Experiment with different techniques and textures to make the drawing come alive.
Conclusion
Congratulations on completing your hyena drawing! By following this step-by-step guide, you have acquired the skills to draw a realistic and detailed hyena. Remember to start with basic shapes, add details and textures, apply shading and highlights, and finalize your drawing with ink and erasing. With practice, your drawing skills will continue to improve, and you’ll be able to create even more amazing artwork. Keep exploring your creativity and enjoy the process of bringing animals to life on paper!

