Welcome to this step-by-step guide on how to draw a taco! Whether you’re an experienced artist or starting out, this tutorial will help you create a mouthwatering taco illustration. Let your creativity flow as we break down the process into simple, easy-to-follow steps.
Materials Required
Before we dive into the steps, let’s gather the materials you’ll need:
Now that we have everything we need, let’s get started with our taco drawing!
Step 1: Drawing the Taco Shell
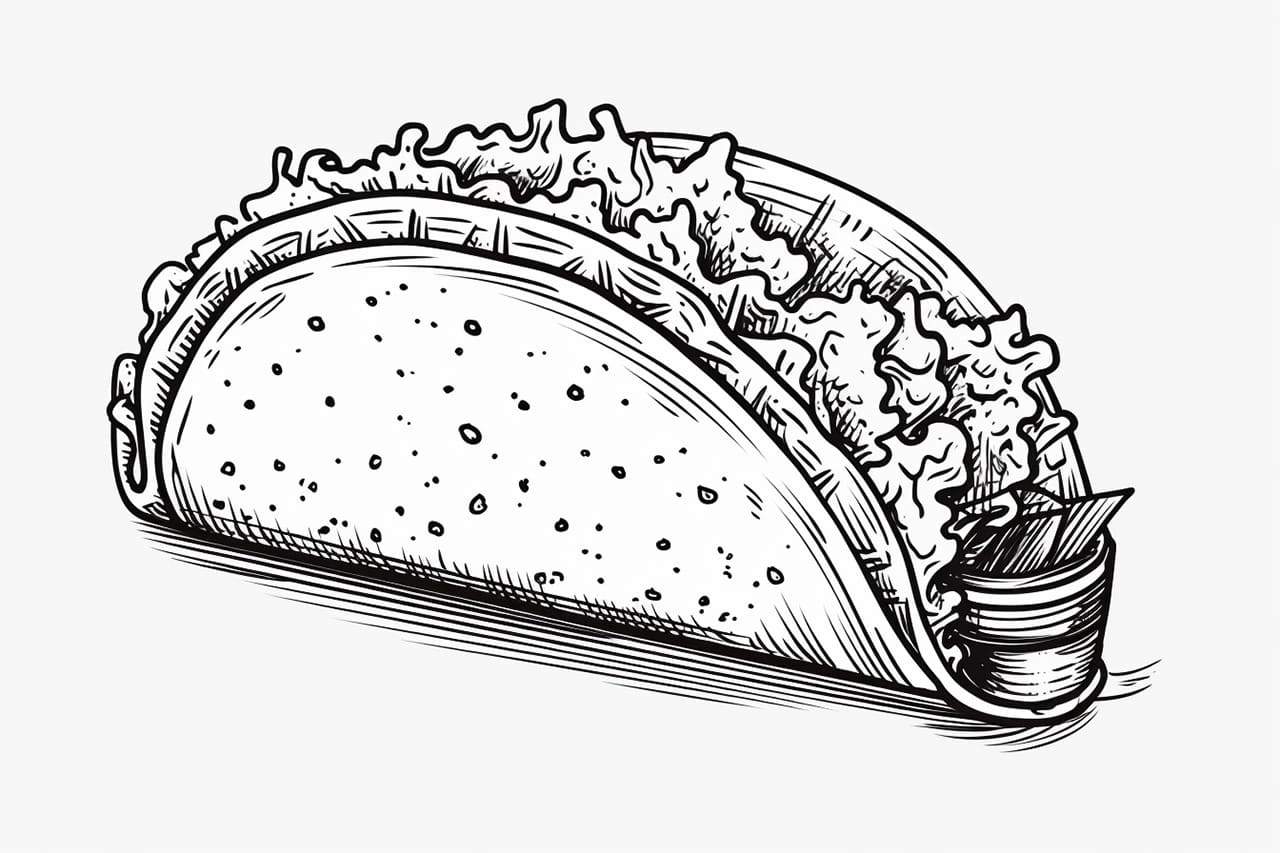
To begin, let’s outline the shape of the taco shell. Start by drawing a curved line in the shape of an upside-down “U” on your paper. This will represent the top of the taco. Next, draw two slightly curved lines that connect to the ends of the first line to complete the shape of the shell.
Step 2: Adding Texture to the Shell
To give the taco shell some texture, draw short, curved lines along the outline of the shell. These lines should be parallel to the shape of the shell and spaced evenly apart. The texture will add depth and make the shell look more realistic.
Step 3: Drawing the Stuffing
Now it’s time to draw the delicious filling of our taco. Draw a curved line inside the shell, following the shape of the top curve. This will represent the first layer of filling. Next, draw another curved line parallel to the first one, slightly below it, to create a second layer of filling.
Step 4: Adding Ingredients
Let’s make our taco even more delicious by adding some ingredients! Draw small, circular shapes on top of the filling to represent tomatoes. Then, draw smaller circles to represent diced onions. Using similar shapes or patterns, you can also add other ingredients, like shredded cheese or lettuce. Get creative and have fun adding different toppings to your taco.
Step 5: Detailing the Ingredients
To add more dimension and detail to our ingredients, draw small lines or dots on the tomatoes, onions, cheese, or lettuce. These details will make the ingredients look more realistic and textured. You can also experiment with shading or coloring to bring your taco to life.
Step 6: Drawing the Salsa or Sauce
No taco is complete without some salsa or sauce! Draw a small, wavy line at the top of the filling to represent the sauce. You can also add some texture to the sauce by drawing short, curved lines or dots on top of it.
Step 7: Enhancing the Background
To make our taco illustration more visually appealing, let’s add a simple background. Draw some lines or shapes around the taco to represent the table or plate it’s sitting on. You can also add a few additional details like a napkin or utensils to bring the scene together.
Step 8: Refining and Erasing
Take a moment to look at your drawing as a whole. If there are any areas that need adjustment or refinement, use your eraser to make the necessary corrections. Pay attention to the proportions, shapes, and overall balance of your taco illustration.
Step 9: Adding Color (Optional)
If you’d like to give your taco drawing some color, grab your colored pencils or markers and start adding shades that match the ingredients you’ve drawn. Use light and dark tones to create depth and make your taco look even more appetizing. Don’t be afraid to experiment and play with different color combinations.
Conclusion
Congratulations! You have successfully learned how to draw a delicious taco from scratch. By following these step-by-step instructions, you’ve created a mouthwatering illustration that showcases your artistic skills. Keep practicing, exploring different styles and techniques, and soon you’ll be able to draw tacos that look good enough to eat!