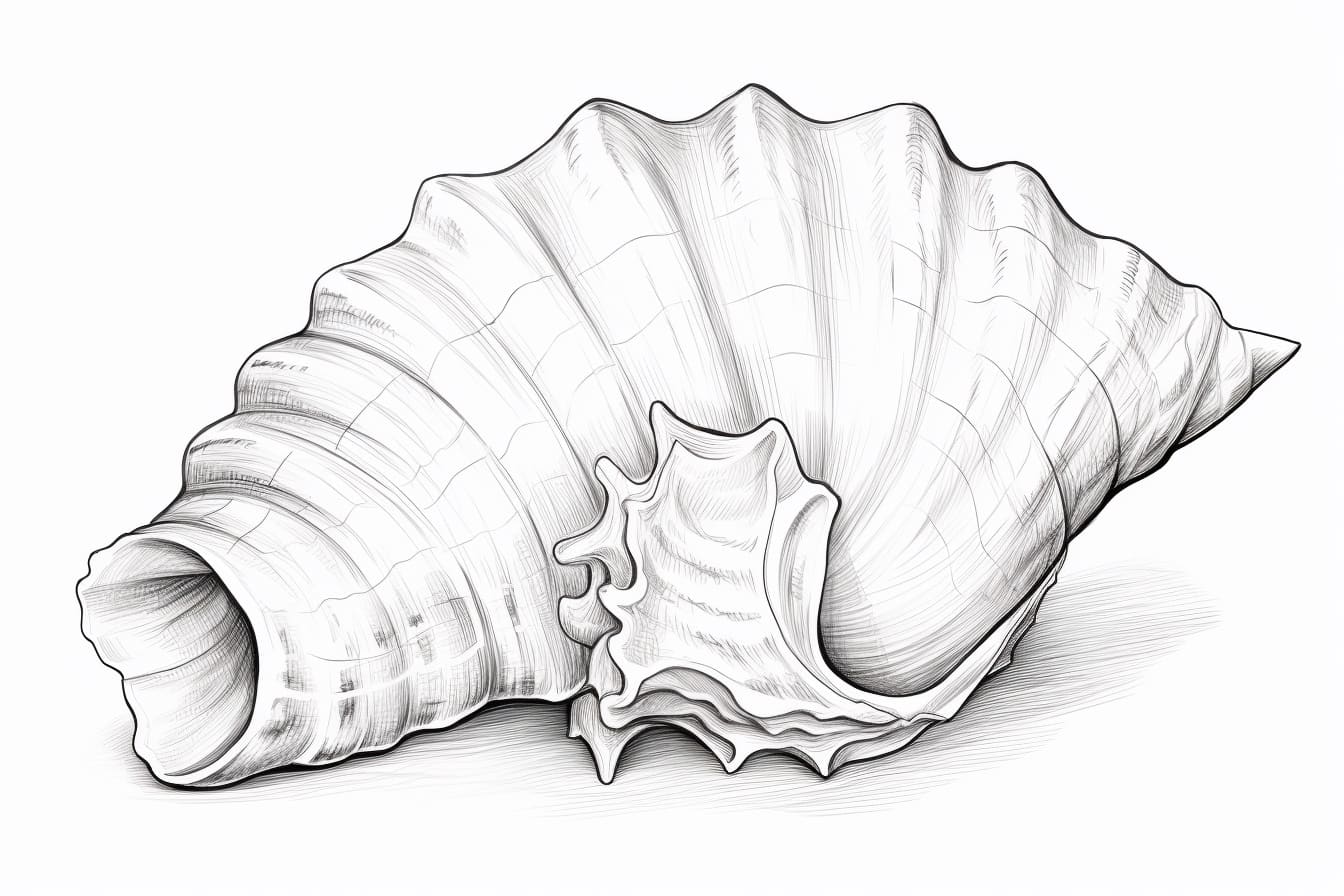
Welcome to this step-by-step guide on how to draw a conch! Conches are fascinating seashells known for their beautiful spiral shape and intricate details. In this tutorial, we will go through the process of creating a realistic representation of a conch, using simple drawing techniques. So grab your pencils and let’s get started!
Materials Required
Before we begin, make sure you have the following materials:
- Pencil (HB or 2B recommended)
- Eraser
- Blending stump or cotton swabs
- Paper (preferably drawing paper or sketchbook)
- Reference image of a conch
Having all these materials ready will help you create a detailed and accurate drawing of a conch shell.
Step 1: Outline the Basic Shape
Start by lightly sketching the outline of the conch shell. Conch shells are known for their spiral shape, so we will begin by drawing a simple elongated oval shape.
Step 2: Add the Spiral Structure
Inside the oval shape, draw a curved line that spirals inward. This spiral represents the structure of the conch shell. Take your time and make the spiral as smooth and even as possible.
Step 3: Define the Outer Lip
Next, draw the outer lip of the conch shell. Conch shells typically have a thick, flared lip. To draw this, create a curved line that extends from the bottom of the oval shape and curves outward.
Step 4: Draw the Inner Details
Now it’s time to add some intricate details to our conch drawing. Start by drawing several curved lines along the surface of the shell, following the shape of the spiral. These lines represent the growth lines of the shell and add depth and texture.
Step 5: Add Texture and Shading
To give our drawing a more realistic look, we need to add texture and shading. Start by adding small dots or dashes along the growth lines to represent the texture of the conch shell. Then, using a shading technique, darken one side of the shell to create a sense of depth and volume. Blend the shading with a blending stump or cotton swab to achieve a smooth transition between light and dark areas.
Step 6: Refine the Details
Take a closer look at your drawing and make any necessary adjustments. Pay attention to the proportions, shape, and details of the conch shell. Refine the lines, add more texture, and make sure everything is in the right place.
Step 7: Final Touches
Once you are satisfied with the overall look of your conch drawing, it’s time for the final touches. Darken the shading where needed, add more texture if desired, and make any final adjustments to achieve the desired level of realism.
Conclusion
Drawing a conch can be a rewarding and enjoyable experience. By following these step-by-step instructions, you can create a detailed and realistic representation of this beautiful seashell. Remember to take your time, pay attention to the details, and have fun with your drawing. So grab your materials and start sketching your own stunning conch shell today!