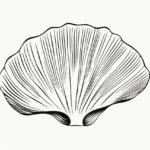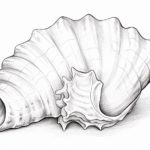
Drawing a sea shell can be a fun and relaxing activity that allows you to explore the delicate beauty of these natural wonders. Whether you’re an experienced artist or just starting out, this step-by-step guide will walk you through the process of capturing the intricate details of a sea shell on paper.
Materials Required:
Before you begin, gather the following materials:
- Pencil: Start with a regular graphite pencil for sketching and outlining.
- Eraser: Choose a soft eraser for easy removal of any mistakes.
- Paper: Use a good quality drawing paper or sketchbook that is suitable for your preferred medium.
- Colored pencils or markers (optional): If you want to add color to your drawing, have some colored pencils or markers on hand.
Now that you have your materials ready, let’s dive into the process of drawing a sea shell.
Step 1: Sketch the Basic Shape
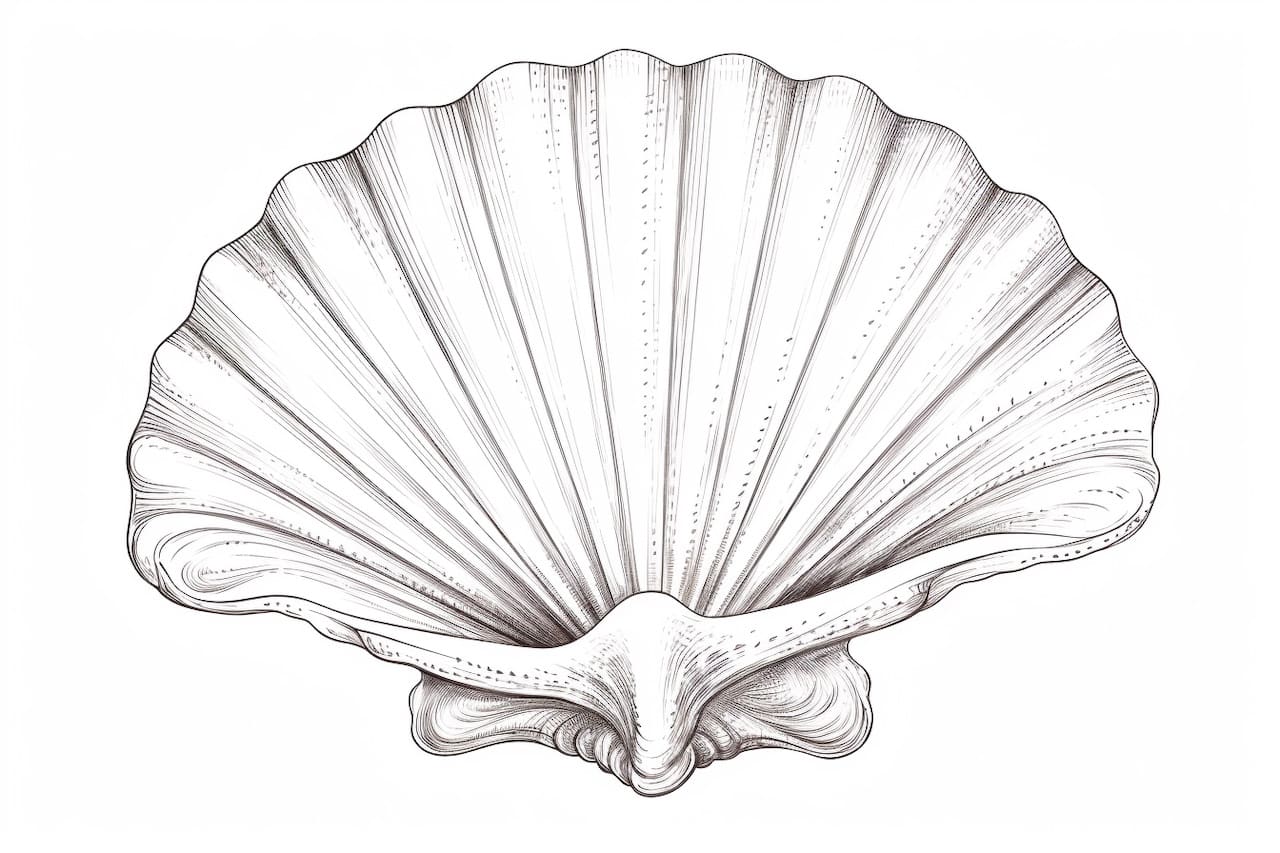
Begin by lightly sketching an oval shape on your paper. This will form the base of the sea shell. Keep the proportions in mind, ensuring that the oval is elongated and slightly narrower at one end.
Step 2: Add the Spirals
Next, draw a curved line starting from one end of the oval and gradually spiraling towards the center. Repeat this process, drawing multiple parallel curved lines that connect at the center. These lines will create the characteristic spirals of the sea shell.
Step 3: Create the Outer Surface
To add depth and texture to the shell, carefully draw small curved lines along the spirals to simulate the ridges and lines found on its surface. Pay attention to their direction and spacing, as they will give your drawing a more realistic look.
Step 4: Refine the Shape
With the basic form and texture in place, refine the overall shape of the shell by adjusting the curves and proportions. Take your time to make any necessary modifications to achieve the desired silhouette.
Step 5: Add Details
To make your sea shell drawing more lifelike, it’s important to pay attention to the fine details. Begin by sketching the opening of the shell, which is often oval-shaped. Then, add smaller lines and shapes along the ridges to represent bumps and imperfections.
Step 6: Shade and Add Depth
Now it’s time to add shading to your drawing to give it depth and dimension. Observe where the light source is coming from and use your pencil to create areas of light and shadow accordingly. Gradually build up the shading, using lighter pressure for the lighter areas and heavier pressure for the darker ones.
Step 7: Refine the Texture
To enhance the texture of the sea shell, use your pencil or colored pencils to add more detailed lines and shading to the ridges and bumps. This will bring out the intricate patterns and give your drawing a more realistic appearance.
Step 8: Optional: Add Color
If you want to add some pops of color to your sea shell drawing, now is the time to do so. Use colored pencils or markers to gently layer colors onto your drawing. Start with lighter shades and gradually build up to darker tones, paying attention to the natural color variations found in sea shells.
Conclusion
Drawing a sea shell is a wonderful way to explore the beauty of nature through art. By following these step-by-step instructions and paying attention to the intricate details and textures, you can create a stunning representation of these fascinating creatures. Remember to have fun and enjoy the process as you bring your sea shell drawing to life.