How to Draw a Sheep
Learn how to draw a cute and fluffy sheep with this step-by-step drawing tutorial. Perfect for beginners, this guide will help you master the art of drawing animals.
Materials You'll Need
- Pencil
- Paper
- Eraser
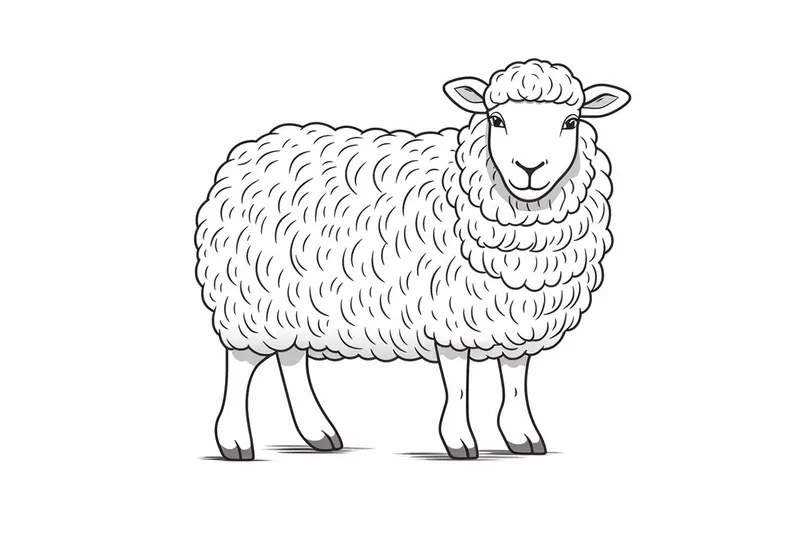
![]() Welcome to our delightful step-by-step guide on how to draw a sheep! Whether you're taking your first steps into the world of drawing or you're an experienced artist looking to refine your skills, this tutorial is designed to meet your needs. Drawing a sheep might seem simple, but capturing its charm and fluffiness can be a delightful challenge that enhances your artistic repertoire.
Welcome to our delightful step-by-step guide on how to draw a sheep! Whether you're taking your first steps into the world of drawing or you're an experienced artist looking to refine your skills, this tutorial is designed to meet your needs. Drawing a sheep might seem simple, but capturing its charm and fluffiness can be a delightful challenge that enhances your artistic repertoire.
In this guide, we'll walk you through each phase of the drawing process, ensuring that you have a clear understanding every step of the way. With easy-to-follow instructions and helpful tips, we'll make it fun and accessible for everyone. Get ready to express your creativity and surprise yourself with a beautiful sheep drawing that you'll be proud to show off.
So, gather your materials, get comfortable, and let's embark on this artistic journey together! With just a few pencils and your enthusiasm, you'll be well on your way to mastering the art of drawing a cute and fluffy sheep in no time!
Materials Required
Before we begin, let's gather the materials needed for this drawing tutorial. Here's what you'll need:
- Drawing paper
- Pencils (HB, 2B, and 4B)
- Eraser
- Blending stump
- Reference image of a sheep (optional)
Now that you have your materials ready, let's move on to the step-by-step instructions.
Step 1: Basic Shapes
Start by sketching the basic shapes of the sheep using light pencil lines. Begin with a slightly tilted oval shape for the body. Next, add a smaller circle for the head, connected to the body. Lastly, draw a pair of curved lines to indicate the legs.
Step 2: Head and Face Details
Refine the shape of the sheep's head by adding more curves and angles. Draw two rounded ears on top of the head. Then, add two almond-shaped eyes, leaving some space between them. Add a small triangle for the nose and a curved line for the mouth.
Step 3: Wooly Body
To create the fluffy texture of the sheep's body, start by drawing a series of curved lines surrounding the oval shape. Make the lines irregular to give the impression of wool. Continue adding these lines until the body is fully covered.
Step 4: Legs and Hooves
Refine the shape of the legs by adding more curves and thickness. Erase any overlapping lines from the body. Add small circles at the end of each leg to represent the hooves. Make sure the proportions are correct by comparing them to the size of the body.
Step 5: Tail and Facial Features
Draw a fluffy tail by sketching curved lines behind the body. Add more details to the face by drawing eyebrows above the eyes. Refine the shape of the nose by adding a small curve at the bottom. Give the sheep a friendly expression by adding a slight smile.
Step 6: Shading and Texturing
Now it's time to add depth and texture to your sheep drawing. Start by shading the body using parallel pencil strokes that follow the shape of the sheep. Use a 2B or 4B pencil for this step. Apply more pressure to create darker areas and less pressure for lighter areas.
Step 7: Highlights and Blending
To create highlights on the sheep's body, use an eraser to carefully remove some of the graphite. This will give the impression of light reflecting off the wool. Next, use a blending stump or your finger to blend the shading and create a smoother, more realistic texture.
Step 8: Final Details
Add the final details to complete your sheep drawing. Darken the eyes and add a small highlight to make them appear shiny. Add some additional shading to the face and body if necessary. Take your time to refine any areas that need more attention.
Tip: To effectively capture the fluffy texture of a sheep, consider using a combination of tools and techniques. Start with a soft pencil (like 2B or 4B) to sketch the basic outline, focusing on the rounded shapes of the body and head. When adding the wool, switch to a blending stump or a cotton swab to gently smudge and soften the pencil lines, creating the illusion of fluffiness. Use short, curved strokes to represent the wool's curls, layering your lines to build depth and dimension. Finally, don't forget to add shading in the crevices of the wool and under the belly to enhance the three-dimensional effect and bring your sheep to life!
Conclusion
Congratulations! You have successfully learned how to draw a sheep. By following these step-by-step instructions, you were able to create a cute and fluffy sheep drawing. Remember to practice and experiment with different techniques to further improve your skills. Drawing animals can be a fun and rewarding experience, so keep exploring and creating. Happy drawing!