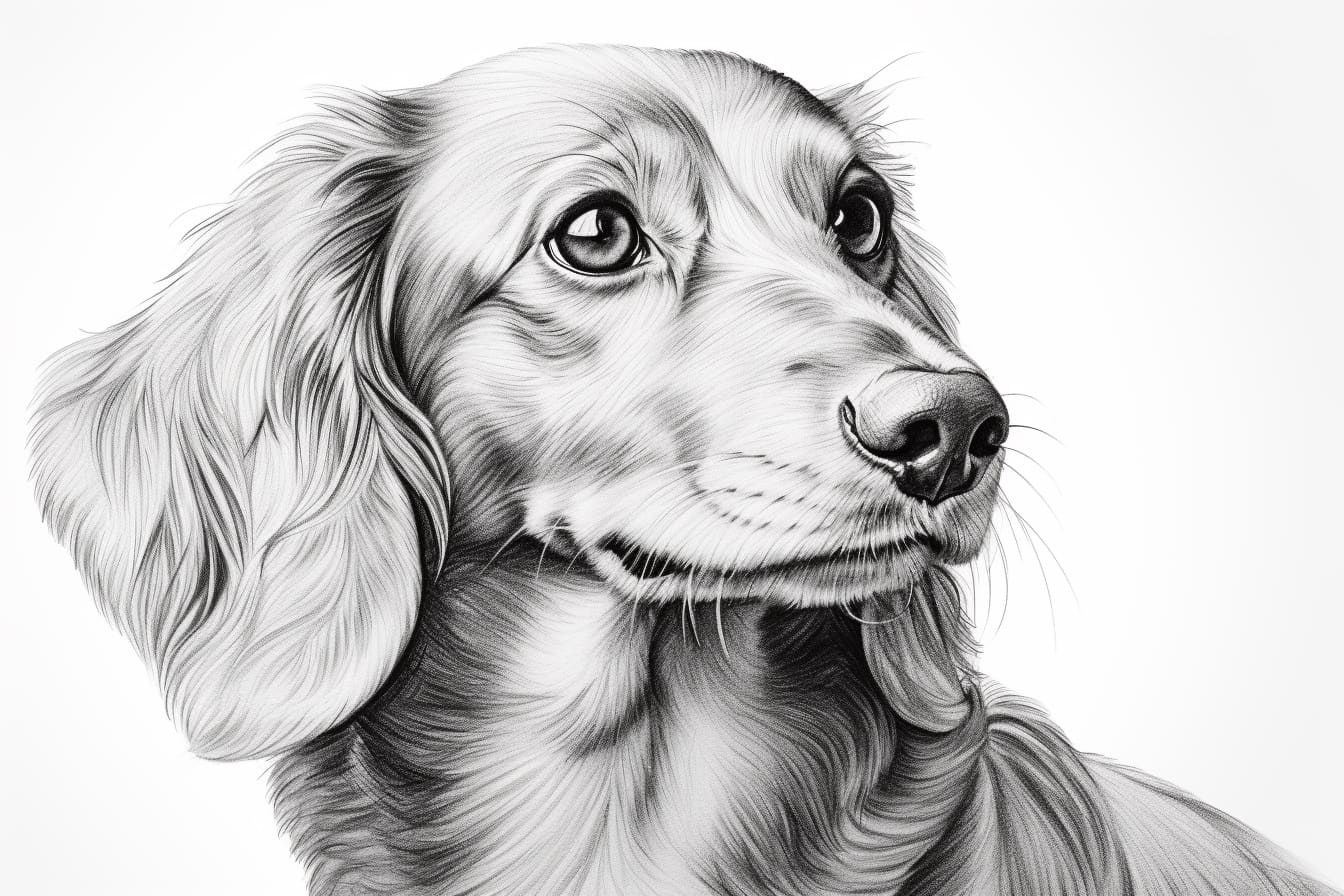
Do you have a passion for drawing? Are you a dog lover? If so, you’re in luck! In this step-by-step guide, we will walk you through the process of how to draw a dachshund face. Famous for their long bodies and expressive eyes, dachshunds make an adorable subject for any artist. So grab your pencils and let’s get started!
Materials Required:
Before we begin, make sure you have the following materials:
- Pencil (HB or B)
- Eraser
- Drawing paper
- Fine-tip black pen or marker (optional)
These basic materials will be sufficient to create a wonderful dachshund face drawing. Now that you have your supplies ready, let’s dive in!
Step 1: Sketch the Basic Shapes
Start by lightly sketching an oval shape for the head. This will serve as your guide for the proportions. Next, draw a smaller circle on the lower part of the oval for the snout. Connect the two shapes with two curved lines to create the neck area. Remember, these are just the rough outlines, so don’t worry about perfection at this stage.
Step 2: Define the Ears and Eyes
Dachshunds have long, floppy ears that are one of their most distinctive features. To draw the ears, start by extending curved lines from the top of the head, pointing downwards. The tips of the ears should be rounded. Next, draw two almond-shaped eyes right above the snout. Add small, circular shapes inside the eyes to depict the pupils. Leave a small white space in each eye to bring life to your drawing.
Step 3: Detail the Face
Now it’s time to add more details to the dachshund’s face. Draw a small, triangular nose at the center of the snout. Then, sketch a curved line under the nose to form the mouth. To create a cute expression, add a slight curve to the line. Draw a tiny line at the bottom of the mouth to represent the dog’s lower lip. Next, add a small black dot on each side of the face to depict the nostrils.
Step 4: Outline the Head and Ears
Using the sketch as your guide, refine the shape of the head by drawing a smooth outline around it. Make sure to accentuate the rounded features of the dachshund’s face. Once you’re satisfied with the head, trace over the ear outlines as well. Remember to keep the lines smooth and flowing, capturing the floppy nature of the ears.
Step 5: Add Facial Details
Now let’s focus on the eyes. Carefully darken the outer edges of the eyes and define the shape further. Add a small curved line above each eye to represent the eyebrows, giving your dachshund a more expressive look. Enhance the nose by adding some shading around it, creating a three-dimensional effect. You can achieve this by gently adding darker tones to the sides of the nose.
Step 6: Complete the Face
In this step, add some more touches to complete the dachshund’s face. Draw a curved line above the mouth to represent the upper lip. This will give the face a defined mouth area. Add a few fine lines around the mouth to indicate some wrinkles, adding depth to your drawing. Finally, erase any remaining sketch lines and adjust the shading as needed.
Step 7: Optional – Ink and Color
If you prefer a more finished look, you can use a fine-tip black pen or marker to outline your drawing. This will make your dachshund face stand out even more. Once you’re done with the ink lines, you can also add color using colored pencils, markers, or watercolors. Dachshunds come in a variety of coat colors, so feel free to get creative with your color choices!
Conclusion
Drawing a dachshund face can be a delightful artistic experience. By following these step-by-step instructions, you have learned how to capture the unique features of this adorable breed. Remember to practice and have fun with your drawing. With time and patience, your dachshund faces will improve and bring joy to all who see them. So pick up your pencil, and let your creativity run wild!