Welcome to this step-by-step tutorial on how to draw a pillow! Whether you’re an aspiring artist or just looking to try something new, this guide will provide you with clear, concise instructions to help you create a realistic and detailed representation of a pillow. So, grab your drawing materials and let’s get started!
Materials Required
Before we begin, make sure you have the following materials:
- Paper: Choose a smooth and sturdy paper that can handle different drawing techniques.
- Pencil: Use a mechanical or regular pencil with a range of softness, such as HB, 2B, or 4B.
- Eraser: Have a kneaded eraser or a regular eraser on hand for necessary adjustments.
- Blending tool: You can use a blending stump, tortillon, or even a cotton swab to create smooth shading.
- Coloring materials (optional): Colored pencils, markers, or pastels can add an extra touch to your drawing.
Now that you have everything you need, let’s start drawing!
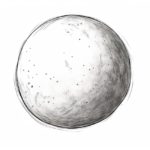
Step 1: Outline the Shape of the Pillow
Begin by lightly sketching an elongated oval shape on your paper. This will serve as the basic outline of the pillow. Take your time to ensure the proportions and curves are to your liking.
Step 2: Add the Details of the Pillow
Next, draw the details of the pillow such as the seams and any decorative elements. Pillows often have stitched lines that give them texture and shape. Use light, short strokes to capture the appearance of these details.
Step 3: Develop the Pillow’s Thickness
To make the pillow look three-dimensional, add thickness to the outline by drawing another line parallel to the initial outline. Make sure the new line is slightly inside the first one and follows the general shape of the pillow. This will give the impression of depth.
Step 4: Shade the Pillow’s Surface
Start shading the pillow’s surface by using light, even strokes. Begin with the areas that receive less light, such as the sections between the seams. Gradually build up the shading to create a smooth transition from light to dark areas.
Step 5: Create Highlights and Shadows
To add depth to the pillow, identify the light source in your drawing. Determine where the light hits the pillow and where the shadows fall. Use your pencil to carefully add highlights to the areas directly facing the light source and darken the areas that would be in shadow.
Step 6: Blend the Shading
To create a more realistic texture, use a blending tool to smooth out the shading. Gently rub the tool over the shaded areas to blend the pencil strokes together. This will help create a soft and velvety appearance for the pillow’s surface.
Step 7: Refine and Adjust
Take a step back and observe your drawing. Are there any areas that need adjustments? Use your eraser to lighten or correct any lines or shading that aren’t quite right. Don’t be afraid to make changes as needed to achieve the desired result.
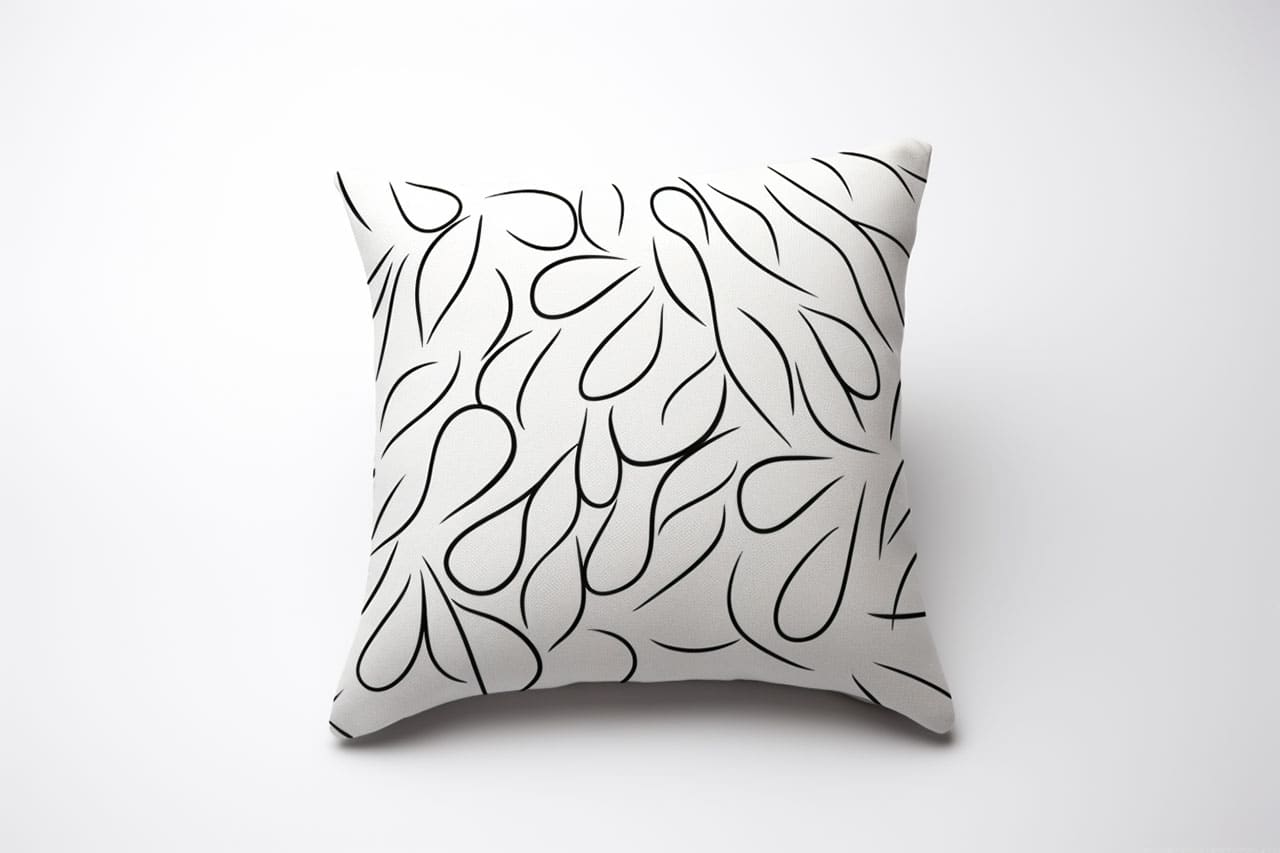
Step 8: Add Extra Details (Optional)
If you want to add extra details to your pillow drawing, you can experiment with different materials. Colored pencils, markers, or pastels can be used to add texture or patterns to the pillow’s fabric. Use these additional materials sparingly to enhance your drawing without overwhelming it.
Conclusion
Congratulations! You’ve successfully drawn a realistic and detailed representation of a pillow. By following these step-by-step instructions, you’ve learned how to create the basic shape, add details, shade, and refine your drawing. Remember to practice regularly to improve your skills and develop your own unique style.
We hope you found this tutorial helpful and inspiring. Drawing pillows can be a fun and rewarding experience, allowing you to capture the comfort and coziness they bring to our lives. So, grab your materials and start sketching your own beautiful pillows today!