Sea anemones are fascinating creatures with their beautiful tentacles and vibrant colors. If you want to bring these stunning marine animals to life on paper, you’ve come to the right place! In this step-by-step guide, I will show you how to draw a sea anemone, capturing its intricate details and creating a realistic representation. So let’s dive in and get started!
Materials Required
Before we begin, make sure you have the following materials:
- Pencil
- Eraser
- Fine-tip black marker
- Colored pencils or markers
- Paper (preferably a drawing paper)
Now that you’ve gathered all your supplies, let’s begin our artistic journey of drawing a sea anemone!
Step 1: Outline the Body Shape
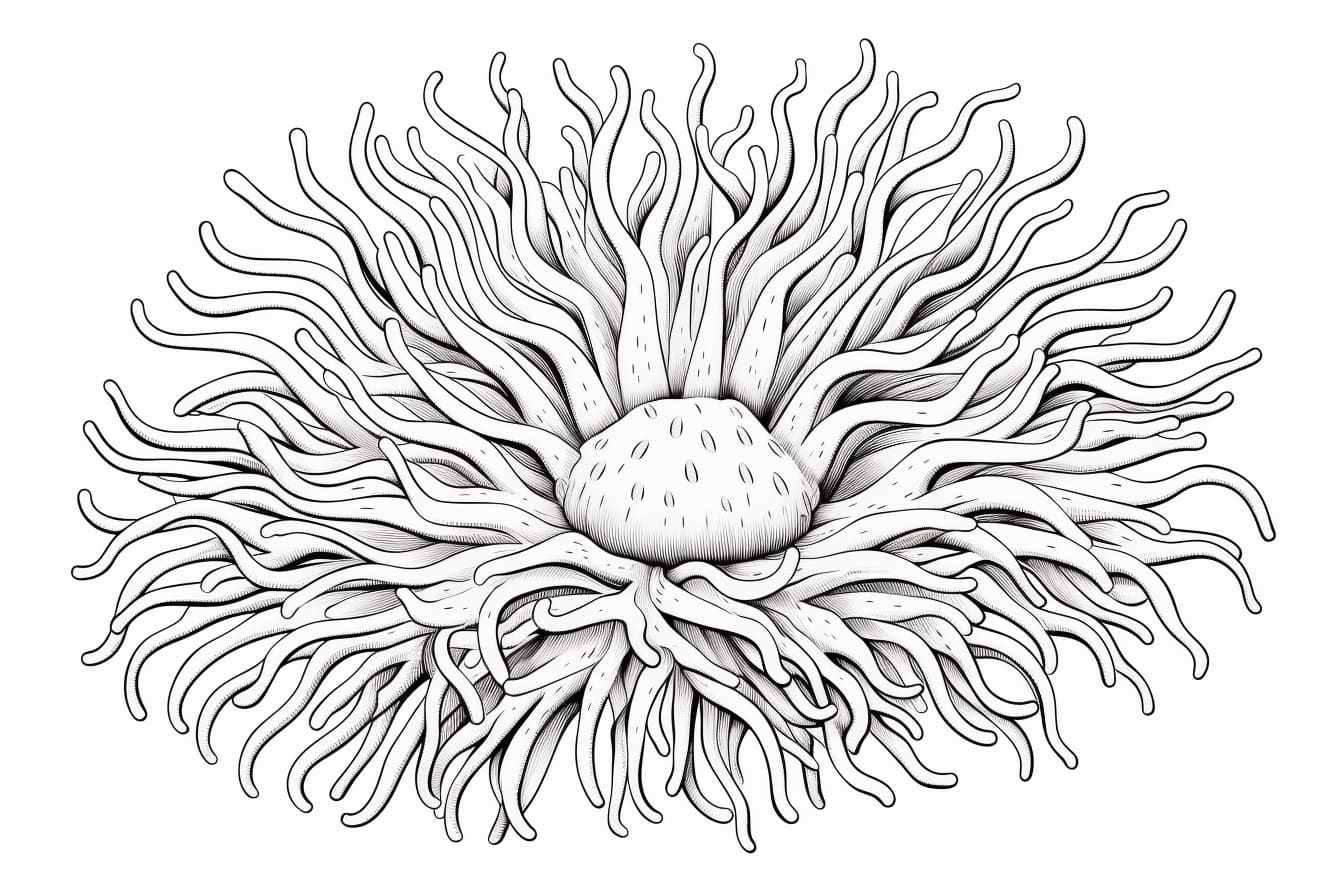
To start, draw an irregular oval shape to form the body of the sea anemone. Remember, sea anemones come in various sizes and shapes, so feel free to make your outline unique and interesting.
Step 2: Add Tentacles
Next, draw several long, wavy lines extending outward from the bottom of the body. These lines will represent the sea anemone’s tentacles. Make sure to vary the length and direction of the tentacles for a realistic look.
Step 3: Create the Mouth
Now, draw a small, circular shape in the center of the oval body. This will be the sea anemone’s mouth. You can add some small details, like dots or lines, around the mouth to give it texture.
Step 4: Outline the Tentacles
Using your fine-tip black marker, carefully trace over the pencil lines that form the tentacles. This will make them stand out and add definition to your sea anemone drawing. Don’t worry about being too precise – some wobbly lines can add character.
Step 5: Add Details to the Tentacles
To make your sea anemone look more realistic, add some details to the tentacles. Draw small, curved lines along the length of the tentacles to create texture. You can also add some dots or short lines to simulate the bumps and dots often found on their surfaces.
Step 6: Shade the Body
Using your pencil or colored pencils, lightly shade the body of the sea anemone. Start with a light layer and gradually build up the shading to create depth and dimension. Remember to shade in the direction of the tentacles, as this will enhance their three-dimensional appearance.
Step 7: Color the Tentacles
Now it’s time to bring some vibrant colors to your sea anemone drawing! Use colored pencils or markers to color the tentacles. Sea anemones are known for their bright hues, so feel free to experiment with various colors. You can use multiple shades of the same color or even opt for a colorful gradient effect.
Step 8: Add Highlights
To make your sea anemone drawing pop, add some highlights. Leave small areas of the body and tentacles unshaded or lightly color them with a white pencil or marker. This will simulate the light reflecting off the surface of the sea anemone and give it a lifelike appearance.
Step 9: Refine and Erase Guidelines
Take a step back and carefully examine your drawing. Use your eraser to remove any unnecessary pencil lines or guidelines that are still visible. This step will help clean up your drawing and give it a polished look.
Conclusion
Congratulations! You have successfully learned how to draw a sea anemone. By following these step-by-step instructions, you’ve created a stunning representation of this mesmerizing marine creature on paper. Keep practicing and experimenting with colors to add your own creative touch to future sea anemone drawings. So grab your art supplies, let your imagination run wild, and enjoy the process of bringing these beautiful underwater organisms to life on your canvas!


