Welcome to this step-by-step tutorial on drawing a sea urchin! In this article, I will guide you through the process of creating a realistic and detailed illustration of this fascinating ocean creature. Whether you are a beginner or an experienced artist, this tutorial is designed to be easy to follow and fun to recreate. So, let’s dive in and get started!
Materials Required
Before we begin, let’s gather the materials you will need:
- Pencil (2H, HB, and 2B)
- Eraser
- Drawing paper
- Fine-tip black pen
- Colored pencils (optional)
- Reference photo of a sea urchin (optional)
Now that we have everything ready, let’s move on to the drawing process.
Step 1: Outline the Basic Shape
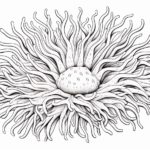
Start by lightly sketching an oval shape in the center of your drawing paper. This will serve as the main body of our sea urchin. Keep the lines loose and light, as we will be refining them in the following steps.
Step 2: Add Spines
Now, let’s add the spines that give the sea urchin its unique appearance. Using your reference photo as a guide, draw thin, curved lines radiating outwards from the top of the oval shape. These lines should be irregular and vary in length and thickness. Don’t worry about getting them perfect, as sea urchin spines can differ in size and shape.
Step 3: Detail the Spines
Next, it’s time to add more detail to the spines. Start by drawing smaller, shorter spines between the larger ones. These can overlap and create a layered effect. Use light, feathery strokes to indicate the texture of the spines. Remember to keep the lines irregular and varied.
Step 4: Define the Body
Now that we have the spines in place, let’s define the body of the sea urchin. Using a darker pencil, lightly shade the lower part of the oval shape to create some depth. Gradually build up the shading, leaving the top part of the body lighter to create a rounded appearance.
Step 5: Add Texture to the Body
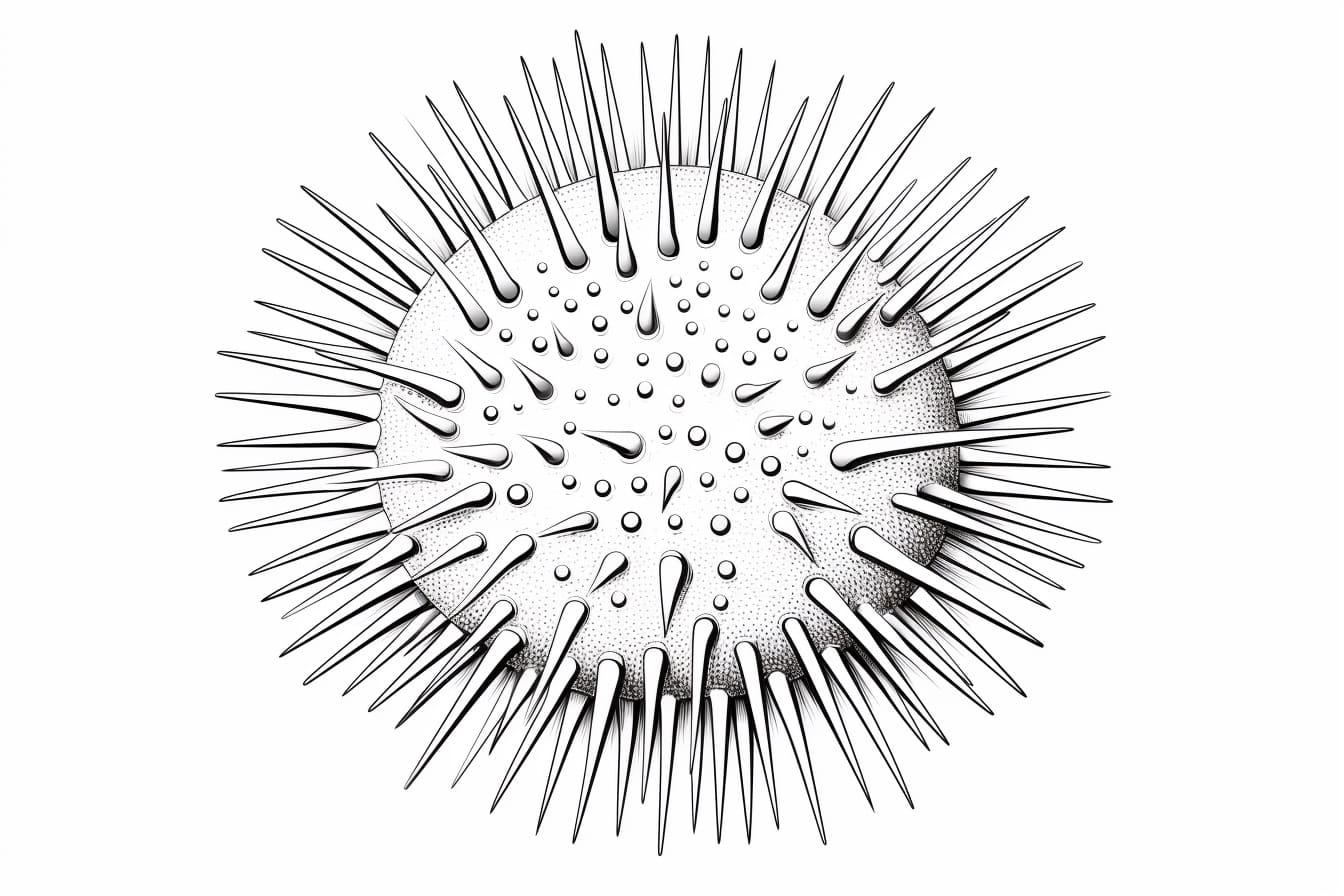
To give the sea urchin a more realistic look, let’s add some texture to the body. Using gentle, short strokes, create a pattern of small dots or lines all over the shaded area. This will mimic the tiny bumps and ridges found on the surface of a sea urchin.
Step 6: Refine the Spines
Now that the main body is complete, let’s go back to the spines and refine them further. Darken the lines and add more detail to create a sharper and more defined look. Pay attention to the direction and flow of the spines, as they should follow the shape of the sea urchin’s body.
Step 7: Ink the Drawing
Once you are satisfied with the pencil drawing, it’s time to ink it using a fine-tip black pen. Carefully trace over the final lines, making them bold and clean. Be patient and take your time to ensure a neat and professional-looking result.
Step 8: Erase the Pencil Marks
After the ink has dried, gently erase any remaining pencil marks with a soft eraser. Make sure to erase lightly to avoid damaging the inked lines. This step will give your drawing a polished and finished appearance.
Step 9: Optional Coloring
If you wish to add color to your sea urchin drawing, now is the time to do so. Using colored pencils, lightly layer colors onto the spines and body, gradually building up the hues to create depth and dimension. Refer to your reference photo or use your own creativity to choose an appropriate color scheme.
Conclusion
Congratulations! You have successfully learned how to draw a sea urchin. By following this step-by-step tutorial, you have created a realistic and detailed illustration of this enchanting ocean creature. I hope you enjoyed the process and feel inspired to continue exploring the world of drawing. Remember to practice, have fun, and embrace your own unique style. Happy drawing!