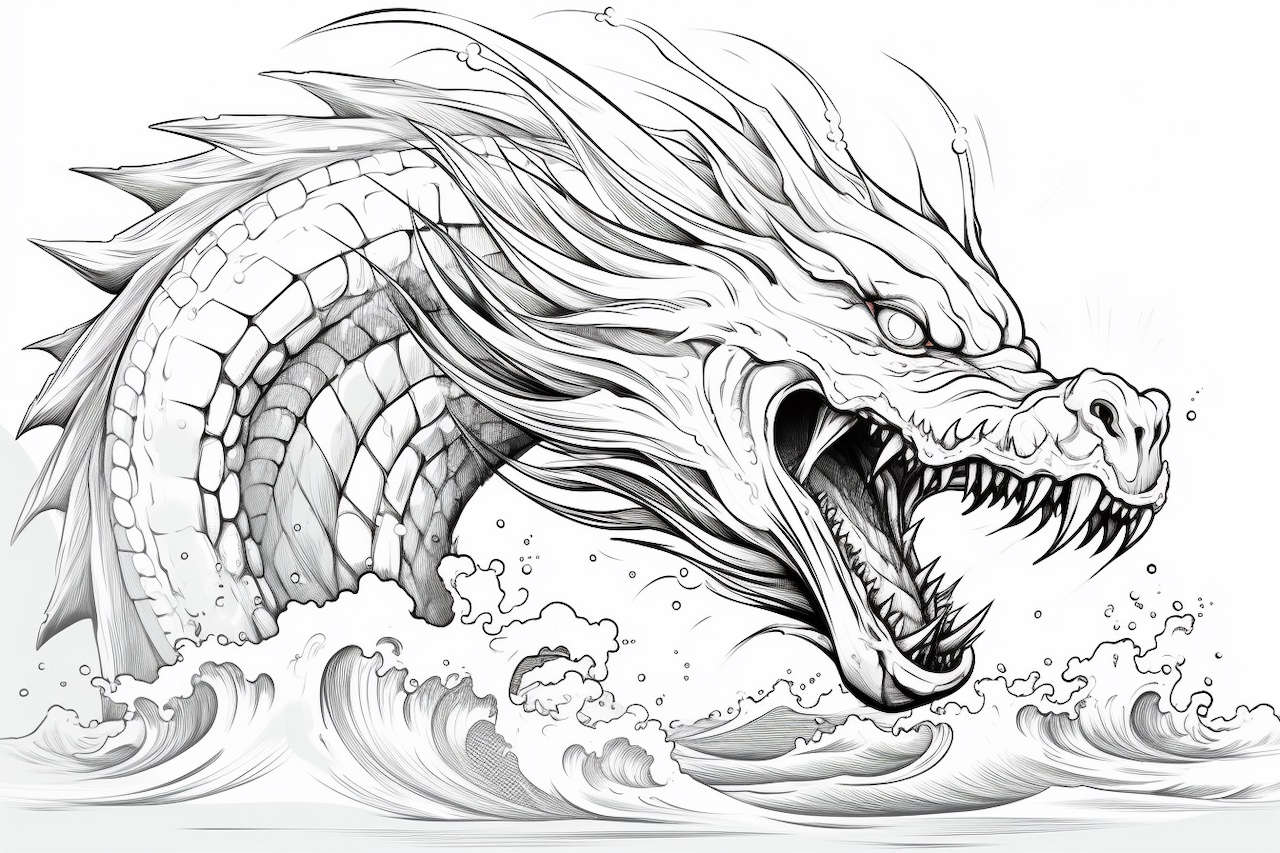
Welcome to this step-by-step tutorial on drawing a sea monster. Whether you’re an aspiring artist or just looking for a fun activity, this guide will help you create your very own mythical creature from the depths of the sea. So grab your paper, pencils, and let your imagination run wild!
Materials Required
To get started, gather the following materials:
- A blank sheet of paper
- Pencils (preferably of different grades, such as 2B, 4B, and 6B)
- An eraser
- Colored pencils or markers (optional)
- Reference images of sea creatures for inspiration (optional)
Now that you have everything you need, let’s dive into the world of sea monsters!
Step 1: Sketching the Basic Shape
Begin by sketching the basic shape of your sea monster. You can start with a simple oval or elongated shape to represent the body. Use light and loose pencil strokes at this stage, as you’ll be refining the shape later on.
Step 2: Adding Details
Once you’re happy with the basic shape, start adding details to bring the sea monster to life. Determine where the head, eyes, and mouth should be placed. Consider if you want your creature to have fins, tentacles, or any other distinctive features. Sketch these elements lightly, keeping in mind the overall composition of your sea monster.
Step 3: Refining the Shape
Now it’s time to refine the shape of your sea monster. Use darker pencil strokes to define the outline and contours of the creature. Pay attention to the curves and proportions, ensuring that they look harmonious. Erase any unnecessary guidelines or stray marks as you go along.
Step 4: Adding Textures
To give your sea monster a more realistic appearance, incorporate various textures. Use short, sketchy strokes to indicate scales, rough skin, or other surface details. Experiment with different pencil grades to achieve the desired effect. Remember, you can always refer to reference images of real sea creatures to get inspiration for textures.
Step 5: Enhancing the Details
Now that the main structure of your sea monster is complete, it’s time to enhance the details. Add depth and dimension by shading areas that would naturally be in shadow, such as the underside or crevices. Use lighter pencil strokes to create highlights on areas that catch the imaginary light source. This step adds realism and depth to your drawing.
Step 6: Adding Color (Optional)
If you want to take your sea monster drawing to the next level, consider adding color. Colored pencils or markers can be used to bring your creation to life. Decide on a color scheme that complements your creature’s design and carefully apply the colors. Remember to use multiple layers for richer tones and blend colors together for a smoother appearance.
Step 7: Final Touches
Take a step back and evaluate your sea monster drawing. Are there any areas that need further improvement, such as refining lines or adding additional details? Make any necessary adjustments and add any final touches to make your sea monster truly fantastic.
Conclusion
Congratulations, you’ve successfully created your very own sea monster! By following the step-by-step instructions in this guide, you’ve learned how to sketch the basic shape, add details, refine the form, incorporate textures, enhance the details, and even add color. Be sure to experiment and let your creativity flow as you bring your sea monster to life on paper.
Remember, every artist has their unique style, so don’t be afraid to add your own twist to your sea monster drawing. With practice, you’ll improve your skills and create even more captivating creatures inspired by the mysteries of the sea.
So grab your pencils and start exploring the depths with your imagination. Happy drawing!