Welcome to this step-by-step guide on how to draw a sea dragon! In this tutorial, we will explore the process of creating a beautiful and majestic sea dragon using simple drawing techniques. Whether you are a beginner or an experienced artist, follow along with the instructions and you’ll be able to create your own stunning sea dragon masterpiece in no time.
Materials Required
To begin this drawing tutorial, you will need the following materials:
- Pencil (preferably 2B or softer)
- Eraser
- Drawing paper or sketchbook
- Colored pencils or markers (optional)
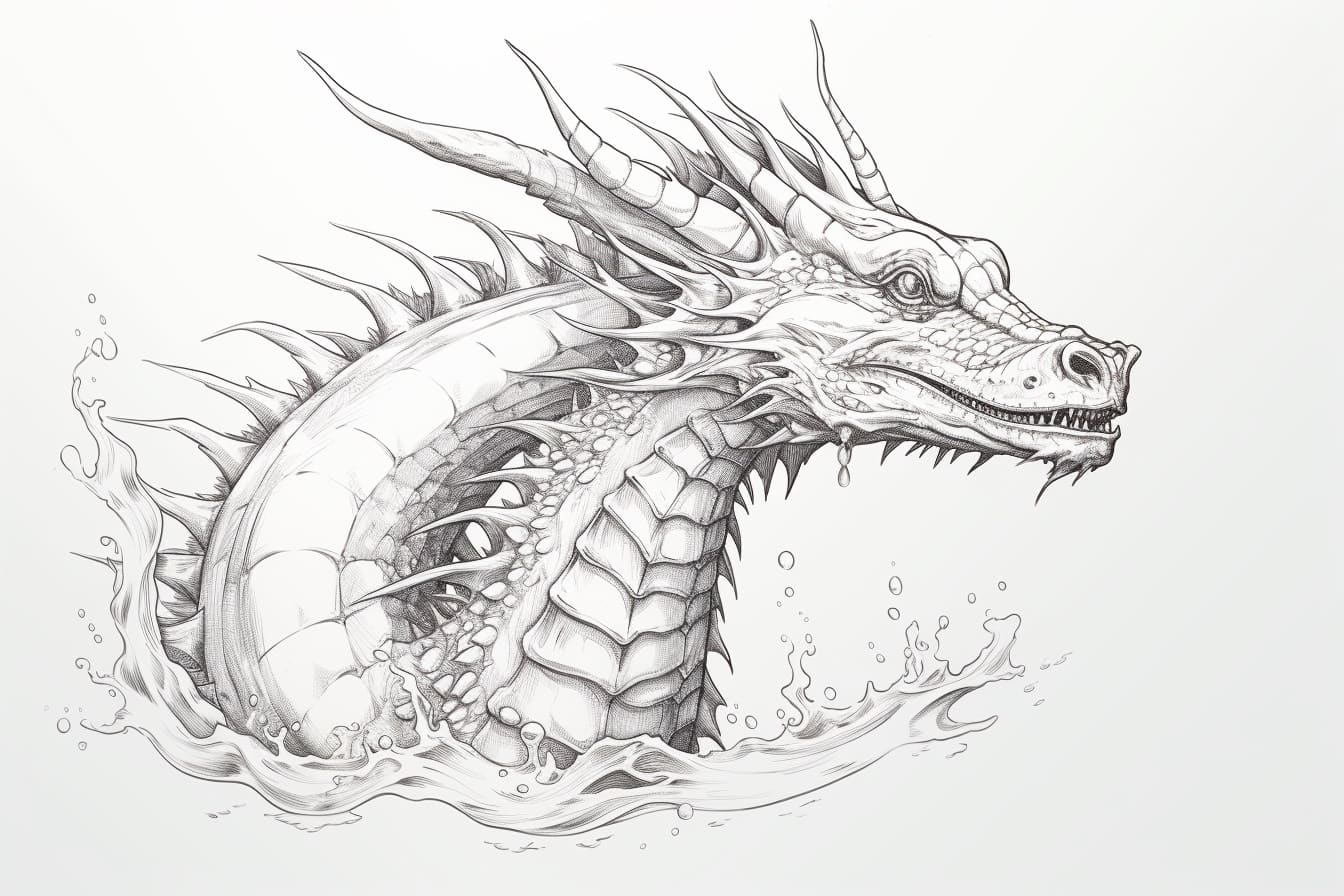
- Reference image of a sea dragon (for inspiration)
Now that you have all the necessary materials let’s dive into the step-by-step process of drawing a sea dragon.
Step 1: Basic Shapes
Start by lightly sketching the basic shapes that make up the sea dragon’s body. Begin with a large oval for the body, followed by a smaller oval for the head. Add a slightly curved line to connect the two ovals, forming the neck of the sea dragon. Remember to keep your pencil strokes light, as these initial shapes will serve as a framework for the rest of the drawing.
Step 2: Add Details to the Head
Next, focus on adding details to the sea dragon’s head. Draw two almond-shaped eyes on either side of the head, leaving enough space in between for the snout. Beneath the eyes, sketch a small curved line for the mouth. To give the sea dragon a more menacing look, add a few sharp teeth to the mouth.
Step 3: Define the Body
Now it’s time to define the shape and texture of the sea dragon’s body. Start by adding curved lines along the length of the body, mimicking the look of scales. For a more realistic effect, vary the size and shape of the scales as you go along. Remember to erase any overlapping lines from the basic shapes drawn in the first step.
Step 4: Detail the Tail and Fins
Focus on the tail and fins of the sea dragon. Sketch a long, curved line extending from the body to form the tail. Add detail to the tail by drawing smaller, triangular shapes along its length. For the fins, draw a series of curved lines that radiate from the sea dragon’s body. These fins can be as large or as small as you like, depending on the overall design of your sea dragon.
Step 5: Refine the Features
Now that the main structure of the sea dragon is complete, go back and refine the features. Pay attention to the eyes, mouth, and scales, adding any necessary details to make them more defined and realistic. Use your eraser to clean up any stray lines or smudges, ensuring a clean and polished look to your drawing.
Step 6: Add Color (Optional)
If you want to add a pop of color to your sea dragon drawing, now is the time to do so. Select your preferred colored pencils or markers and carefully fill in the drawing. Consider the color palette you want to use and think about the different tones and shades that can bring your sea dragon to life. Feel free to get creative and experiment with various color combinations.
Conclusion
Congratulations! You have successfully learned how to draw a sea dragon using simple step-by-step instructions. Drawing a sea dragon can be a fun and rewarding experience, allowing you to explore your creativity while honing your drawing skills. Remember to take your time, practice regularly, and most importantly, enjoy the artistic process.
We hope you found this tutorial helpful and inspiring. Now it’s your turn to pick up your pencil and create your very own masterpiece! Happy drawing!