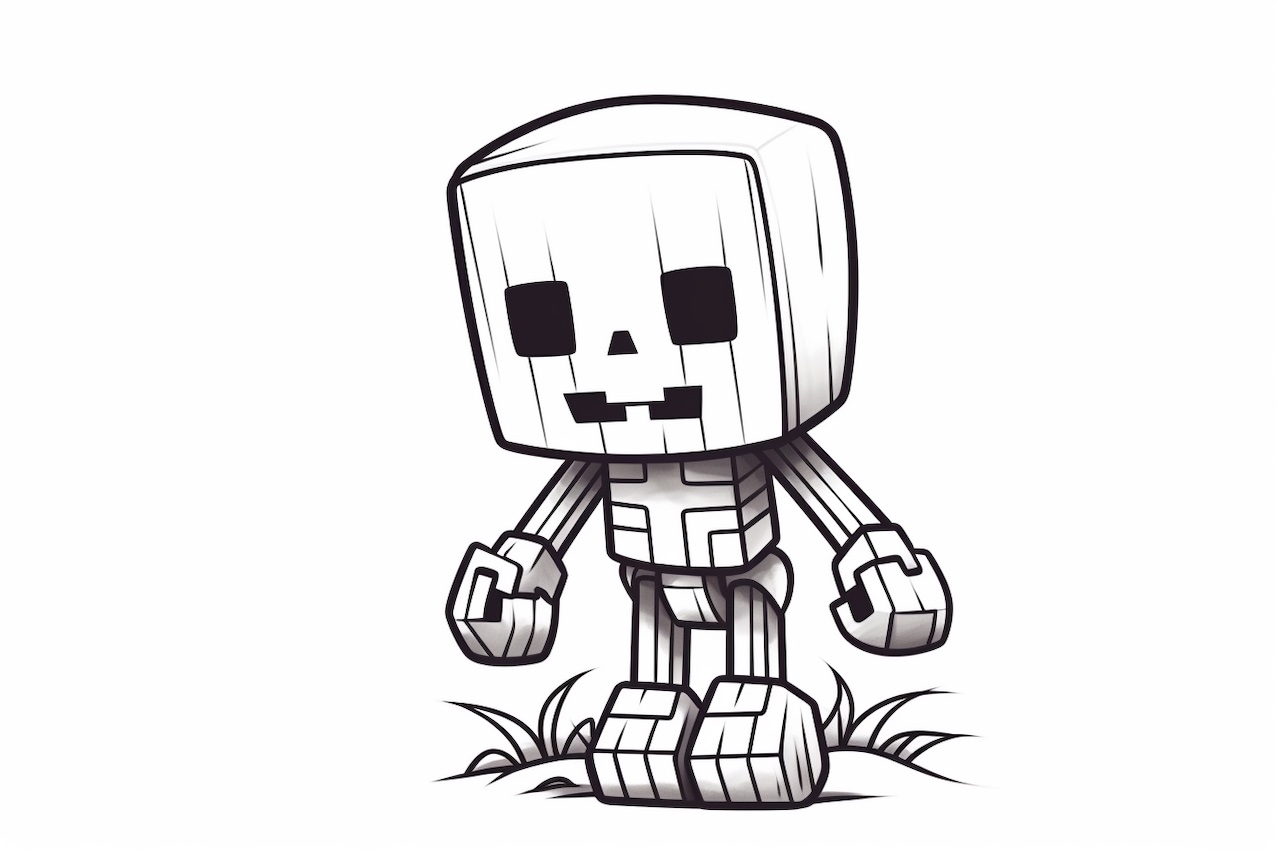
Welcome to this step-by-step guide on how to draw a Minecraft skeleton. In this tutorial, I will walk you through the process of creating your very own Minecraft skeleton drawing. Whether you are a beginner or an experienced artist, this guide is designed to help you create an accurate and detailed representation of this iconic Minecraft character.
Minecraft is a popular sandbox game that allows players to build and explore virtual worlds. Drawing Minecraft characters can be a fun and creative way to express your love for the game. So let’s get started!
Materials Required:
Before we begin, let’s gather the materials you will need for this drawing:
- Drawing paper or sketchbook
- Pencil
- Eraser
- Fine tip black marker
- Colored pencils or markers (optional)
Now that we have everything we need, let’s move on to the step-by-step instructions.
Step 1: Basic Shapes
Start by drawing a large rectangular shape for the skeleton’s body. This shape will serve as the framework for the rest of the drawing. Next, draw a smaller rectangle on top of the body shape for the head. Add two small circles for the eyes and a vertical line in the middle of the head for the mouth. Finally, sketch two small circles on each side of the body for the shoulders.
Step 2: Skeleton Structure
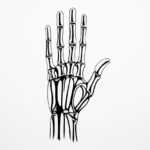
Using the basic shapes as a guide, start adding details to the skeleton’s structure. Draw thin, curved lines to connect the head and body, creating the neck. Add two long, thin lines from the shoulders to create the arms. At the end of each arm, sketch circles for the hands. Continue by drawing two long, thin lines from the bottom of the body for the legs, and add circles for the feet at the end of each leg.
Step 3: Facial Features
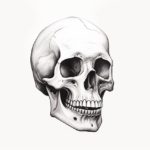
Focus on the skeleton’s face. Refine the shape of the eyes, making them slightly larger and more rounded. Add small circles within the eye sockets to represent pupils. Darken the space between the eye sockets to create a hollow effect. Next, draw a curved line for the nose and a straight line for the mouth. Add a few small lines within the mouth to indicate teeth.
Step 4: Bone Structure
Now it’s time to add the skeleton’s bone structure. Start by drawing long, thin lines along the arms and legs to represent the bones. Add smaller curved lines within these shapes to indicate joints. Detail the hands and feet by drawing individual finger and toe bones. Use the reference image or your own imagination to determine the number and position of these bones.
Step 5: Clothing and Accessories
To give the skeleton a more distinct character, you can add some clothing and accessories. Start by drawing a tattered cape or cloak hanging from the shoulders. Add some torn edges and folds to make it look more realistic. Next, draw a bow and quiver on the back of the skeleton. You can also add a few arrows sticking out of the quiver for an extra touch.
Step 6: Final Details
In this step, we will add some final details to complete the drawing. Go over the sketch with a fine tip black marker to outline the skeleton’s features and make them stand out. Erase any unnecessary pencil lines. If you prefer a more colorful drawing, you can use colored pencils or markers to add shading and highlights. Experiment with different colors to bring your drawing to life.
Conclusion
Congratulations! You have successfully learned how to draw a Minecraft skeleton. By following these step-by-step instructions, you were able to create a detailed and accurate representation of this iconic character. Remember to practice and have fun with your drawing. You can also apply these techniques to draw other Minecraft characters and expand your artistic skills. Enjoy your artistic journey in the world of Minecraft!