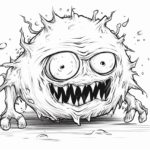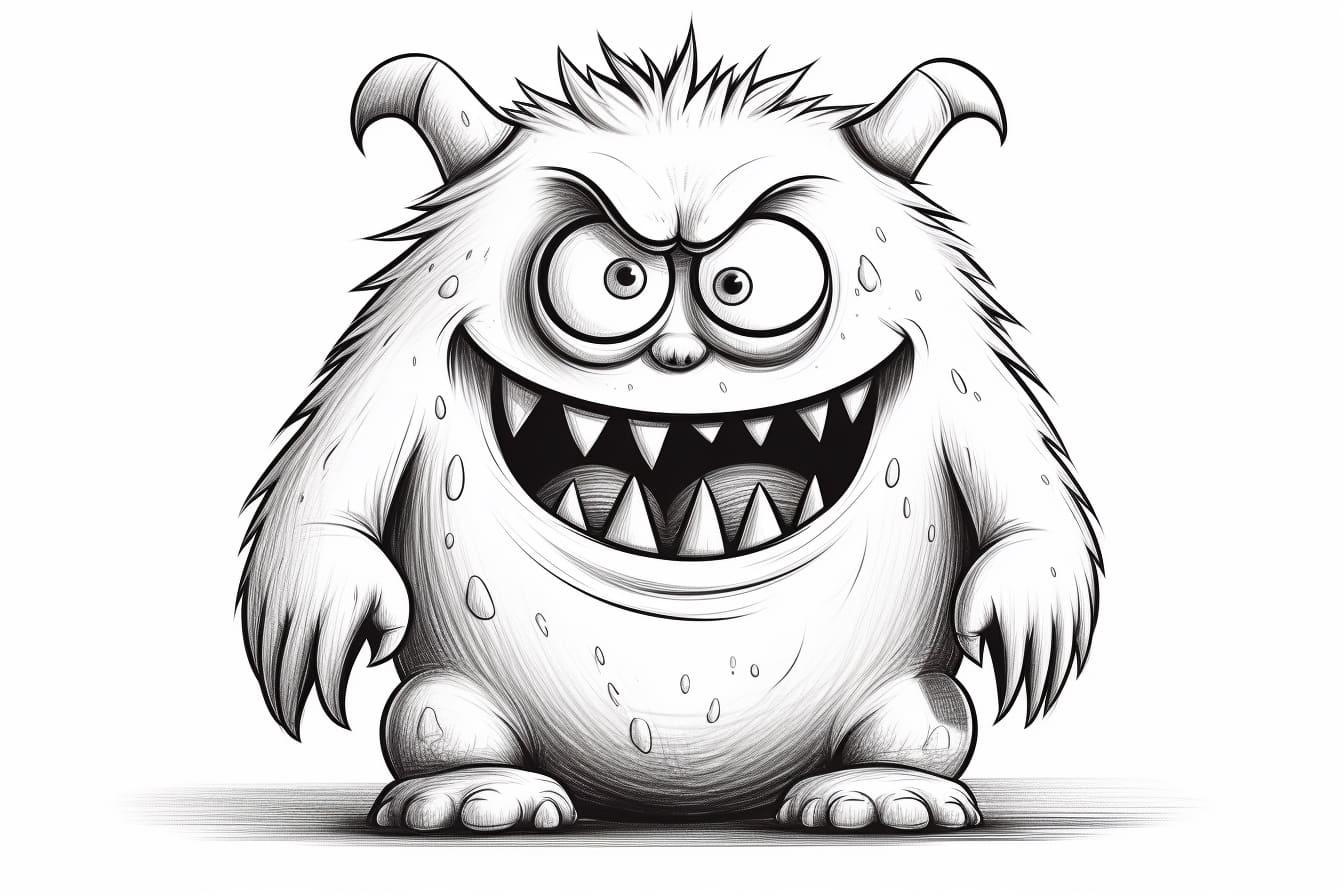
Are you ready to unleash your creativity and draw a monster cartoon? Whether you’re an aspiring artist or just looking for a fun activity, this step-by-step guide will help you bring your monster to life on paper. With a little imagination and a few drawing tools, you’ll be creating your very own monster cartoon in no time!
Materials Required
Before we dive into the step-by-step instructions, let’s gather all the materials you’ll need for this drawing activity. Here’s a list of items you should have on hand:
- Paper: Start with a clean sheet of paper. You can use a regular sketchpad or any type of paper that you prefer.
- Pencils: Grab a few pencils in different hardness grades, such as HB, 2B, and 4B. These will help you achieve varying shades and textures in your drawing.
- Eraser: Get a good quality eraser to fix any mistakes or lighten areas of your drawing as needed.
- Fine-tipped Pens: Optional but recommended for outlining and adding details to your monster cartoon.
- Colored Pencils or Markers: If you want to add color to your monster, have some colored pencils or markers ready.
Now that you have all your materials, let’s dive into the step-by-step process of drawing a monster cartoon.
Step 1: Sketching the Basic Shape
Start by sketching a simple and rough outline of the monster’s body using a light pencil. Think about the shape you want your monster to be – round, square, or any other unique shape you can imagine. This will be the foundation for the rest of your drawing.
Step 2: Adding Facial Features
Now, let’s bring your monster to life by adding facial features. Sketch the eyes, nose, and mouth, considering the expressions you want your monster to convey. Think about the size and shape of the eyes – big, small, or asymmetrical for an extra touch of quirkiness.
Step 3: Creating the Body
Next, add details to the body of your monster cartoon. Are there any horns, spikes, or scales? Let your imagination run wild as you add unique features to make your monster truly one-of-a-kind. Don’t forget to consider the monster’s arms, legs, and any other appendages you want to include.
Step 4: Adding Textures and Details
Now it’s time to add textures and details to your monster to make it visually interesting. Think about the type of skin your monster has – is it smooth, bumpy, or scaly? Use different pencil grades and shading techniques to create these effects. You can also add extra details like fur, spots, or patterns to make your monster truly unique.
Step 5: Outlining and Inking
Once you’re satisfied with the overall appearance of your monster, it’s time to outline and ink your drawing. Use a fine-tipped pen to go over the final lines and details, adding definition and clarity to your artwork. Take your time and be careful not to smudge any pencil lines.
Step 6: Coloring (Optional)
If you want to add color to your monster cartoon, grab your colored pencils or markers and start filling in the different areas. Consider using bold and contrasting colors to make your monster pop. You can also experiment with shading and blending techniques to give your monster even more depth.
Step 7: Final Touches
Lastly, step back and take a look at your completed monster cartoon. Are there any areas that need touch-ups or adjustments? Use your eraser to make any necessary corrections. Once you’re satisfied with your drawing, sign your name in the corner to make it truly yours.
Conclusion
Congratulations on completing your monster cartoon! Drawing is a wonderful way to exercise your creativity and bring imaginative characters to life. By following the step-by-step instructions in this guide and letting your creativity run wild, you’ve learned how to draw a monster cartoon from scratch. So grab your pencils and paper, and let your artistic skills shine!