Welcome to this step-by-step guide on how to draw the Cookie Monster! Known for his insatiable love for cookies, the Cookie Monster has captured the hearts of millions across the globe. In this article, I will guide you through the process of drawing this iconic character, providing clear and concise instructions. So let’s grab our pencils and get started!
Materials Required:
Before we begin, make sure you have the following materials on hand:
- Pencil
- Paper
- Eraser
- Colored pencils or markers (optional)
Let’s dive into the steps to draw the Cookie Monster!
Step 1: Head Shape
Start by drawing a large oval shape towards the top of your paper. This will be the Cookie Monster’s head.
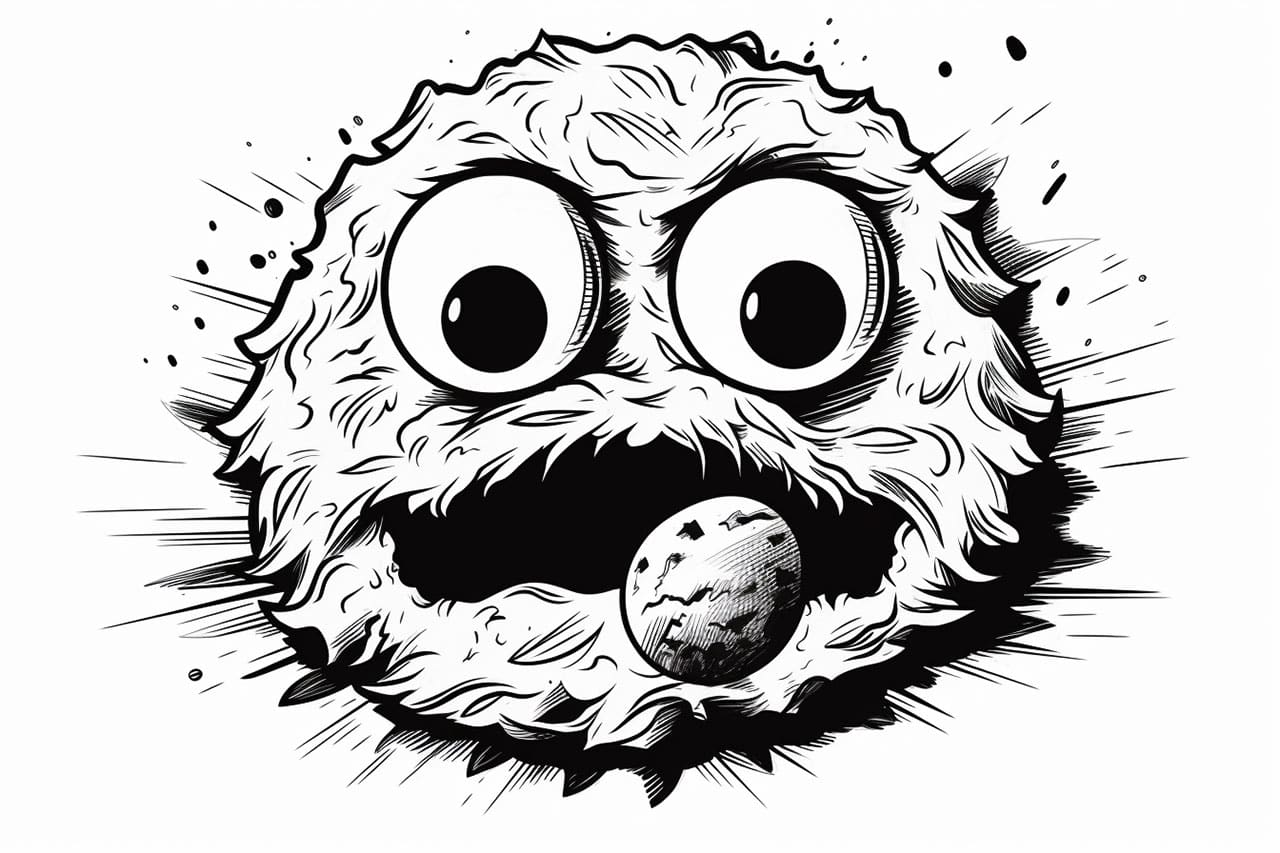
Step 2: Facial Features
Next, draw two large circular eyes within the head shape. Leave some space between the eyes. Inside each eye, draw a smaller circle, leaving a small white highlight to add depth. The Cookie Monster’s eyes are his most prominent feature, so take your time to get them just right.
Step 3: Eyebrows and Mouth
Above each eye, draw a curved line to create the Cookie Monster’s expressive eyebrows. Make sure the inner ends of the eyebrows are thicker than the outer ends. Then, draw a slightly curved line below the eyes to form his mouth. Add a small, curved line at each end of the mouth to indicate the Cookie Monster’s open smile. Don’t forget to leave some space between the mouth and the bottom of the head shape.
Step 4: Nose and Tongue
Now, draw a small oval shape below the center of the eyes to form the Cookie Monster’s round nose. Just below the mouth, draw a wavy line to create his tongue. The tongue should be slightly curved and extend to the sides of the mouth.
Step 5: Teeth
Within the Cookie Monster’s open mouth, draw several small, pointed teeth. These teeth should be irregular in size and shape, reflecting the character’s playful and goofy nature. Feel free to add as many teeth as you like!
Step 6: Facial Fur
Around the Cookie Monster’s face, draw short, curved lines to represent his furry texture. These lines should radiate outward from his face, giving him a fluffy appearance. Make sure the lines are not too uniform, as this will add to the natural look of his fur.
Step 7: Body
To create the Cookie Monster’s body, draw a large oval shape beneath the head. This oval should be wider than the head and slightly smaller in size.
Step 8: Arms
Extend two curved lines from each side of the body to create the Cookie Monster’s arms. These lines should bend slightly outward, mimicking a relaxed posture. Add small, curved lines at the end of each arm to form the hands.
Step 9: Legs
In a similar fashion, draw two slightly curved lines extending downward from the bottom of the body. These lines will be the Cookie Monster’s legs. At the end of each leg, draw a curved line to create the feet.
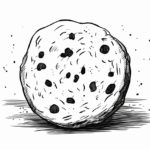
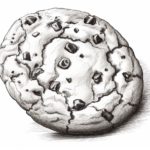
Step 10: Cookie!
Finally, it’s time to draw the Cookie Monster’s favorite treat – a delicious cookie! Draw a circular shape near one of his hands, making it appear as though he is holding it. Add some texture to the cookie using curved lines.
Congratulations, you’ve successfully drawn the Cookie Monster! You can now choose to color your drawing using colored pencils or markers to bring the character to life.
Conclusion
Drawing the Cookie Monster can be a fun and rewarding experience. By following the step-by-step instructions in this article, you have learned how to capture the essence of this beloved character. Whether you’re a beginner or an experienced artist, practice and patience are key to refining your skills. So keep exploring your artistic side and enjoy the process of creating your favorite characters. Happy drawing!