Welcome to this step-by-step guide on how to draw a sea serpent! In this tutorial, we will explore the process of creating a captivating and majestic creature that is often featured in myths and legends. Whether you are a beginner or an experienced artist, this tutorial will provide you with the necessary guidance to bring your sea serpent to life on paper.
Before we dive into the steps, let’s gather the materials you will need:
Materials:
- Drawing paper or sketchbook
- Pencils (HB, 2B, and 4B)
- Eraser (preferably kneaded or vinyl eraser)
- Fine tip black pen or marker
- Colored pencils or markers (optional)
Now that we have our materials ready, let’s begin the artistic journey of drawing a sea serpent.
Step 1: Research and Inspiration
Before starting any drawing, it’s essential to gather inspiration and reference material. Research sea serpents in various art forms, such as paintings, sculptures, and illustrations. Observe their shapes, sizes, and the unique characteristics that set them apart. This research will ensure that you have a clear idea of the sea serpent you want to create.
Step 2: Basic Sketch
Start by lightly sketching the basic structure of your sea serpent. Begin with a simple line of action, which will define the creature’s motion and pose. Add circles for the head and body, connecting them with long and curvy lines. Remember to keep your lines loose and fluid during this stage.
Step 3: Head and Facial Features
Refine the shape of the head by adding more details. Sea serpents often have elongated heads with distinct features like sharp teeth, horns, or frills. Sketch the eyes, nostrils, and any other notable characteristics that you want your sea serpent to possess. Take your time to get the proportions and details right.
Step 4: Body and Scales
Add depth and volume to the body of your sea serpent. Start by defining the thickness of the neck and body, gradually adding scales along the way. Experiment with different sizes and shapes of scales to give your sea serpent a unique texture. Remember to follow the curvature of the body while drawing the scales.
Step 5: Fins and Limbs
Sea serpents often have fins and limbs that contribute to their graceful appearance. Sketch the fins along the back, tail, and any additional fins you envision. Add limbs, such as flippers or legs, depending on the style and design of your sea serpent. Ensure that the proportions and positioning of these features align with the overall composition.
Step 6: Tail and Movement
Focus on the serpent’s tail, as it plays a crucial role in its movement through the water. Experiment with different shapes and patterns for the tail, making it appear dynamic and fluid. Incorporate curves and waves to emphasize the serpentine nature of your creature. Pay attention to the balance and flow of the overall composition.
Step 7: Refine Your Sketch
Take a step back and evaluate your drawing so far. Make any necessary adjustments to the proportions, details, or overall composition. This is also the stage where you can erase any unnecessary guidelines and construction lines. Refining your sketch will provide a solid foundation for the final rendering of your sea serpent.
Step 8: Finalize with Ink
Now that your sketch is complete, it’s time to go over your lines with ink. Use a fine tip pen or marker to outline the main features of your sea serpent. Apply varying line weights to add depth and dimension. Be patient and steady as you trace your earlier pencil lines, and don’t be afraid to add extra details during this stage.
Step 9: Add Color (Optional)
If you want to add color to your sea serpent, now is the time to do so. Use colored pencils, markers, or any other preferred coloring medium to bring your creature to life. Experiment with different hues, shading techniques, and textures to create a visually captivating sea serpent. Remember to stay within the lines and blend colors smoothly.
Conclusion
Congratulations on completing your sea serpent drawing! By following these steps and letting your creativity soar, you have brought a mythical creature to life on paper. Remember to practice regularly and explore different artistic styles to continue improving your drawing skills.
Now that you know how to draw a sea serpent, you can create your own fantastical creatures or delve into other challenging drawing projects. Enjoy the process, embrace your unique artistic voice, and have fun bringing your imagination to the forefront.
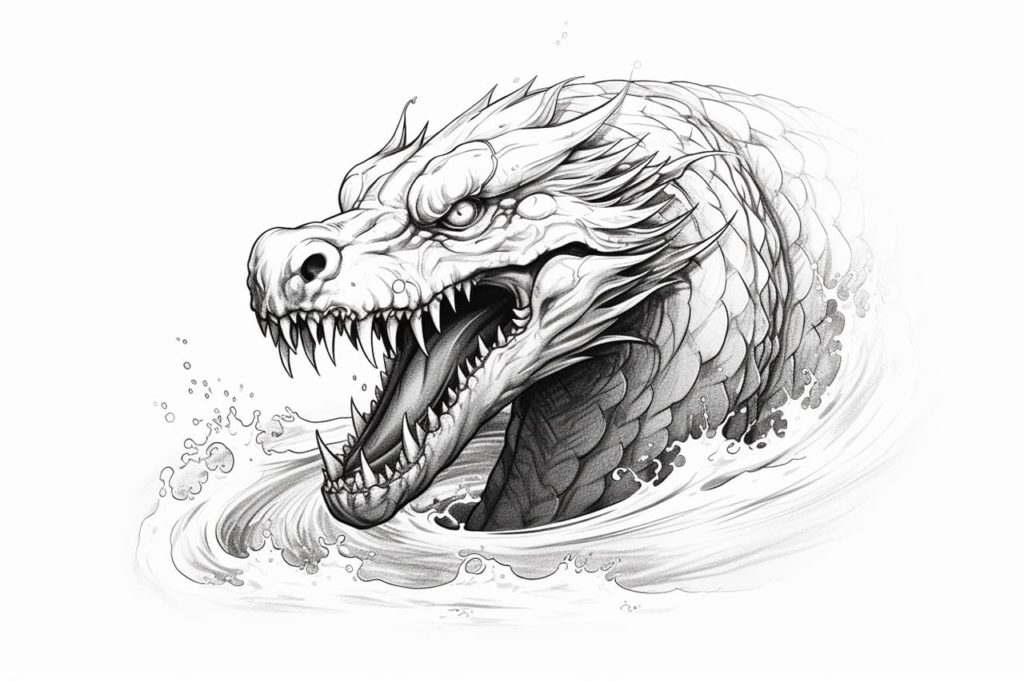
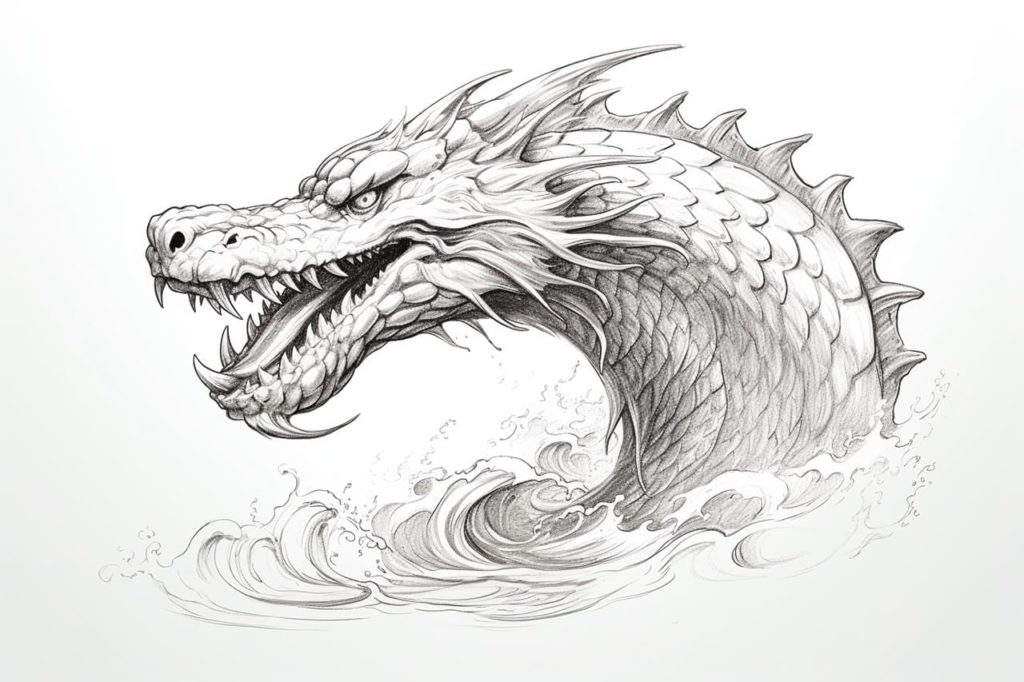
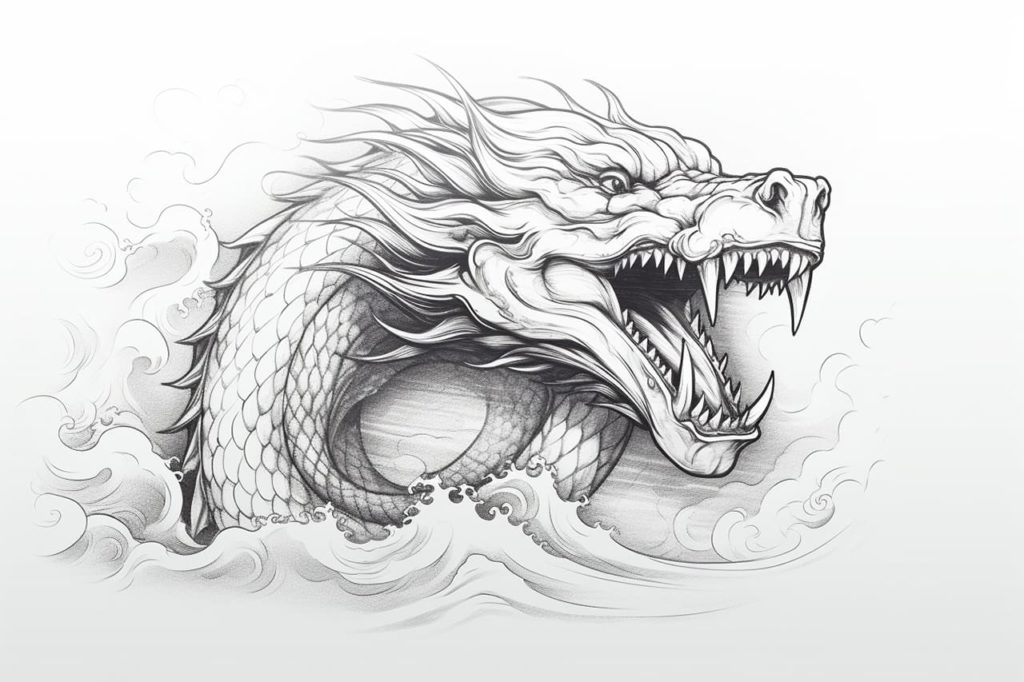
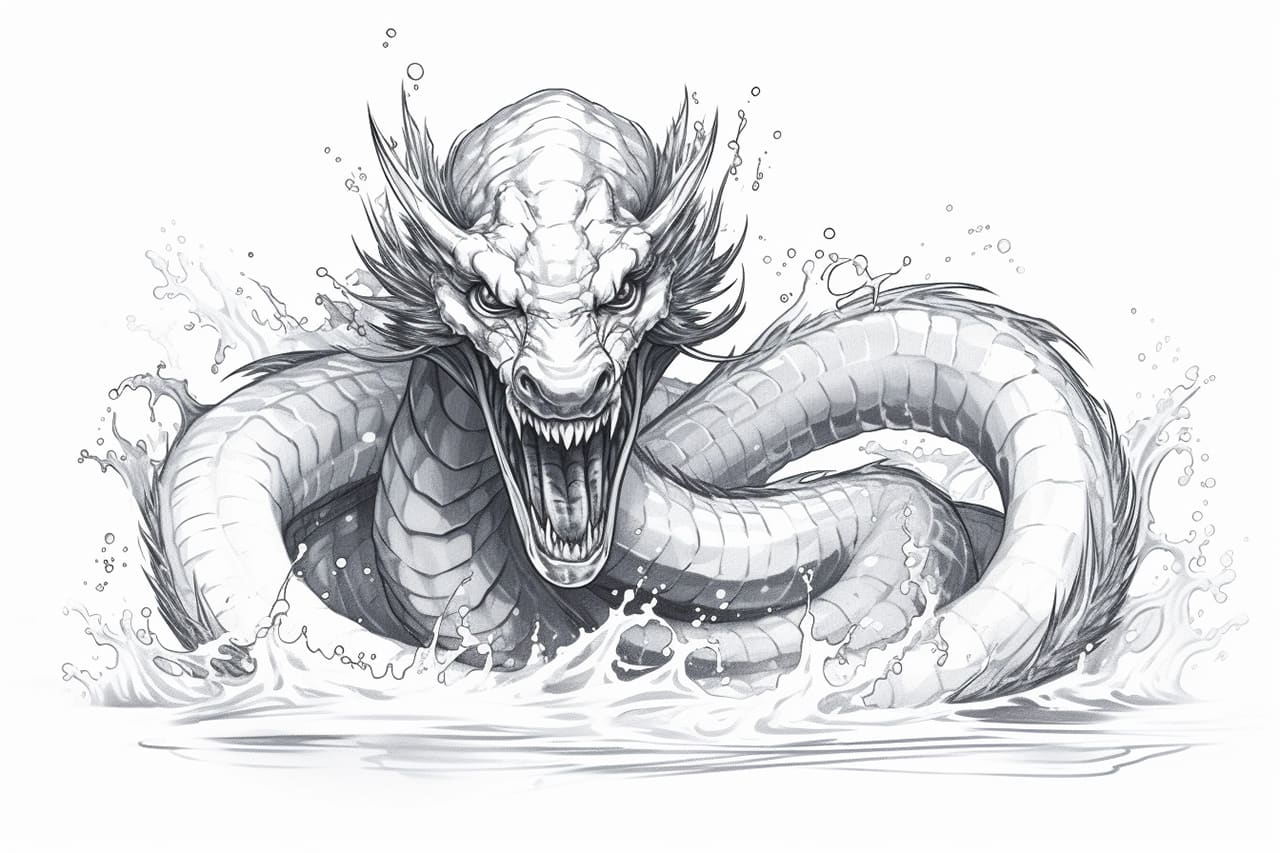
Gallery of Sea Serpent Drawings