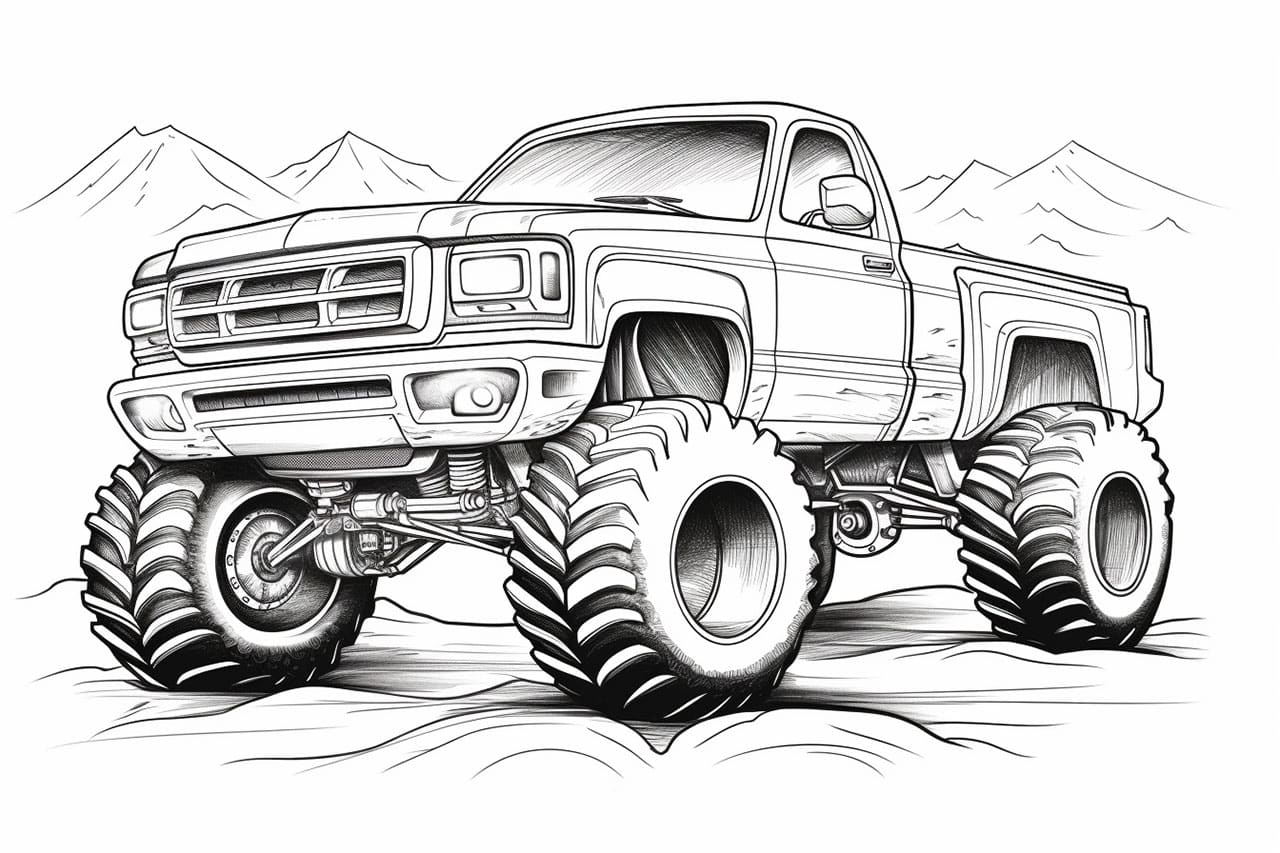
Welcome to this step-by-step guide on how to draw a monster truck! Whether you’re an aspiring artist or just want to have some fun with drawing, creating your own monster truck can be an exciting and rewarding experience. In this tutorial, I will walk you through the process of drawing a monster truck from start to finish, highlighting each step along the way. So, grab your pencil and paper, and let’s get started!
Materials Required
Before we dive into the drawing process, let’s gather the materials you’ll need to complete your monster truck masterpiece. Here’s what you’ll need:
- Drawing paper
- Pencil (preferably an HB or 2B)
- Eraser
- Ruler (optional)
- Markers or colored pencils (optional, for coloring your drawing)
Now that you have your materials ready, let’s begin drawing our monster truck!
Step 1: Start with the Basic Shape
To start, let’s draw the basic shape of the monster truck. Begin by drawing a large rectangle in the center of your paper. This will serve as the body of the truck. Don’t worry about making it perfect at this stage, as we will be refining the shape later on.
Step 2: Add Wheels and Axles
Next, let’s add the wheels and axles to our monster truck. Draw four circles evenly spaced along the bottom of the rectangle to represent the wheels. Then, connect each wheel to the body of the truck with straight lines to create the axles.
Step 3: Define the Body
Now it’s time to define the body of our monster truck. Add details such as windows, doors, and any other features you’d like to include. You can get creative here and personalize your monster truck by adding unique elements like flames or spikes.
Step 4: Add Tires and Details
In this step, we will add more details to our monster truck. Start by drawing the treads on the tires, adding patterns or textures to make them look more realistic. Then, add additional features like headlights, a grill, and exhaust pipes. These details will enhance the overall look of your monster truck.
Step 5: Refine the Shape
Now that we have the basic outline and details in place, it’s time to refine the shape of our monster truck. Use your eraser to remove any unnecessary lines and clean up the drawing. Take your time with this step, as it will make a big difference in the final result.
Step 6: Color Your Drawing (Optional)
If you’d like to add some color to your monster truck, now’s the time to do it! Grab your markers or colored pencils and bring your drawing to life. You can choose classic monster truck colors like vibrant red or bold blue, or get creative and use your favorite colors to make your monster truck uniquely yours.
Conclusion
Congratulations on completing your monster truck drawing! I hope this step-by-step guide has been helpful in guiding you through the drawing process. Remember, practice makes perfect, so don’t be discouraged if your first attempt doesn’t turn out exactly as you envisioned. Keep refining your skills and trying new techniques, and you’ll soon be creating amazing monster truck drawings.
Now that you know the basics of drawing a monster truck, you can continue to refine your skills and explore different styles and designs. You can even try your hand at different types of trucks. So, grab your pencil and paper, and let your imagination run wild as you create your very own monster truck artworks.