Do you have a passion for art and want to learn how to draw a pepper? Look no further! In this step-by-step guide, you will learn how to create a realistic pepper drawing. Whether you are a beginner or have some experience, these instructions will help you master the art of drawing a pepper.
Materials Required:
To get started on your pepper drawing, you will need the following materials:
- Drawing paper or sketchbook
- Pencils (HB, 2B, and 4B)
- Eraser
- Blending stump or tortillon (optional)
- Reference photo of a pepper
Make sure you have all the materials ready before we dive into the step-by-step process.
Step 1: Observe and Study the Pepper
Before you start drawing, take a moment to observe the pepper closely. Pay attention to its shape, size, texture, and any unique characteristics. This observation will help you understand the subject better and create a more accurate drawing.
Step 2: Outline the Basic Shape
Start by lightly sketching an oval shape to represent the overall shape of the pepper. Keep the lines loose and faint as these will be erased later.
Step 3: Add Details
Now, take a closer look at the reference photo and identify any distinguishable features such as the stem, folds, and contours. Carefully add these details to your outline using light, gentle strokes.
Step 4: Refine the Shape
Using your reference photo as a guide, refine the shape of the pepper. Pay close attention to the curves and angles. Ensure that the general outline of your pepper drawing matches the original pepper.
Step 5: Shading
To add depth and dimension to your drawing, it’s essential to incorporate shading. Observe the areas where light falls on the pepper and where shadows are cast. Begin by shading the areas that are darkest.
Step 6: Blending
After shading, use a blending stump or tortillon to blend the tones together. This technique helps create smooth transitions between the different values, giving your pepper a realistic appearance.
Step 7: Texture
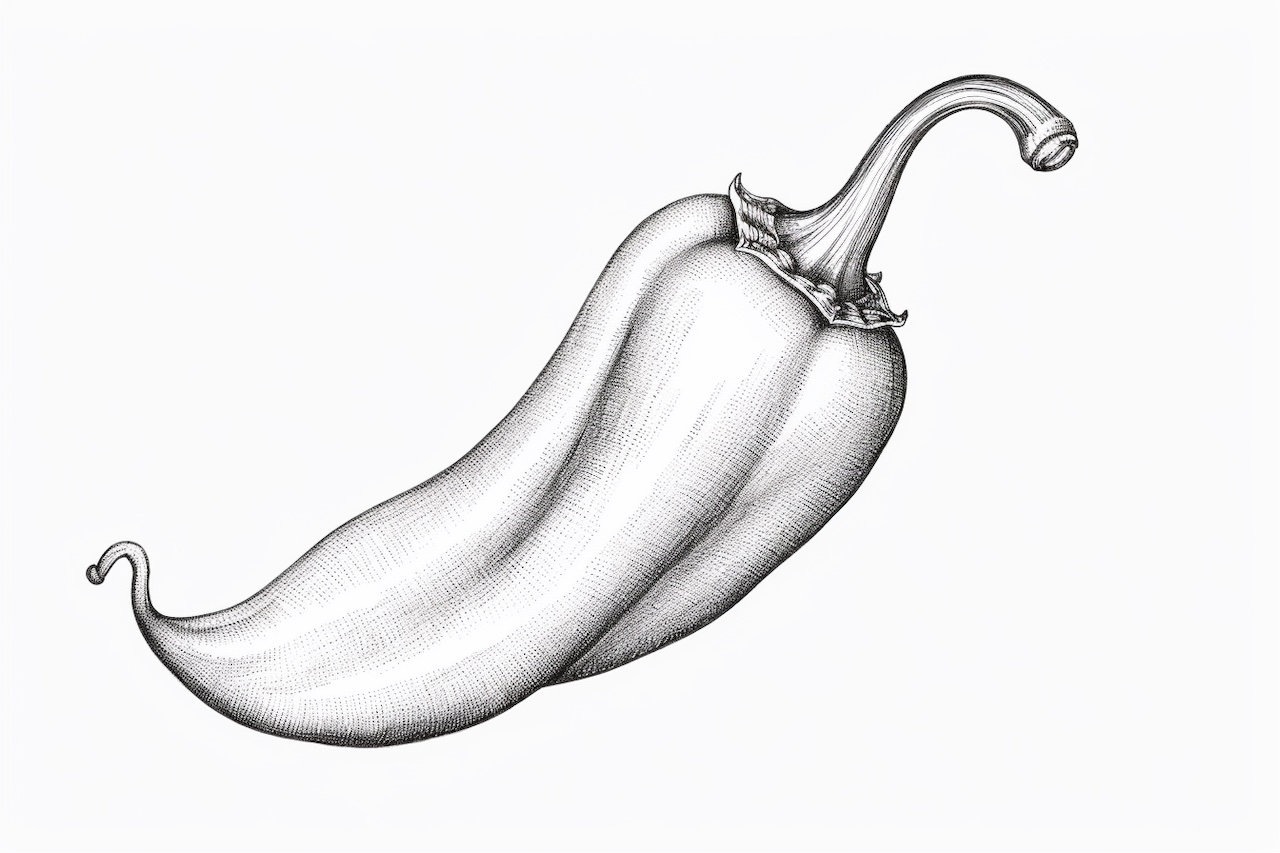
Peppers have a unique texture with bumps and ridges. To convey this texture, lightly shade the areas with small strokes or dots. Study your reference photo to accurately replicate the texture on your drawing.
Step 8: Highlights
Adding highlights will make your pepper drawing more vibrant and realistic. Identify areas where the light hits the pepper the strongest and carefully erase those portions to create highlights.
Step 9: Refine and Adjust
Take a step back and assess your pepper drawing. Make any necessary adjustments by adding or erasing details. Fine-tune the shading and texture to achieve the desired result.
Step 10: Finalize
Once you are satisfied with your drawing, go over the lines and details with a clean pencil to make them more defined. Erase any remaining unwanted lines and smudges.
Congratulations! You have successfully drawn a pepper, showcasing your artistic skills. With practice, you will improve and master the art of drawing fruits and vegetables.
Conclusion
Drawing a pepper may seem challenging at first, but with the right techniques and practice, you can create a realistic and impressive artwork. Remember to observe and study your subject, pay attention to shading and texture, and make gradual adjustments as you progress. By following the step-by-step instructions provided in this guide, you will be able to draw a pepper with confidence.
So, grab your pencils, paper, and reference photo, and embark on your artistic journey. Happy drawing!