Do you enjoy watching horror movies or reading spooky stories that give you nightmares? Why not unleash your creativity and draw your very own scary monster? Creating a terrifying creature on paper can be an exciting and rewarding experience. In this step-by-step guide, I will walk you through the process of how to draw a scary monster that will send shivers down your spine. So grab your pencil, eraser, and paper, and let’s get started!
Materials Required
Before we begin, make sure you have the following materials at hand:
- Drawing paper or sketchbook
- Pencils of various hardness (HB, 2B, 4B)
- Eraser
- Sharpener
- Fineliner or ink pen (optional)
- Colored pencils or markers (optional)
Now that we have our materials ready, let’s dive into the world of terrifying creatures!
Step 1: Sketch the Basic Shape
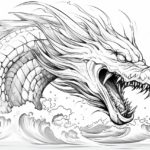
Start by sketching a basic outline of your monster. Consider the overall shape and posture you want your creation to have. Do you envision a hulking beast or a slender, eerie figure? Draw light, loose strokes so that you can easily make adjustments later. Don’t worry about adding details at this stage; focus on capturing the essence of your monster.
Step 2: Define the Features
Now it’s time to add some details to your monster. Think about what makes it scary. Does it have sharp fangs, glowing eyes, or long, bony fingers? Use your imagination and sketch in these defining features. Remember to keep your lines light so that you can make changes as you go along.
Step 3: Add Texture and Shadows
To make your monster truly come to life, add texture and shadows. Think about the type of skin or scales your creature has. Are they rough and scaly, slimy and smooth, or something else entirely? Use cross-hatching or shading techniques to add depth and dimension to your drawing. Pay close attention to the areas where light and shadow meet to create a more realistic and frightening effect.
Step 4: Refine the Details
Now that you have the basic structure and texture in place, it’s time to refine the details. Add more intricate features such as wrinkles, veins, or scars to give your monster a unique personality. Take your time with this step, as it can greatly enhance the overall appearance and realism of your creation.
Step 5: Choose Your Medium (Optional)
At this point, you can decide if you want to add color to your drawing. You can use colored pencils, markers, or even digital tools if you prefer. Select shades that complement the mood you want to convey. Dark, cool colors like deep blues and purples tend to create a more ominous atmosphere, while vibrant or contrasting colors can make your monster stand out even more.
Step 6: Finalize Your Scary Monster
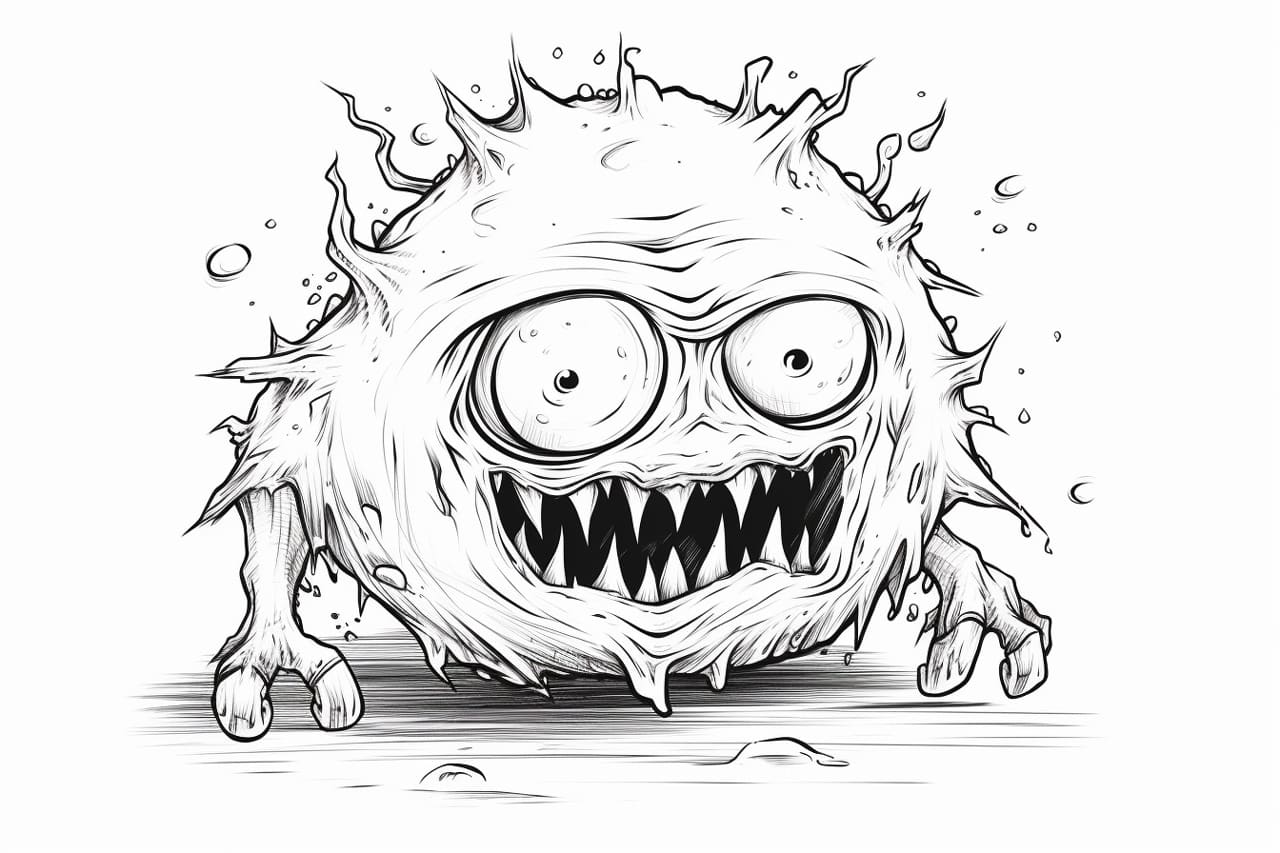
Now that you have completed the main drawing, take a step back and assess your creation. Are there any final touches or adjustments you would like to make? Use your eraser to clean up any stray marks or smudges, and fill in any remaining details or highlights. Once you are satisfied with your drawing, you can choose to outline it with a fineliner or ink pen for added definition, or leave it as is. Your scary monster is now ready to haunt the imaginations of others!
Conclusion
Congratulations on successfully creating your very own scary monster! By following these step-by-step instructions, you have learned how to bring your imagination to life on paper. Remember, art is a personal expression, so feel free to experiment, add your own unique twist, and explore different techniques. Whether you use your newfound skill to create artwork or simply enjoy the process of drawing, I hope this guide has inspired you to unleash your creativity and dive into the fascinating world of scary monsters.