Welcome to this step-by-step guide on how to draw a salamander. Salamanders are fascinating creatures known for their unique body structures and vibrant colors. In this tutorial, we will explore the process of drawing a salamander from start to finish. Whether you are a beginner or an experienced artist, this guide will help you create a beautiful salamander drawing. So, let’s dive in and get started!
Materials Required
Before we begin, gather the following materials:
- Drawing paper
- Pencil (preferably a set of different hardness)
- Eraser
- Fine-tipped black pen or marker
- Colored pencils or markers (optional)
Now that we have everything we need, let’s begin the drawing process!
Step 1: Basic Shape Sketch
Start by lightly sketching the basic shape of the salamander’s body using your pencil. Begin with a curved line that slightly resembles an elongated letter “S”. This will serve as the framework for the salamander’s body.
Step 2: Head and Tail
Next, draw the head of the salamander by adding a rounded shape at one end of the body. Then, extend a long, slender tail from the opposite end of the body. Make sure to maintain the overall flow and balance of the creature’s form.
Step 3: Legs
Salamanders have four legs, so let’s draw them next. Add short, stubby limbs to the undersides of the body. Each leg should consist of three curved lines that serve as the individual toes. Take your time to ensure the proportions and perspective of the legs are accurate.
Step 4: Eyes and Nostrils
Now, it’s time to add some facial features. Draw two small circles for the salamander’s eyes near the front of its head. Leave some space between the eyes to create a sense of depth. Then, below the eyes, add two small dots for the nostrils.
Step 5: Mouth and Teeth
Draw a curved line that outlines the salamander’s mouth. Salamanders typically have wide mouths, so make sure to capture that characteristic. Then, add a row of small triangles to represent its teeth. You can make the teeth as sharp or as rounded as you like.
Step 6: Back and Belly Patterns
Salamanders often have unique patterns on their backs and bellies. To create these patterns, draw irregular, wavy lines across the body and tail. These lines can vary in thickness and direction, giving your salamander a more realistic appearance.
Step 7: Details and Texture
To add more depth and texture to your drawing, focus on adding details to the different parts of the salamander. Pay attention to the texture of the skin and the placement of scales or spots. Use a combination of curved lines, dots, and crosshatching techniques to achieve the desired effect.
Step 8: Refine and Erase
Take a step back and evaluate your drawing. This is the perfect time to refine any areas that may need adjustments. Use your eraser to gently remove any unnecessary guidelines or mistakes. Make sure to preserve the quality and integrity of your drawing while making these refinements.
Step 9: Ink or Finalize
Once you are satisfied with your sketch, you can choose to finalize it by inking over the pencil lines using a fine-tipped black pen or marker. This will give your drawing a more polished and finished look. Be patient and steady as you trace over the lines to avoid any accidental smudges.
Step 10: Color (Optional)
If you want to add color to your salamander drawing, now is the time to do so. Choose your preferred coloring tools, whether it be colored pencils, markers, or even watercolors. Refer to reference images or your imagination to select the appropriate colors and apply them with care, adding shading and highlights for additional depth.
Conclusion
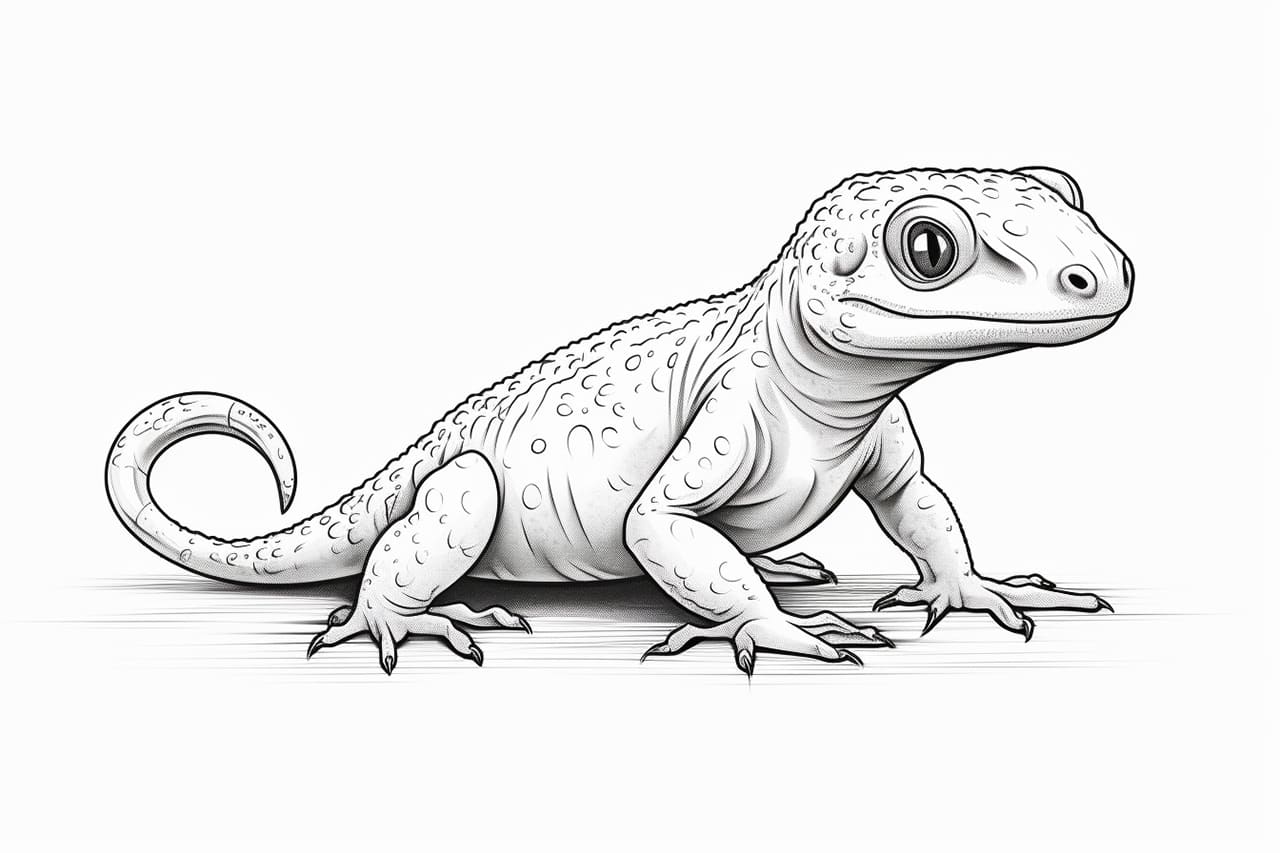
Congratulations! You have successfully completed your salamander drawing. By following these step-by-step instructions, you have created a vibrant and lifelike depiction of this fascinating creature. Remember, practice makes perfect, so keep honing your skills and experimenting with different techniques. We hope you enjoyed this tutorial on how to draw a salamander and that it has inspired your artistic journey.