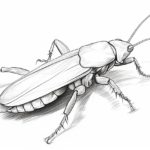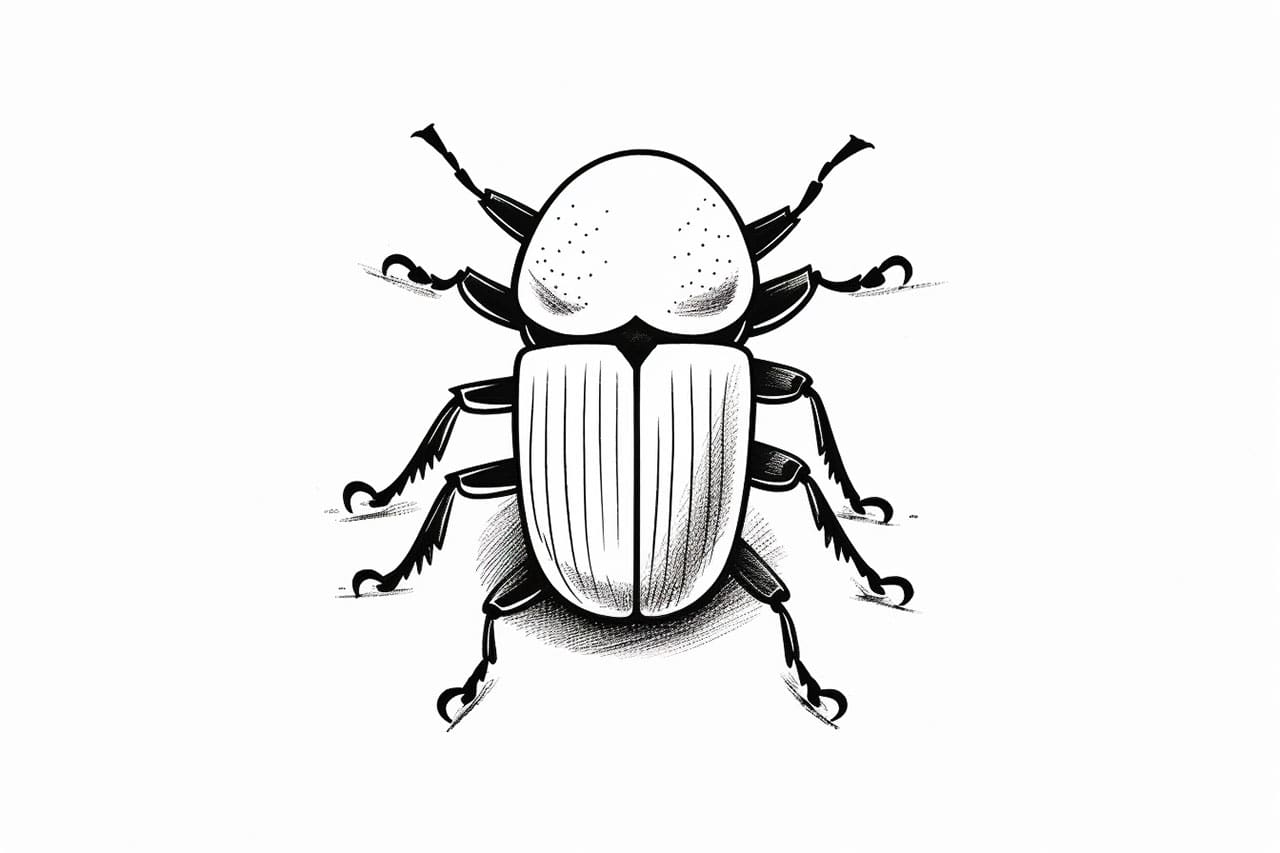
Beetles are fascinating creatures with unique shapes and patterns. If you’ve ever wanted to capture the beauty of a beetle in your artwork, you’ve come to the right place. In this step-by-step guide, I’ll walk you through the process of drawing a beetle, from the basic outline to the intricate details. So grab your drawing tools and let’s get started!
Materials Required
Before we begin, make sure you have the following materials:
- Drawing paper
- Pencil
- Eraser
- Fine-tip markers or pens
- Colored pencils (optional)
- Reference image of a beetle (for inspiration)
Now that you have everything you need, let’s dive into the drawing process!
Step 1: Basic Outline
Start by lightly sketching a basic outline of the beetle’s body using your pencil. Observe the reference image carefully and focus on the overall shape and proportions of the beetle. Draw a small oval or circle for the head, followed by a larger oval for the thorax, and a longer oval for the abdomen. Don’t worry about the details just yet; we’ll add those in later steps.
Step 2: Legs and Antennae
Now it’s time to add the legs and antennae. Beetles have six legs, so draw three pairs of curved lines extending from the thorax. Make them slightly longer than the body. For the antennae, draw two thin and curved lines extending from the head. These lines should be longer than the body and can have small segments.
Step 3: Eyes and Mouthparts
Next, let’s work on the beetle’s facial features. Draw two large, circular eyes on either side of the head. Add some smaller circles inside the eyes to represent the pupils. Below the eyes, draw a small curved line to indicate the beetle’s mouthparts.
Step 4: Body Segments
To create a more realistic look, we need to divide the beetle’s body into segments. Draw several curved lines across the thorax and abdomen, following the natural contours of the body. These lines will represent the exoskeleton segments of the beetle. Make sure the lines are not too dark, as we’ll be refining them later.
Step 5: Shell Patterns
Beetles have striking patterns on their shells, which vary depending on the species. Take a closer look at the reference image and carefully observe the patterns. Using your fine-tip markers or pens, start adding these patterns to the segments you drew earlier. Use short, curved lines, dots, or any other shapes that match the beetle’s pattern. Take your time and be patient with this step, as it requires attention to detail.
Step 6: Refining the Details
Now that the basic structure and patterns are in place, it’s time to refine the details. Use your pencil to darken the outlines of the beetle’s body, legs, and antennae. Add more definition to the segments by making the lines slightly thicker and darker. Pay attention to the curves and contours of the beetle’s body, making sure they flow naturally.
Step 7: Highlights and Shadows
To give your beetle drawing depth and dimension, it’s important to add highlights and shadows. Imagine a light source coming from a specific direction, and use your pencil to shade the areas that would be in shadow. Leave some areas untouched to create highlights. This technique will make your beetle look more three-dimensional.
Step 8: Optional Coloring
If you want to add some color to your beetle drawing, now is the time to do it. Colored pencils work well for this step, as they allow you to layer and blend colors smoothly. Refer back to the reference image to match the colors of your beetle accurately. Start by lightly coloring the body segments, and gradually build up the colors and shading.
Conclusion
Congratulations! You have successfully learned how to draw a beetle from scratch. By following these step-by-step instructions and adding your creative flair, you can create realistic and visually appealing beetle drawings. Remember to practice regularly to improve your skills and experiment with different beetle species to explore their unique characteristics. Happy drawing!