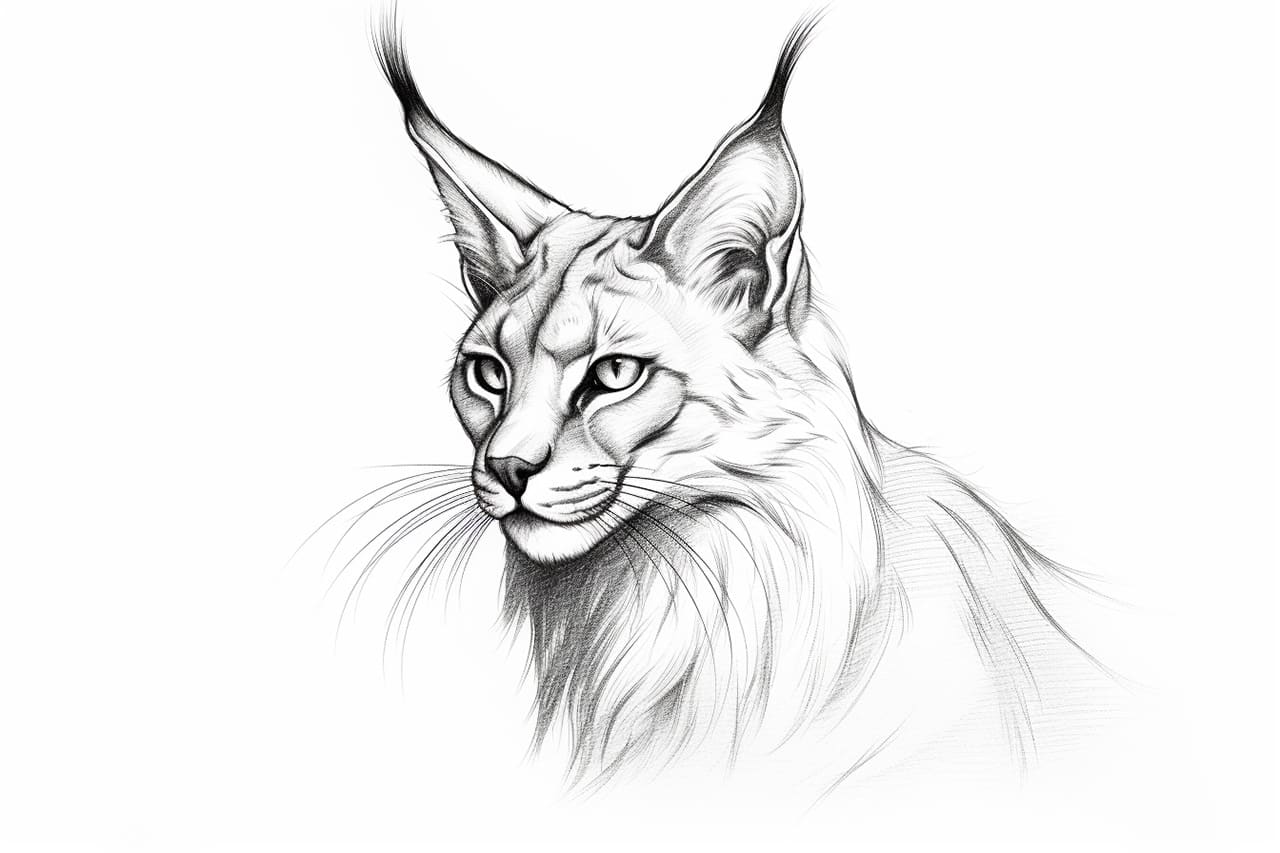
Welcome to this step-by-step guide on how to draw a caracal. The caracal is a beautiful wild cat known for its distinctive tufted ears. In this tutorial, we will break down the process into simple and easy-to-follow steps, even if you’re a beginner. So grab your sketchbook and let’s get started!
Materials Required
Before we begin, make sure you have the following materials ready:
- A drawing pencil (preferably an HB or 2B)
- Eraser
- Drawing paper
- Colored pencils or markers (optional)
Now that we have everything we need, let’s begin drawing our caracal!
Step 1: Basic Shapes
Start by drawing a large oval shape for the caracal’s head. Then, add a smaller oval shape below it for the body. These shapes will serve as the basic structure for our drawing.
Step 2: Facial Features
Inside the larger oval shape, draw two almond-shaped eyes. Add a small triangle-like shape in the middle for the nose. Below the nose, draw a curved line for the mouth. Caracals have distinctive tufted ears, so draw two triangle shapes on top of the head.
Step 3: Body Details
Next, let’s add some details to the body. Draw two lines extending from the head to create the neck. Then, draw two front legs by adding two long, slightly curved lines. Now, draw the two hind legs by adding two more curved lines at the back.
Step 4: Adding Fur
To give our caracal drawing more depth, we need to add some hint of fur. Start by drawing small curved lines on the cheeks, chin, and forehead. Then, add some longer curved lines on the body to represent the fur. Don’t worry about making these lines perfect; the idea is to create texture and give the caracal a more realistic look.
Step 5: Facial Details
Now it’s time to add more details to the face. Draw two small circles inside the eyes to represent the pupils. Add some short lines around the eyes for the eyebrows. Then, draw some curved lines inside the ears to give them texture. Add a few whiskers on each side of the nose for extra detail.
Step 6: Tail and Final Touches
Almost there! Now, draw a long and curved line coming from the back of the caracal’s body for the tail. Make the tail slightly thicker at the base and taper it towards the end. Add some curved lines on the tail to represent the fur. Finally, erase any unnecessary lines and add shading or color if desired.
Congratulations! You have successfully drawn a caracal. With practice, you’ll be able to refine your technique and create even more realistic and detailed drawings.
Conclusion
Drawing a caracal might seem challenging at first, but by breaking it down into simple steps, anyone can create a beautiful representation of this majestic creature. Remember to take your time, practice regularly, and have fun with your drawings. We hope this step-by-step tutorial has been helpful in guiding you through the process.
So go ahead, grab your pencil and start drawing your very own caracal masterpiece!