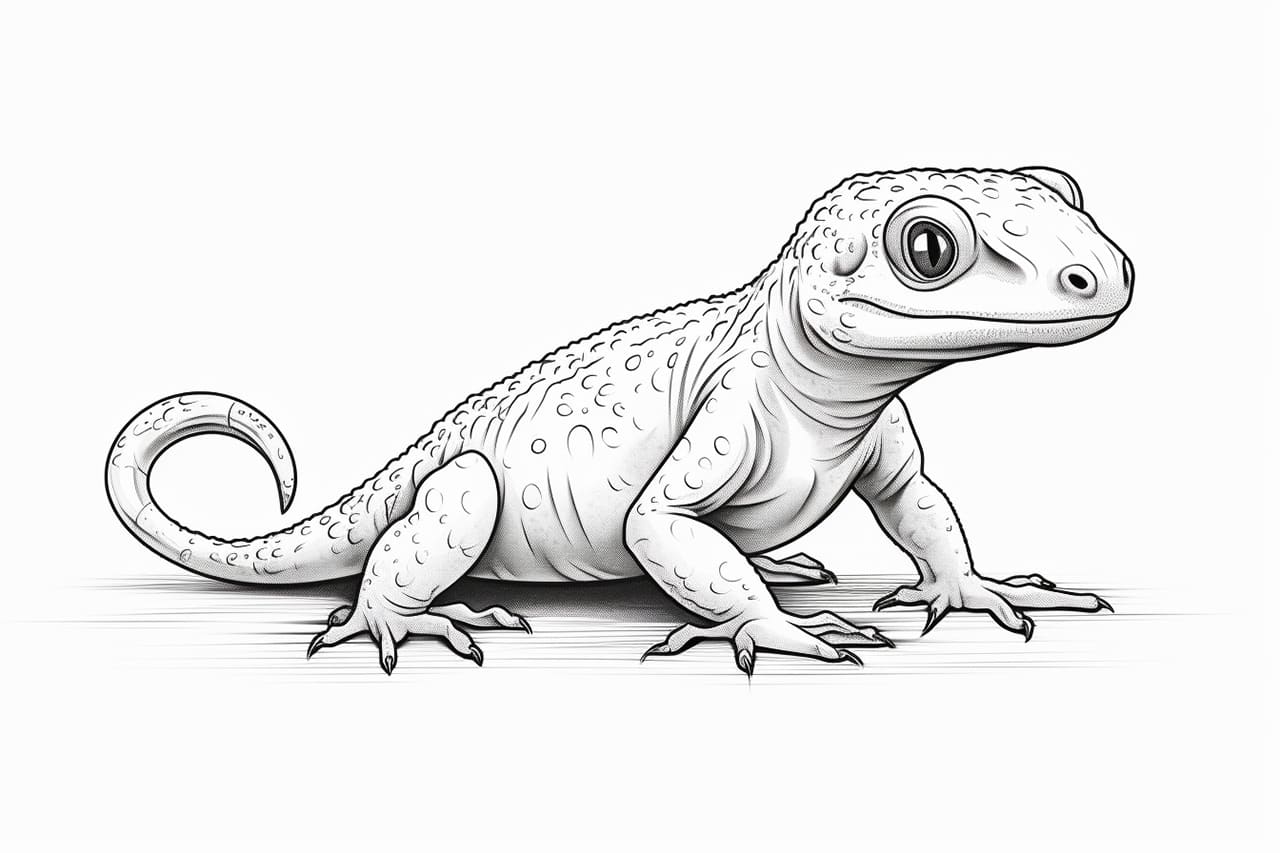
Welcome to this step-by-step guide on how to draw a salamander. Salamanders are fascinating creatures, known for their unique appearances and vibrant colors. Whether you’re a beginner or an experienced artist, this tutorial will provide you with clear and concise instructions to create your very own salamander drawing.
Materials Required
Before we dive into the steps, let’s gather the materials you’ll need for this drawing:
- Drawing Paper: Choose a high-quality paper that suits your preferred drawing medium.
- Pencils: Use a range of pencils, including an HB or No. 2 pencil for sketching, and softer pencils like 2B or 4B for shading.
- Eraser: Have a good quality eraser on hand for any necessary corrections.
- Colored Pencils (optional): If you wish to add color to your drawing, colored pencils can bring your salamander to life.
Now that you have your materials ready, let’s get started!
Step 1: Observation
Observation is key when it comes to drawing any subject. Take some time to closely examine images or reference materials of salamanders. Pay attention to their overall shape, proportions, and unique features such as their smooth skin and distinct eyes. This will help you develop a better understanding of the salamander’s structure before you start drawing.
Step 2: Basic Outline
Begin by lightly sketching a basic outline of the salamander’s body shape. Start with a simple curved line for the back, and then add a gently curving line to represent the belly. You can adjust the shape and size of these lines as needed.
Step 3: Head and Tail
Next, add the head and tail to your outline. The head of a salamander is quite distinctive, with a narrow snout and large eyes. Sketch the head lightly, keeping in mind the proportions you observed earlier. Extend a curving line from the back to represent the tail.
Step 4: Legs and Feet
Salamanders have four legs, each with delicate toes. Add the legs to your drawing, ensuring they align correctly with the body. Pay attention to the shape and proportion of the limbs. Use gentle curved lines to indicate the joints and add small ovals to represent the toes.
Step 5: Details
Now that you have the basic structure in place, it’s time to add some details. Start by refining the shape of the head and adding the eyes, nose, and mouth. Salamanders often have distinct patterns and markings on their bodies, so observe your reference material and add those details accordingly. You can use short, curved lines to suggest the texture of the skin.
Step 6: Shading and Texture
To bring your drawing to life, add shading and texture to your salamander. Start by determining the direction of the light source. Shade darker areas where the light doesn’t directly hit, and leave lighter areas where the light is reflected. Use soft pencils with varying pressure to create depth and dimension.
Step 7: Color (optional)
If you want to add color to your drawing, now is the time. Colored pencils work well for creating vibrant salamander illustrations. Refer to your reference material for accurate color representation, or feel free to get creative with your own color choices. Layer the colors gradually, using light pressure at first and gradually building up to achieve desired effects.
Conclusion
Congratulations! You have successfully completed your salamander drawing. By following these step-by-step instructions and using your observational skills, you’ve created a beautiful representation of this fascinating creature. Remember, practice is key to improving your drawing skills, so keep exploring other subjects and techniques. Enjoy the process and keep drawing!


