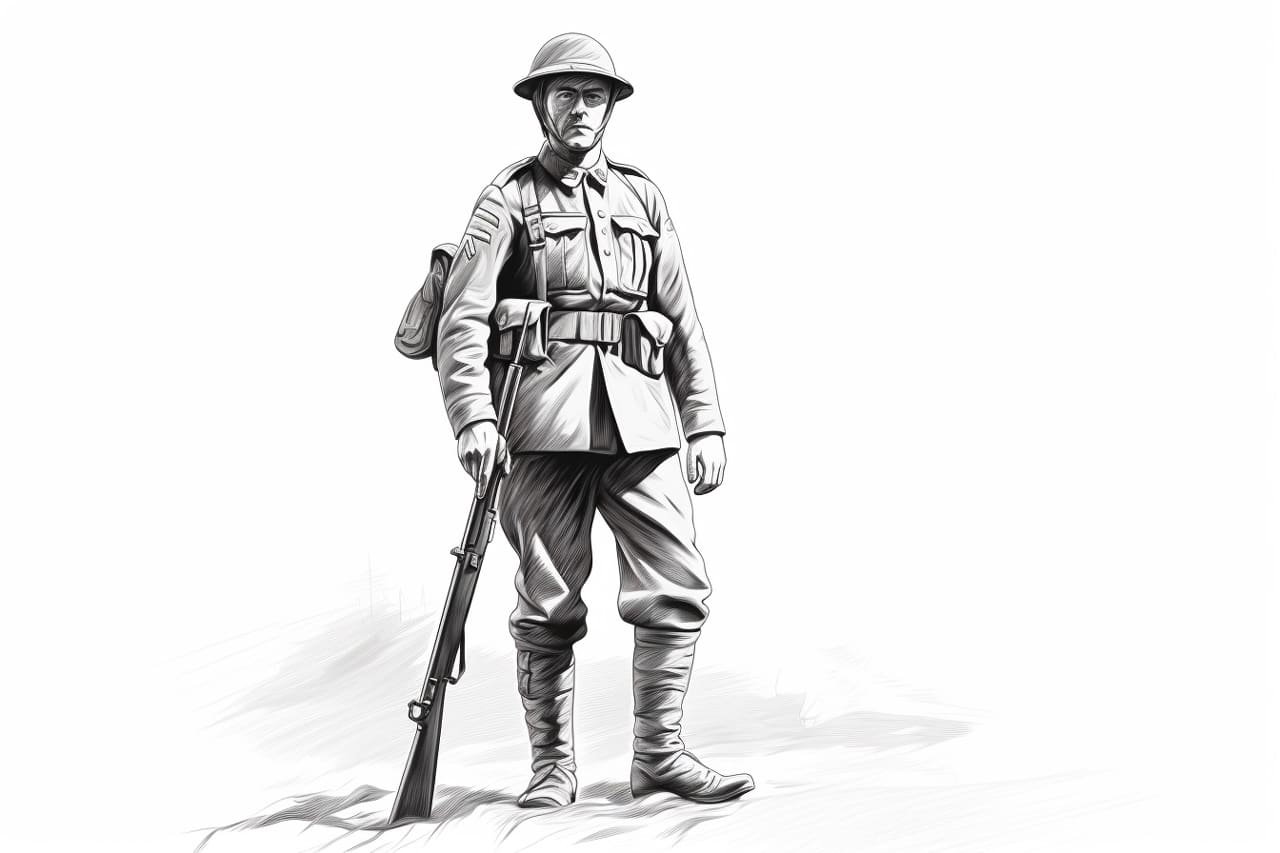
Welcome to this step-by-step guide on how to draw a British soldier. Whether you are an experienced artist or just starting out, this tutorial will provide you with clear and concise instructions to help you create a realistic and detailed drawing of a British soldier. Follow the steps below and have fun expressing your creativity!
Materials Required
To begin drawing a British soldier, make sure you have the following materials:
- Paper: Use a sturdy and smooth surface to draw on, such as drawing paper or sketchbook paper.
- Pencil: Choose a medium-soft graphite pencil that allows you to easily add shading and details.
- Eraser: Have a good quality eraser handy to correct any mistakes along the way.
- Ruler: A ruler will assist you in creating straight lines and accurate proportions.
- Reference Image: Find a clear reference photo of a British soldier online or in a book to use as a guide throughout the process.
Now that we have all our materials ready, let’s start drawing our British soldier!
Step 1: Start with Basic Shapes
Begin by lightly sketching the basic shapes that make up the soldier’s body. Use simple geometric shapes such as circles and ovals to outline the head, torso, limbs, and helmet. Remember to keep your pencil lines faint, as this is just the initial framework.
Step 2: Define the Figure
Using the basic shapes as a guide, start defining the soldier’s figure. Add more details to the head, neck, arms, and legs. Pay attention to the posture and stance of the soldier, as this will bring life to your drawing. Gradually refine the shapes and add more definition to the body.
Step 3: Draw the Uniform
Now it’s time to draw the soldier’s uniform. Pay close attention to the reference image and start sketching the distinctive features of the uniform, such as the jacket, trousers, and boots. Use the ruler to ensure straight lines where needed, such as the edges of the jacket. Add details such as pockets, buttons, and straps to make the uniform more realistic.
Step 4: Add Facial Features
Next, focus on drawing the soldier’s facial features. Pay careful attention to the reference image and start sketching the eyes, nose, mouth, and ears. Take your time to capture the likeness of the soldier. Remember that small details can make a big difference, so be patient and adjust your drawing as needed.
Step 5: Refine the Details
Continue refining the details of your drawing. Start adding smaller features, such as the hands, fingers, and ears. Pay close attention to the creases and folds in the uniform, as they will add depth and dimension to your drawing. Use your pencil to add shading and create a three-dimensional effect.
Step 6: Shade and Add Texture
Now it’s time to add shading and texture to your drawing. Use various shading techniques, such as hatching, cross-hatching, and stippling, to create depth and realism. Pay attention to the light source in the reference image and shade accordingly to create highlights and shadows. Use your pencil to add texture to the uniform and other elements of the drawing, such as the helmet or boots.
Step 7: Finalize the Drawing
In this last step, take a moment to review your drawing and make any necessary adjustments. Erase any faint guidelines that are no longer needed and add final touches to enhance the overall appearance of the drawing. Pay attention to the finer details and make sure all the elements are well-balanced and proportionate.
Congratulations! You have successfully completed your drawing of a British soldier. Remember, practice makes perfect, so don’t be afraid to try again and keep honing your skills. As an artist, you have the freedom to add your own unique style and interpretation to your drawings. Enjoy the process and let your creativity shine!
Conclusion
In this step-by-step guide, we have explored how to draw a British soldier. By following the instructions provided and using a reference image, you can create a realistic and detailed drawing of a British soldier. Remember to start with basic shapes, define the figure, add the uniform and facial features, refine the details, shade, and add texture. With practice, patience, and attention to detail, you can create a stunning piece of art. Enjoy the journey of drawing and let your imagination flourish!

