Drawing a soldier saluting is a great way to pay tribute to those who have served in the military. Whether you are an experienced artist or just starting out, this step-by-step guide will help you create a realistic and powerful representation of a soldier in uniform. So grab your pencils and let’s get started!
Materials Required
Before we begin, make sure you have the following materials on hand:
- Drawing paper or sketchbook
- Pencil (preferably a mechanical pencil or a set of drawing pencils ranging from 2H to 6B)
- Eraser (a kneaded eraser or a vinyl eraser)
- Ruler (optional, for measuring proportions)
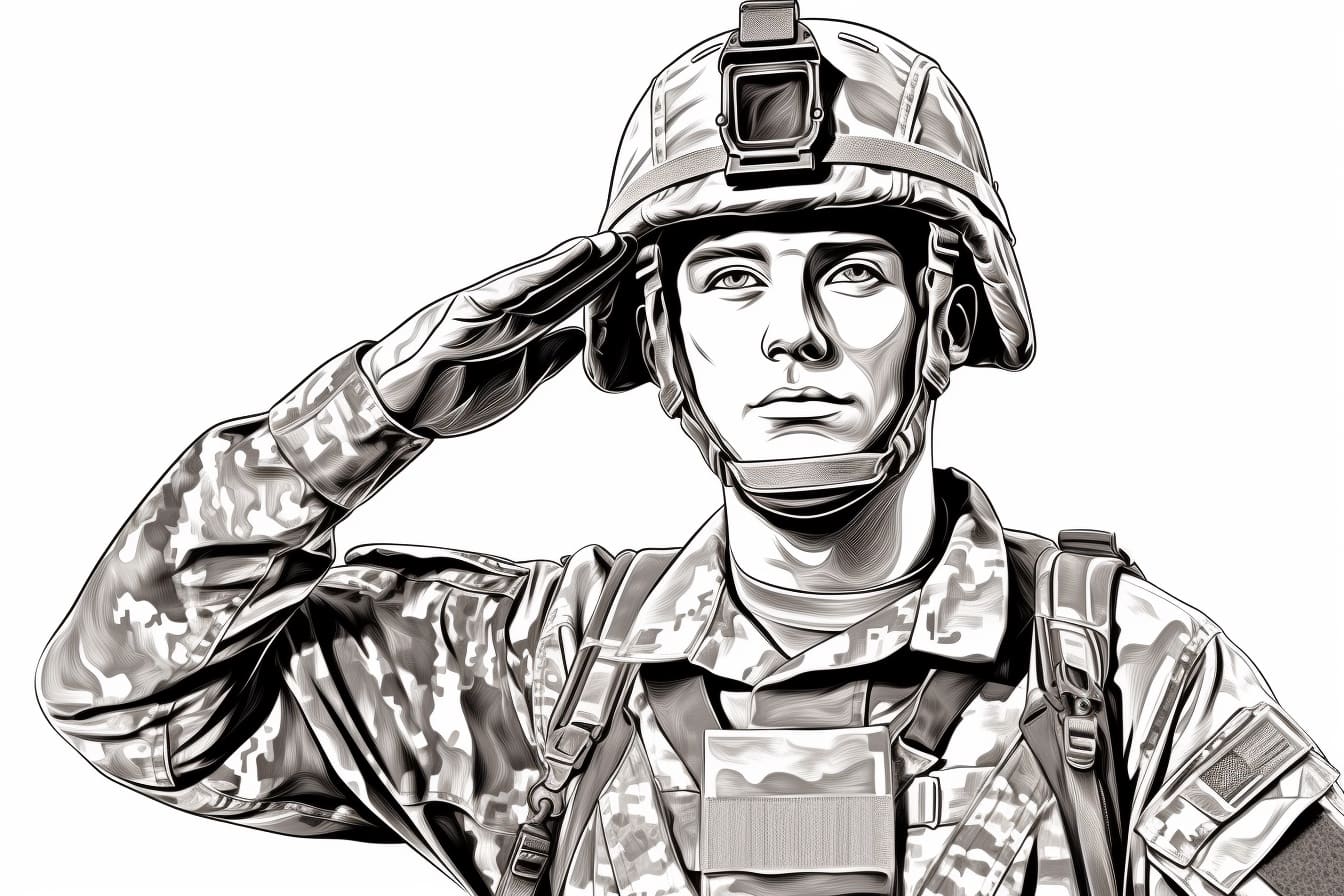
- Reference photo of a soldier saluting (you can find one online or use a personal photograph)
Now that you have your materials ready, it’s time to start drawing!
Step 1: Sketch the Basic Body Shape
Start by lightly sketching a basic outline of the soldier’s body shape. Use simple shapes like circles and cylinders to represent the head, torso, arms, and legs. Pay attention to the pose and proportions of the soldier in your reference photo, and try to replicate them as accurately as possible.
Step 2: Define the Head and Facial Features
Add more details to the soldier’s head and face. Sketch the basic shape of the head, then add the eyes, nose, and mouth. Take your time to capture the expression and features of the soldier in your drawing. Remember, each individual has unique facial characteristics, so try to capture those details accurately.
Step 3: Draw the Soldier’s Uniform
Next, focus on adding the details of the soldier’s uniform. Start by sketching the collar and shoulder straps, then move on to the chest, arms, and legs. Pay attention to the folds and creases in the fabric, as they give a realistic look to the drawing. Use your reference photo to guide you in capturing the intricate details of the uniform.
Step 4: Add the Saluting Hand
The salute is a crucial part of drawing a soldier in this pose. Start by sketching the basic shape of the hand and forearm in a saluting position. Pay attention to the angles and proportions of the fingers and thumb. Once you have the basic shape, you can add more details, such as the knuckles and nails. Remember, hands can be challenging to draw, so take your time and practice until you are satisfied with the result.
Step 5: Refine the Body Shape and Proportions
Now that the main features of the soldier are in place, take a step back and evaluate the overall proportions of the body. Use a ruler to measure and compare different parts of the body to ensure accuracy. Make any necessary adjustments to the sketch to achieve a more realistic and balanced representation of the soldier.
Step 6: Add Shading and Texture
To bring your drawing to life, add shading and texture to the different elements. Use different pencil grades to create varying degrees of darkness and lightness. Start by shading the darkest areas of the drawing, such as the shadows under the soldier’s hat or on the folds of the uniform. Gradually build up the shading by adding more layers and blending them together with a blending stump or a tortillon. Pay attention to the direction of the light source in your reference photo to create realistic shadows and highlights.
Step 7: Refine Details and Final Touches
Take a close look at your drawing and make any necessary adjustments to the details. Enhance the facial features, add more depth to the shading, and refine the overall appearance of the soldier. Take your time and be patient with this step, as it is crucial in capturing the likeness and character of the soldier.
Conclusion
Drawing a soldier saluting is not only a way to express your artistic skills but also a tribute to the bravery and dedication of those who serve in the military. With the help of this step-by-step guide, you can create a powerful and realistic representation of a soldier in uniform. So grab your pencils and get ready to salute!