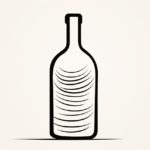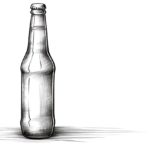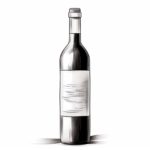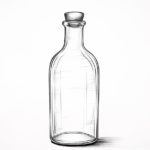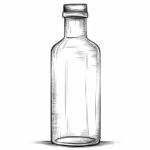
Welcome to this step-by-step guide on how to draw a soda bottle! Whether you’re new to drawing or looking to improve your skills, this tutorial will walk you through the process in a clear and concise manner. By following each step, you’ll be able to create a realistic and detailed soda bottle drawing. So grab your materials and let’s get started!
Materials Required
To complete this drawing, you will need the following materials:
- A pencil
- Eraser
- Paper
- Ruler
- Colored pencils (optional)
Now that you have your materials ready, let’s begin!
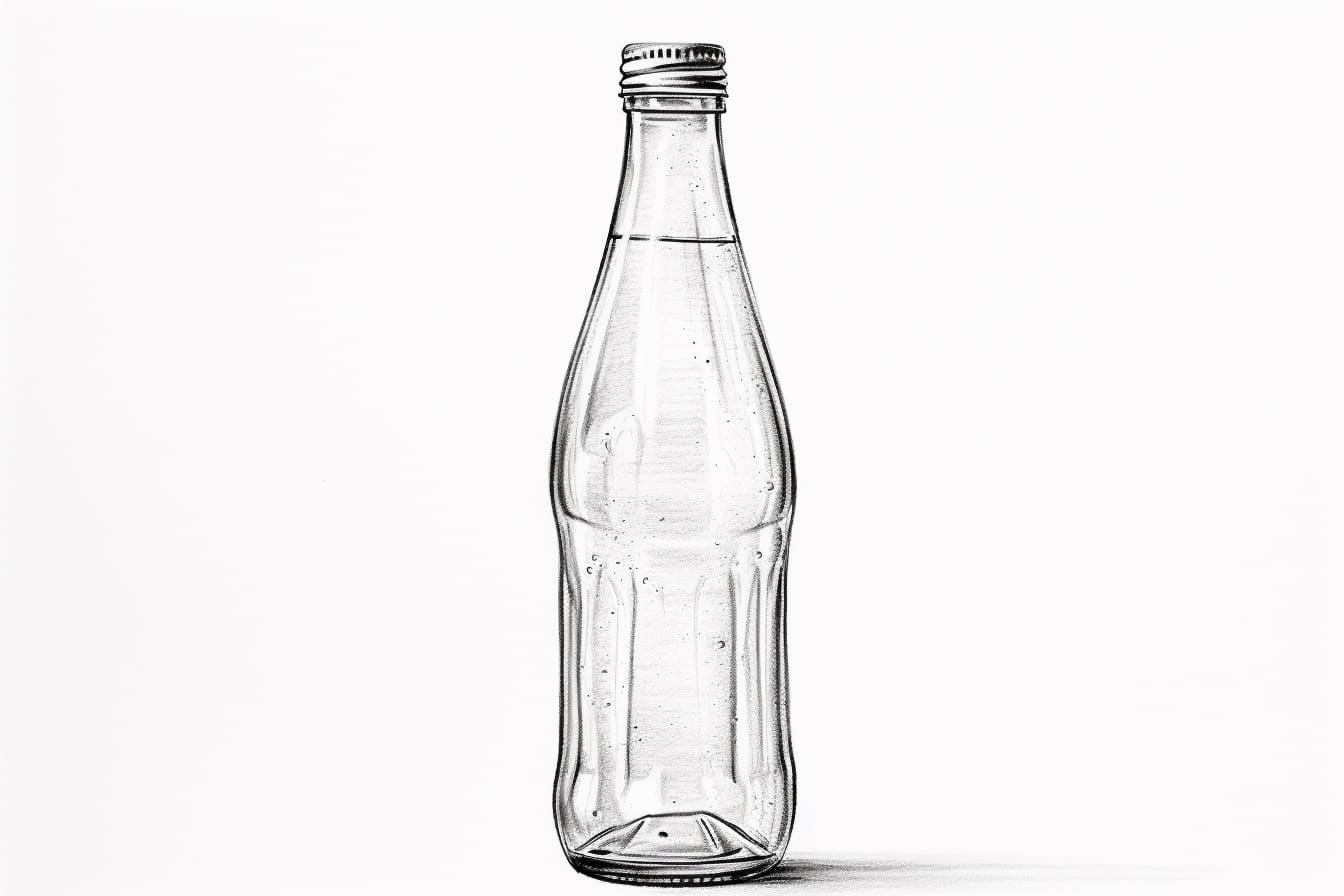
Step 1: Draw the Basic Shape
Start by drawing a vertical line on your paper, using a ruler to ensure it’s straight. This line will serve as the centerline of our soda bottle. Next, draw a horizontal line at the bottom of the vertical line, creating a slight curve. This curved line will be the base of the soda bottle.
Step 2: Outline the Bottle Neck
From the top of the vertical line, draw a slightly curved line that tapers towards the centerline. This line represents the neck of the soda bottle. Extend the line downwards, making it slightly wider as you reach the base of the bottle.
Step 3: Add the Cap
At the top of the neck, draw a small circle to represent the cap of the soda bottle. Make sure it’s centered and proportionate to the rest of the drawing.
Step 4: Create the Body
Starting from the base of the neck, draw two parallel lines that curve outwards towards the sides. These lines will form the sides of the soda bottle. Connect the lines at the bottom using a curved line to complete the body of the bottle.
Step 5: Add Depth and Details
To make the soda bottle appear three-dimensional, add shading and highlights. Shade the left side of the bottle using short, diagonal lines to create shadows. Leave the right side lighter to represent the reflection of light. Add highlights by using an eraser to gently lighten areas that catch more light.
Step 6: Refine the Shape
Take a moment to review your drawing and make any necessary adjustments. Use your eraser to remove any unwanted lines or smudges. Pay attention to the proportions and curves of the bottle to ensure accuracy.
Step 7: Add Labels and Details
To make your soda bottle drawing more realistic, you can add labels and other details. Draw a curved rectangle in the center of the body to represent the main label. Then, add additional labels and text as desired. You can also draw bubbles or fizz lines to enhance the appearance of the soda.
Step 8: Finish with Color (optional)
If you want to add color to your drawing, grab your colored pencils and carefully color in the different sections of the soda bottle. Use light layers and blend colors as needed to achieve a realistic look.
And there you have it! By following these steps, you have successfully drawn a soda bottle. Feel free to experiment with different shapes and designs to create your own unique variations.
Conclusion
Drawing a soda bottle may seem challenging at first, but by breaking it down into simple steps, you can achieve impressive results. Remember to take your time, pay attention to detail, and practice regularly. With each attempt, you’ll continue to improve your drawing skills. So grab your pencil and start creating!