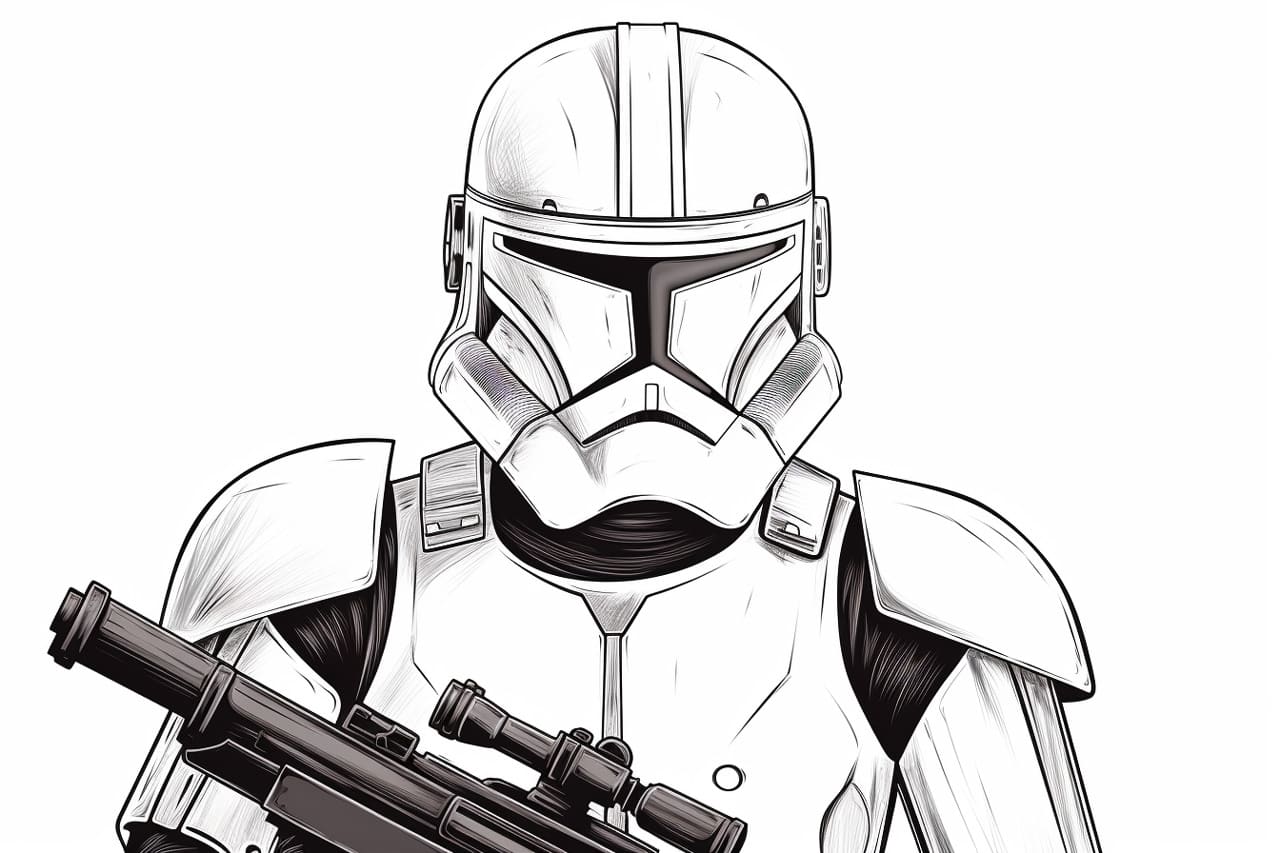
Welcome to this step-by-step guide on how to draw a Clone Trooper. Clone Troopers are iconic characters from the Star Wars universe, known for their distinctive armor and loyal service to the Galactic Republic. In this tutorial, I will walk you through the process of drawing a Clone Trooper, starting with the basic shapes and gradually adding the details to bring the character to life. So grab your drawing materials and let’s get started!
Materials Required
Before we begin, make sure you have the following materials:
- Drawing paper or sketchbook
- Pencil (preferably a mechanical pencil with different lead thickness options)
- Eraser
- Fine-tip black pen or marker (optional, for inking)
Having these materials ready will enable you to follow along with ease and create your own unique interpretation of a Clone Trooper.
Step 1: Basic Shapes
Let’s start by sketching the basic shapes that will serve as the foundation for our Clone Trooper drawing. Begin with an oval shape for the head, slightly tilted to give it a dynamic appearance. Next, draw a rectangular shape for the torso, slightly wider at the top. Add two overlapping circles for the shoulders and elongated rectangles for the upper arms. Finally, draw two more rectangles for the lower arms and a trapezoid shape for the hips.
Step 2: Adding Limbs
Now that we have the basic shapes in place, let’s start adding the limbs of our Clone Trooper. From the shoulders, draw two long, curved lines for the upper legs. Connect the upper legs to the hips using diagonal lines. Next, draw two more rectangles for the lower legs, extending from the knees. Finally, add ovals for the hands at the ends of the lower arms.
Step 3: Refining the Head
Let’s focus on the head of our Clone Trooper. Using the oval shape as a guide, add two horizontal lines across the face to indicate the eye level. On the lower half of the oval, sketch a vertical centerline to help with the placement of facial features. Now, draw two slanted lines for the eyes, a small curved line for the nose, and a horizontal line for the mouth. Sketch the basic shape of the helmet, following the contour of the head.
Step 4: Adding Details to the Armor
Clone Troopers are recognized for their intricate armor designs. To start adding details, sketch the outline of the helmet, emphasizing the visor area. Add smaller details like the ear caps, the T-shaped breather vent, and the fin at the top of the helmet. Moving to the torso, draw the contours of the chest plate, focusing on the angular shapes. Use diagonal lines to indicate the overlapping armor segments. Sketch the shoulder pads and add some lines for texture.
Step 5: Refining the Limbs
Now it’s time to refine the limbs of our Clone Trooper. Start by adding armor plates to the upper legs and lower legs. Use straight lines to indicate the edges and details of the armor. Pay attention to the placement and orientation of the armor segments. Add curved lines to depict the joints, and draw simple shapes for the boots and the gloves. Don’t worry too much about intricate details at this stage; we will add those in the next steps.
Step 6: Adding Weapon and Accessories
Clone Troopers are often seen carrying blaster rifles and other accessories. Let’s add a blaster rifle to our drawing. Sketch a long, thin rectangular shape that extends from the hands to just below the waist. Add a grip handle and a barrel with some angular shapes for the details. You can also add accessories like pouches or grenades to the Clone Trooper’s belt or vest for added authenticity.
Step 7: Refining the Details
Now that we have the basic structure and major elements in place, it’s time to refine the details of our Clone Trooper drawing. Pay close attention to the intricate designs on the armor plates, adding lines and shapes to represent texture and depth. Refine the facial features, adding more detail to the eyes, nose, and mouth. Use reference images or other Clone Trooper illustrations for inspiration and accuracy.
Step 8: Inking (Optional)
If you want to give your drawing a more polished and finished look, you can use a fine-tip black pen or marker to ink over the pencil lines. This will make the lines bolder and more defined. Wait for the ink to dry before erasing any visible pencil lines. Be careful and steady while inking to maintain the integrity of your drawing.
Conclusion
Congratulations! You have successfully drawn a Clone Trooper. By following these step-by-step instructions, you have learned how to create the basic shapes, add the limbs, refine the head, and add intricate details to the armor. Remember, practice makes perfect, so keep experimenting and refining your drawing skills. Whether you are a Star Wars fan or a drawing enthusiast, this tutorial has provided you with the knowledge and techniques to create your own Clone Trooper masterpiece. May the Force be with you!