How to Draw a Roller Coaster in 6 Simple Steps
Learn how to draw with this step-by-step tutorial.
Materials You'll Need
- Drawing paper
- Pencil (HB or 2B)
- Eraser
- Colored pencils
- Markers
- Ruler
- Blending stump
Welcome to this step-by-step guide on how to draw a roller coaster! If you've ever marveled at the twisting loops, steep drops, and exhilarating curves of a roller coaster and thought, "I want to draw that," you're in the right place. In this tutorial, I'll walk you through the process of capturing all the excitement and energy of a real-life roller coaster—right on your sketchpad.
We'll start with the basic structure, laying out the track with smooth arcs and dramatic inclines, and then move on to adding cars, support beams, and motion lines that bring your drawing to life. Whether you're an experienced artist looking for a fun challenge or a beginner wanting to try something bold and dynamic, this tutorial is designed to be easy to follow and packed with helpful tips.
Grab your pencil, hold on tight, and get ready for a creative ride!
Materials Required:
Before we begin, gather the following materials:
-
Paper: Use a smooth and sturdy paper, such as drawing paper or Bristol board.
-
Pencil: Have a range of pencils, including a softer lead for shading and a harder lead for sketching.
-
Eraser: Use a kneaded eraser or a regular eraser for corrections and adjustments.
-
Ruler: A straightedge ruler will be helpful for drawing straight lines.
-
Colored pencils or markers (optional): If you want to add color to your roller coaster drawing, have some colored pencils or markers on hand.
Now that you have your materials ready, let's dive into the step-by-step process of drawing a roller coaster.
How to Draw a Roller Coaster Step-by-Step
Step 1: Sketch the Basic Shape
Start by lightly sketching the basic shape of the roller coaster. Use simple curved lines to create the initial structure. Consider the height and loops of the roller coaster as you sketch. Don't worry about the details at this stage; focus on capturing the overall shape and flow of the coaster.
Step 2: Define the Structure
Using a harder pencil, define the structure of the roller coaster by adding more detail to your initial sketch. Begin by adding supports and beams to give the coaster a realistic appearance. Pay attention to the angles and perspective of the support structure. Use your ruler to draw straight lines when needed.
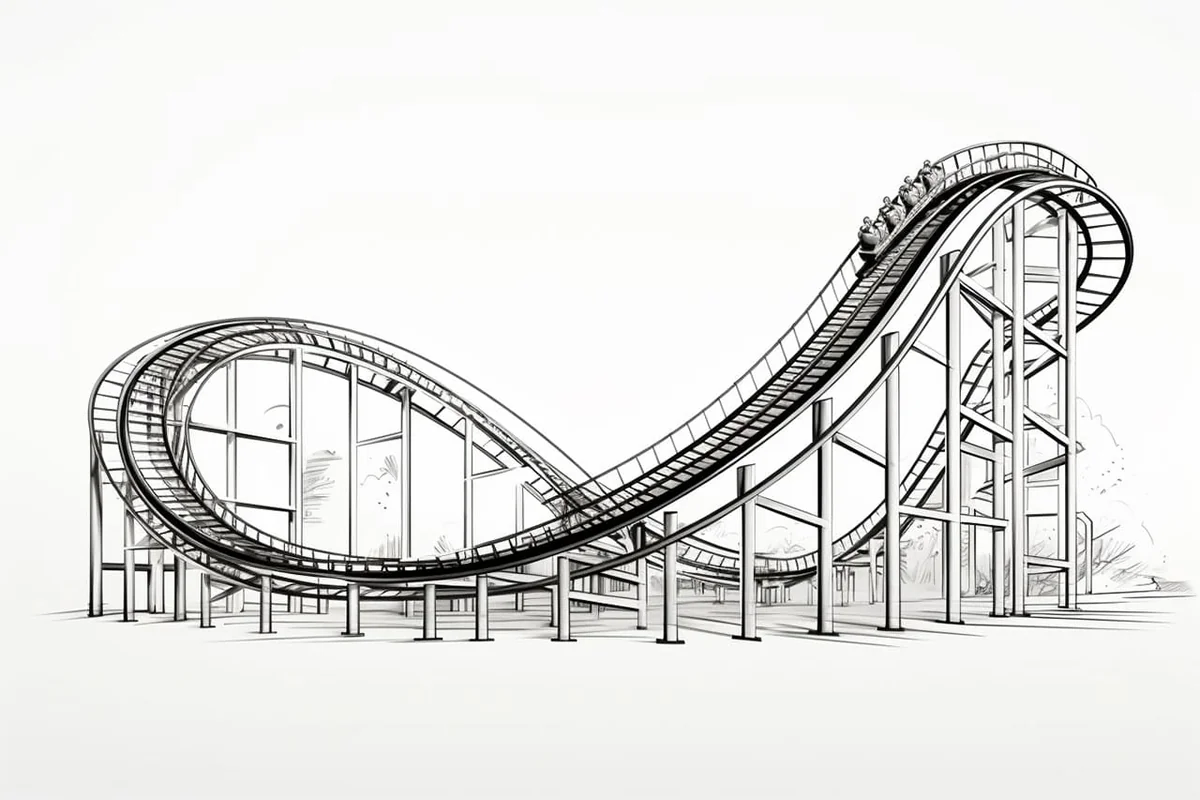
Step 3: Add the Track
Now it's time to add the roller coaster track. Using a curved line, draw the track in a way that follows the structure you created in the previous step. Make sure the track has twists, turns, and loops to create the thrilling roller coaster feel. Experiment with different shapes and angles to make your drawing dynamic.
Step 4: Refine the Details
Refine the details of your roller coaster by adding more depth and dimension. Add shading to the support beams and structure to give them a three-dimensional look. Use a softer pencil for shading and blending. Pay attention to the light source and add shadows accordingly to make your drawing more realistic.
Step 5: Add Life to Your Drawing
To add more excitement to your roller coaster drawing, include people riding the coaster. Draw small figures with simple shapes to represent the riders. Also, consider adding details like the surrounding landscape, other rides, or a crowded amusement park to create a lively scene. This will enhance the overall atmosphere of your drawing.
Step 6: Optional - Add Color
If you wish, use colored pencils or markers to add color to your roller coaster drawing. Experiment with different color combinations and gradients to make your coaster come to life. Consider using brighter colors for the track and supports, and softer shades for the background and landscape. Adding color will give your drawing an extra pop and make it even more visually appealing.
Tip: To effectively capture the thrilling curves and intricate details of a roller coaster, start by using a light pencil for sketching the initial outlines, allowing for easy corrections as you refine your drawing. Begin with the main structure, focusing on smooth, flowing lines for the tracks—think of them as gentle waves rather than harsh angles to convey motion.
Once you have your basic shape, switch to a darker pencil or fine-tip pen to enhance the outlines and add details like support beams and the cars. Incorporate dynamic motion lines around the cars to illustrate speed and excitement. Finally, don't forget to step back frequently to assess the balance and perspective of your roller coaster—this will help you maintain an engaging composition throughout your artwork!
Conclusion
Drawing a roller coaster can be an exciting and creative process. By following these step-by-step instructions, you can create a realistic and dynamic roller coaster drawing. Remember to start with the basic shape, define the structure, add the track, refine the details, and finally, bring your drawing to life with color if desired.
So grab your materials and let your imagination run wild as you create your own roller coaster masterpiece!
Gallery of Roller Coaster Drawings


Fun Facts About Roller Coasters
-
Roller coasters have been around since the 17th century, originating from Russian ice slides called 'Russian Mountains.'
-
The first loop-the-loop coaster was built in 1846 in Paris, although it was not as smooth as today's loops!
-
The world's tallest roller coaster is Kingda Ka at Six Flags Great Adventure in the USA, with a height of 456 feet.
-
The fastest roller coaster, Formula Rossa at Ferrari World in Abu Dhabi, reaches speeds of up to 149 mph.
-
Theme parks in Japan built earthquake-resistant roller coasters that can adjust and absorb shocks.
-
The longest roller coaster in the world is the Steel Dragon 2000 in Nagoya, Japan, stretching over 8,000 feet.
-
The first roller coaster designed using a computer was the Demon at California's Great America in 1976.
-
Roller coaster engineers often take practice rides after construction to ensure the safety and smoothness of the ride.
-
Disneyland's Matterhorn Bobsleds was the first coaster to use a tubular steel track, revolutionizing coaster design.
-
Roller coasters generate positive G-forces at the bottom of hills and negative G-forces for "air time" sensations on top of hills.
Suggestions for Scenes and Settings for Roller Coaster Drawings
-
Sunset Serpent: Illustrate a winding roller coaster silhouetted against a fiery sunset, with colors blending into the sky.
-
Underwater Adventure: Picture a roller coaster diving through an aquarium, with sea creatures swimming alongside the tracks.
-
Winter Wonderland: Create a snow-covered scene with a roller coaster swooping through frosty landscapes and icy loops.
-
Space Odyssey: Design a futuristic roller coaster swirling among stars and planets, with spaceships zooming past.
-
Jungle Expedition: Envision a roller coaster weaving through thick, tropical foliage and over cascading waterfalls.
-
Haunted Amusement: Draw a spooky roller coaster wrapped in ghostly mist and eerie lighting, set in a creepy amusement park.
-
Desert Mirage: Imagine a roller coaster rushing through sands and mirages, camel silhouettes on the horizon.
-
Mountainous Trek: Sketch a thrilling ride through rugged mountain peaks and deep valleys, with birds soaring overhead.
-
Fantasy Fairytale: Depict a magical roller coaster twisting through a realm of dragons, castles, and enchanted forests.
-
Aerial Cityscape: Visualize a roller coaster snaking through skyscrapers and city streets, with lights twinkling below.