Drawing a fence may seem like a simple task, but it requires attention to detail and skill to create an accurate and appealing representation. In this step-by-step guide, I will walk you through the process of drawing a fence, starting from the basic structure to adding intricate details. By following these instructions and practicing regularly, you will be able to create realistic and visually pleasing fence drawings. So let’s get started with how to draw a fence!
Materials Required
Before we begin, it’s important to gather the necessary materials. Here’s what you’ll need:
- Drawing paper or sketchbook
- Pencil – preferably HB or 2B for smooth shading
- Eraser
- Ruler
- Compass (optional)
- Colored pencils or markers (optional)
Having these materials ready will ensure a smooth and enjoyable drawing experience. Now, let’s move on to the step-by-step process of drawing a fence.
Step 1: Planning the Composition
Start by visualizing the composition of your fence drawing. Decide on the angle, position, and size of the fence in relation to the surrounding environment. It may be helpful to make a light sketch of the overall layout using simple shapes and lines. This step will guide you in creating a well-proportioned and aesthetically pleasing fence.
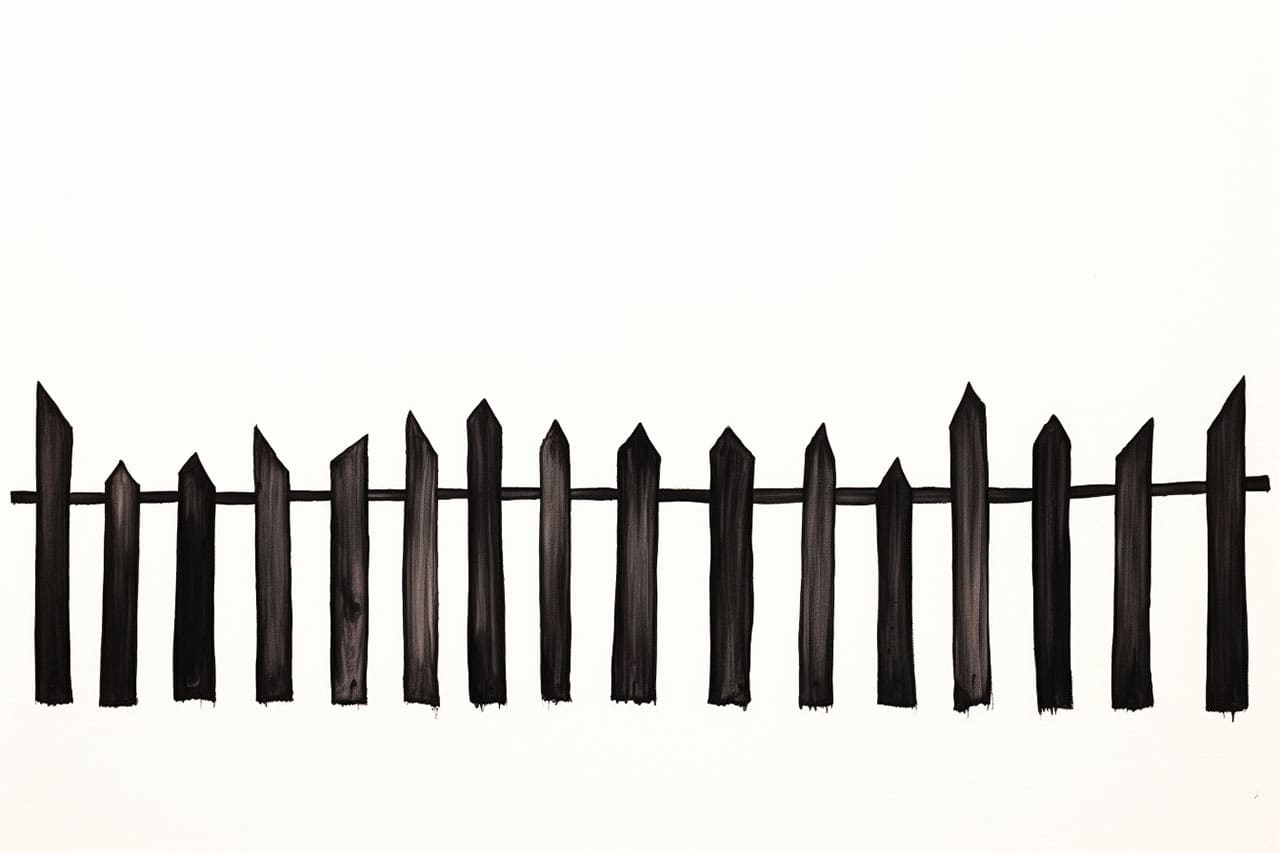
Step 2: Drawing the Posts
Using your pencil and ruler, draw vertical lines to represent the posts of the fence. Ensure that the lines are straight and evenly spaced, maintaining a consistent width throughout. The height and thickness of the posts can vary depending on your artistic preference and the style of the fence you are drawing. Keep in mind the size and scale of the overall composition.
Step 3: Adding the Horizontal Rails
Next, draw horizontal lines to represent the rails connecting the posts. Use your ruler to ensure that the lines are straight and parallel to each other. The number of rails will depend on the style of the fence. For a traditional picket fence, two to three rails are common, while a more modern fence may have a single rail or no rails at all.
Step 4: Creating the Pickets
To create the pickets, draw vertical lines evenly spaced between the posts. These lines should be perpendicular to the horizontal rails. The length and width of each picket can vary, giving the fence a unique and personalized look. Make sure the pickets are evenly aligned and have consistent spacing.
Step 5: Adding Texture and Detail
Now that you have the basic structure of the fence, it’s time to add texture and detail. Use your pencil to create shading and texture on the posts, rails, and pickets. You can add wood grain details or create a weathered look by adding subtle lines and shading. The level of detail is up to you, but remember to keep the texture consistent throughout the drawing.
Step 6: Erasing Guidelines
Once you are satisfied with the overall appearance of the fence, use your eraser to carefully remove any unnecessary guidelines and pencil marks. Be gentle to avoid smudging or damaging the drawing. This step will give your fence a clean and polished look.
Step 7: Optional Coloring
If you prefer to add color to your drawing, you can use colored pencils or markers to bring the fence to life. Consider the type of wood or paint you want to depict and create realistic color tones using light and shadow. Experiment with different color combinations to achieve the desired effect.
Conclusion
Drawing a fence requires attention to detail and a good understanding of perspective and proportion. By following these step-by-step instructions and practicing regularly, you can create impressive fence drawings that showcase your artistic skills. Remember to plan your composition, draw the basic structure, add texture and detail, and erase any unnecessary guidelines. Feel free to experiment with different styles, colors, and textures to make your fence drawing unique. With practice, you will be able to draw fences that are not only visually appealing but also capture the essence of the surrounding environment.
So grab your drawing materials and start creating your own fence masterpiece today!