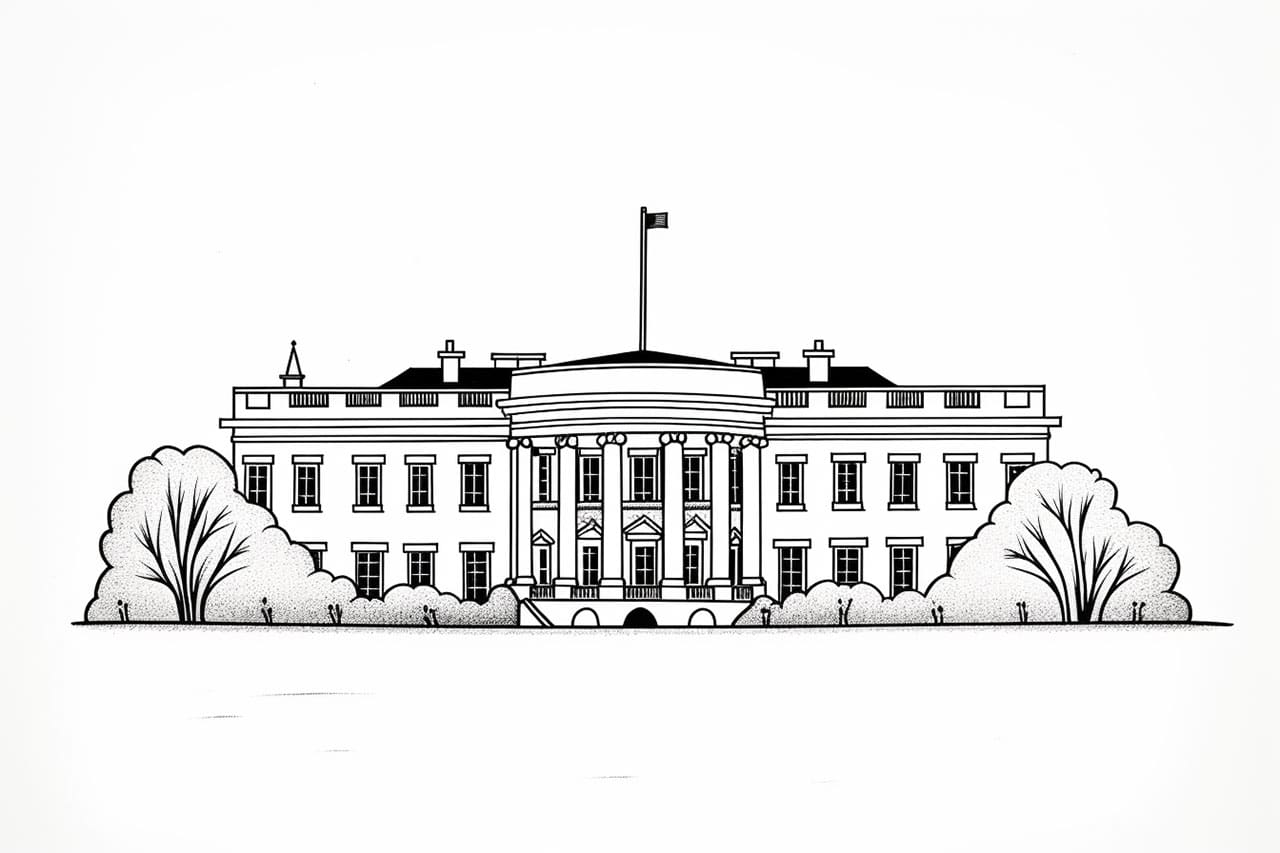
The White House is an iconic symbol of the United States, and drawing it can be a fun and challenging artistic endeavor. In this step-by-step tutorial, I will guide you through the process of drawing the White House in a clear and concise manner. Whether you are a beginner or an experienced artist, follow along and let’s create a stunning representation of this historical building.
Materials Required
Before we begin, make sure you have the following materials:
- Drawing paper or sketchbook
- Pencil (preferably an HB or 2B for sketching)
- Eraser
- Ruler (optional)
- Fine-tip black pen or marker (optional, for inking)
With these materials in hand, let’s dive into the step-by-step process of drawing the White House.
Step 1: Outline the Basic Shape of the White House
Start by lightly sketching a rectangle shape in the middle of your paper. This will be the main body of the White House. Don’t worry too much about getting the proportions perfect at this stage. We will refine the drawing in the following steps.
Step 2: Add the Roof and Pillars
Using your ruler or freehand, add a triangular roof shape on top of the rectangle. The height of the roof should be approximately half the height of the main body. Then, draw four evenly spaced rectangular pillars in the front of the White House. These pillars will give the building a grand and impressive look.
Step 3: Sketch the Windows and Doors
Next, let’s add the windows and doors to the White House. Start by drawing rectangular windows along the sides of the main body. The windows should be evenly spaced and all the same size. Then, sketch the main entrance door in the center of the building. Add details like panels and handles to make it more realistic.
Step 4: Refine the Roof and Pillars
Now, let’s refine the roof and pillars of the White House. Add some details to the roof by drawing smaller triangular shapes along the edges. This will give it a more textured and realistic appearance. Next, add some decorative elements to the pillars, such as fluted lines or ornate designs. Take your time and pay attention to the proportions and symmetry.
Step 5: Add the Portico and Steps
The White House features a beautiful portico, so let’s add that to our drawing. Extend two lines from the top of the main entrance door to create the roof of the portico. Then, draw a series of steps leading up to the entrance. You can make the steps as simple or as detailed as you like, depending on your skill level and preference.
Step 6: Sketch the Balconies and Flagpoles
Now it’s time to add some finishing touches to our White House drawing. Sketch the balconies on the second floor of the building. These balconies have intricate railings, so take your time to capture all the details. In addition, include the flagpoles on either side of the main roof, as the White House is known for flying the American flag proudly.
Step 7: Refine the Details and Erase the Guidelines
Take a moment to review your drawing and make any necessary adjustments. Refine the details of the windows, doors, and other elements to make them more defined and proportional. Once you are satisfied with the overall appearance, use your eraser to carefully remove the light guidelines and pencil marks, leaving behind only the clean and crisp lines of your White House drawing.
Conclusion
Congratulations! You have successfully learned how to draw the White House. By following these step-by-step instructions and utilizing your artistic skills, you have created a stunning representation of this iconic American landmark. Whether you chose to sketch it for fun or as a learning experience, I hope you enjoyed the process. Keep practicing, and soon you’ll be able to draw even more intricate and detailed architectural masterpieces.