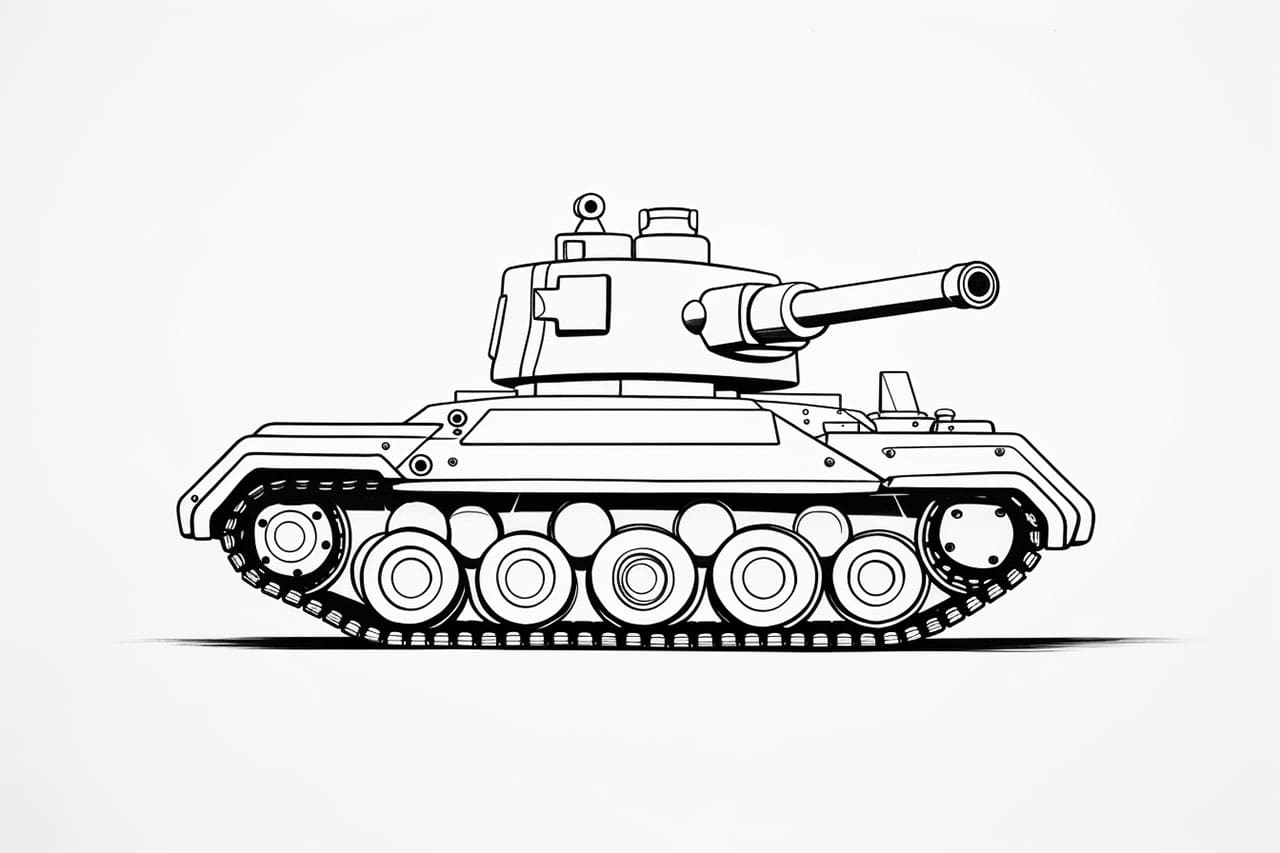
Welcome to this step-by-step tutorial on how to draw a tank. Drawing a tank can be a challenging but rewarding experience. Whether you want to sketch a tank for a military-themed artwork or just for fun, this tutorial will guide you through the process. With attention to detail and practice, you can create a realistic tank drawing that is sure to impress. Let’s get started!
Materials Required
- Pencil
- Eraser
- Drawing paper
Step 1: Draw the Basic Shapes
To embark on your tank-drawing journey, let’s start with the fundamental shapes that form the basis of this armored vehicle.
- Begin by drawing a large rectangular shape that will serve as the main body of the tank. This shape lays the foundation for the tank’s formidable presence.
- Next, add two smaller rectangles on top of the body shape. The larger of these rectangles forms the turret, which houses the tank’s weaponry, while the smaller one represents the gun. These elements are essential for the tank’s functionality and appearance.
- To complete the initial shapes, draw two more small rectangles on either side of the tank’s body. These rectangles will serve as the tracks, which are crucial for the tank’s mobility and stability.
Step 2: Refine the Shapes
With the basic shapes in place, let’s move on to refining the tank’s form and structure:
- Detail the tank’s tracks by adding evenly spaced wheels along the sides of the tracks. Ensure that the wheels are consistent in size and alignment to maintain the tank’s balance.
- Enhance the realism of the tracks by drawing track links. These links create a sense of movement and add depth to your tank drawing. Pay attention to the spacing and sizing of the track links to achieve a convincing appearance.
- At the front of the turret, sketch a small rectangular shape to represent the gun barrel. This addition highlights the tank’s offensive capability and gives it an authentic look.
Step 3: Sketch the Details
Now, let’s focus on adding intricate details that bring your tank drawing to life:
- On top of the turret, sketch the hatches and periscopes. These features are essential for the tank’s crew to observe their surroundings and operate the vehicle safely. Pay attention to their placement and proportions to maintain accuracy.
- Moving to the body of the tank, draw the exhaust vents and machine gun ports. These elements contribute to the tank’s functionality and appearance. Make sure they align correctly with the tank’s structure and adhere to the vehicle’s design specifications.
- Throughout this process, prioritize proportion and placement. Paying careful attention to the proportions of the tank’s components and their placement relative to one another ensures that your tank looks realistic and cohesive.
Step 4: Add Shading and Texture
To give your tank drawing depth and dimension, add shading and texture. Shade in the areas where shadows would naturally fall, such as under the turret and around the wheels. Add texture to the tank by using short, curved lines to show the details of the armor plates and the tracks.
Step 5: Final Touches
Take a step back and look at your drawing as a whole. Make any necessary adjustments and add any final touches that you feel are necessary to make your tank drawing look more complete and realistic.
Conclusion
Congratulations! You have successfully drawn a tank. With practice and dedication, you can draw tanks with different designs and styles. Drawing tanks can be a great way to challenge your drawing skills and create impressive military-themed artworks. So, grab your pencil and let your imagination take you on a tank-drawing adventure with this “How to Draw a Tank” tutorial.
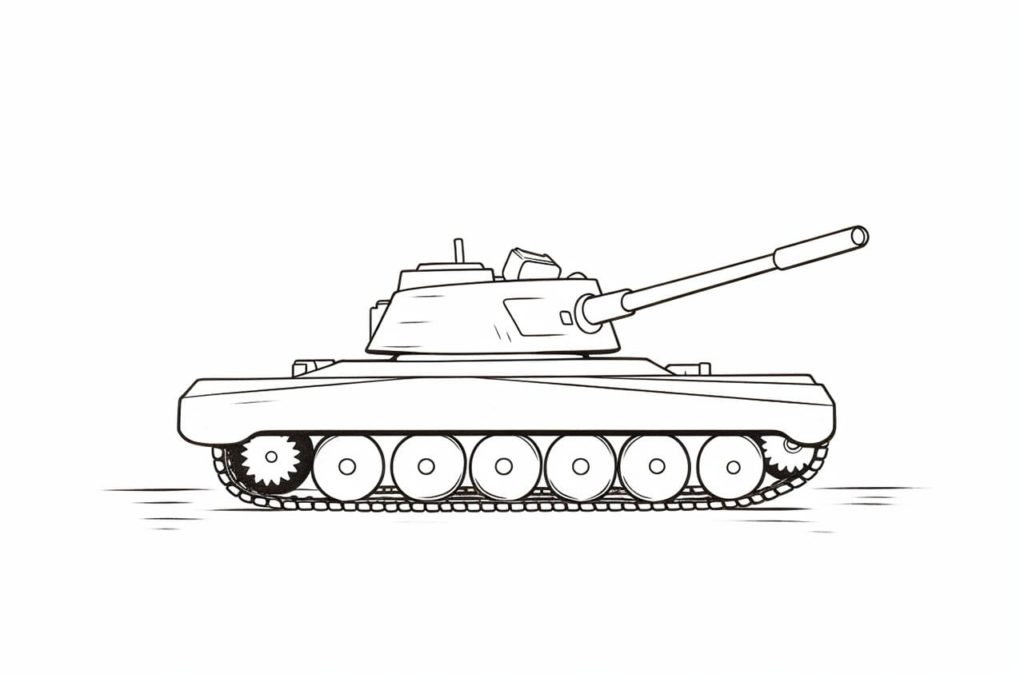
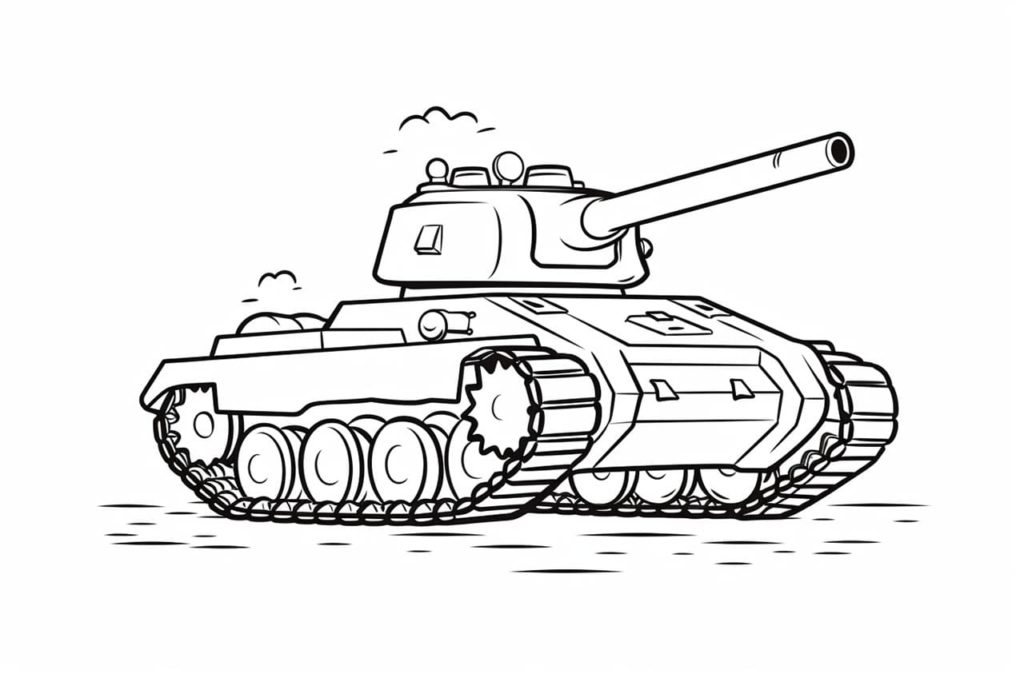
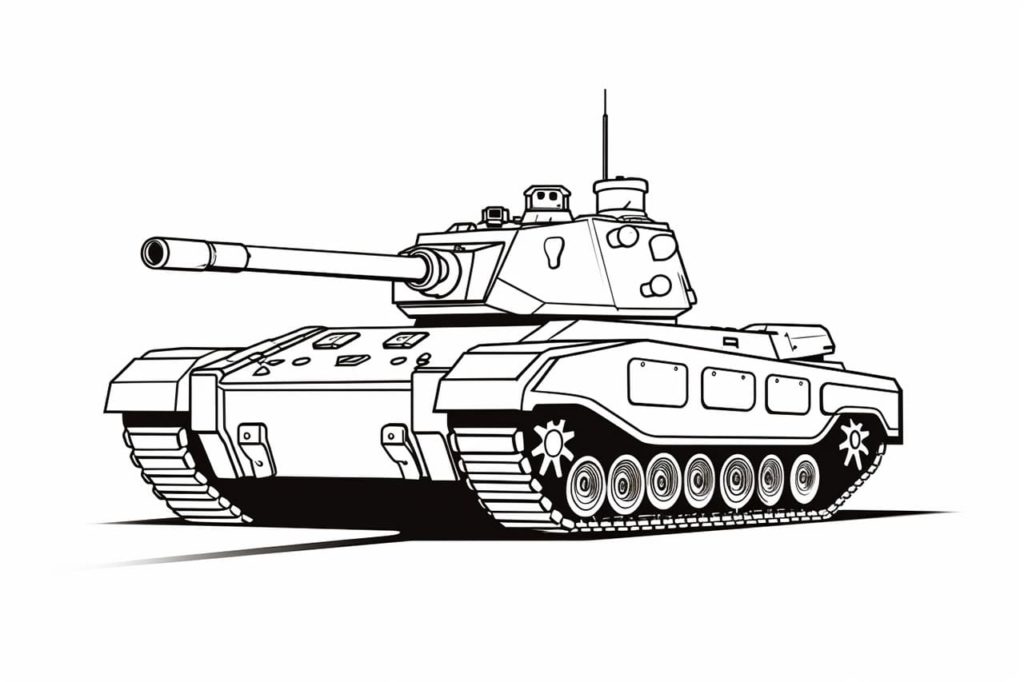
Gallery of Tank Drawings