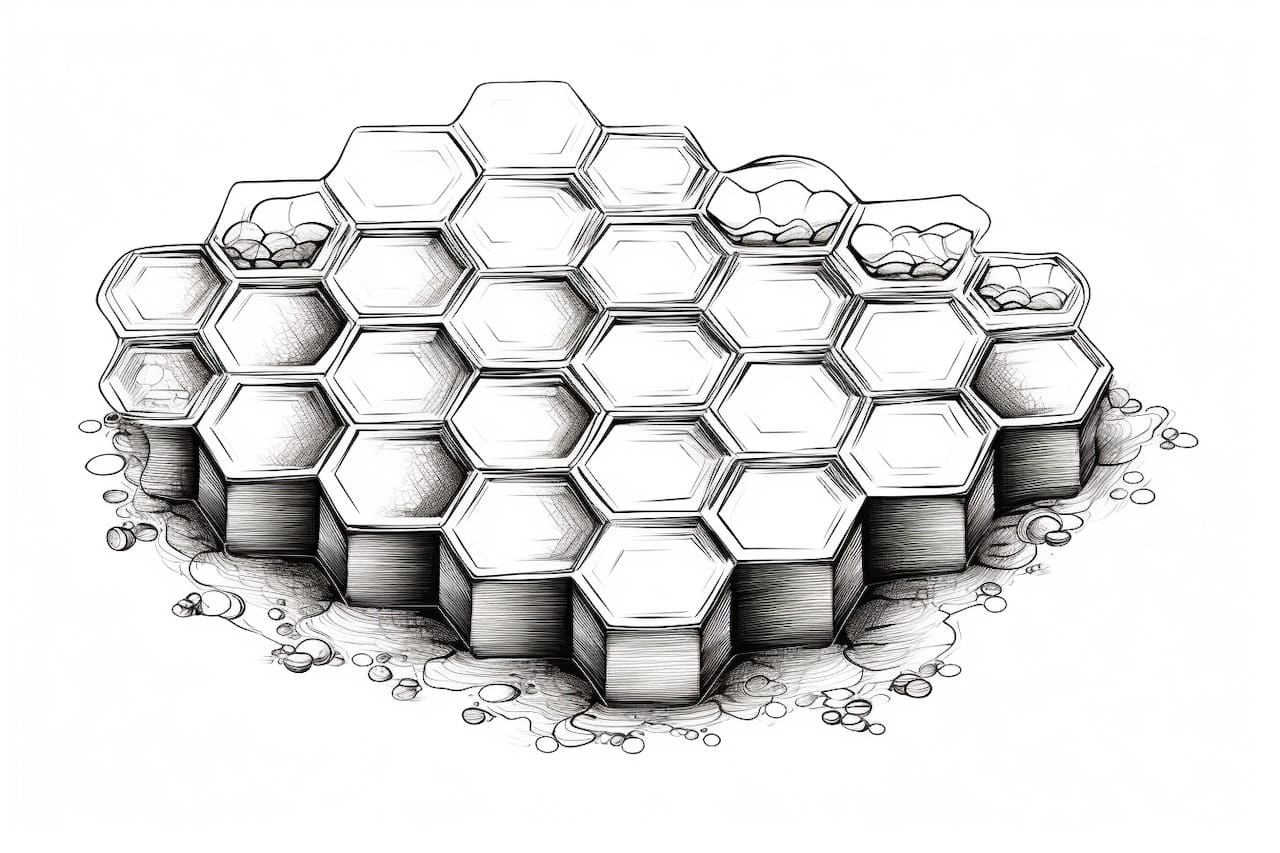
Welcome to this step-by-step guide on how to draw a honeycomb! Whether you’re an aspiring artist or simply looking for a fun and creative activity, learning how to draw a honeycomb can be both enjoyable and rewarding. In this tutorial, we will break down the process into simple and easy-to-follow steps, allowing you to create a realistic honeycomb pattern. So let’s grab our materials and get started!
Materials Required
- Drawing paper
- Pencil
- Ruler
- Compass
- Eraser
- Fine-tip marker or pen
- Coloring materials (optional)
Now that we have our materials ready, let’s dive into the steps.
Step 1: Draw the Hexagon Shape
To begin, draw a hexagon as the base for our honeycomb pattern. Use a pencil and a ruler to create six equal sides. Start by drawing a vertical line, then add diagonal lines on both sides, intersecting the vertical line at the top and bottom. Finally, connect the diagonal lines to complete the hexagon shape.
Step 2: Divide the Hexagon
Using your ruler, draw three equally spaced horizontal lines within the hexagon. These lines will serve as guides for creating the honeycomb cells. Make sure the lines extend beyond the hexagon’s sides.
Step 3: Create Vertical Lines
Next, draw vertical lines from the top to the bottom of the hexagon, connecting the intersecting points of the horizontal lines. These lines will form the boundaries of each honeycomb cell.
Step 4: Add Diagonal Lines
Now, draw diagonal lines within each cell, connecting the top left corner to the bottom right corner, and the top right corner to the bottom left corner. These diagonal lines will give the honeycomb pattern its characteristic shape.
Step 5: Refine the Hexagon
Using an eraser, carefully remove the outer lines of the hexagon, leaving only the interior lines and the honeycomb pattern intact. This step will help create a more realistic and visually appealing honeycomb structure.
Step 6: Outline the Honeycomb Cells
Using a fine-tip marker or pen, trace over the interior lines of each cell to create a cleaner and more defined honeycomb pattern. Start from the top left corner and follow the lines all the way to the bottom right corner, then repeat for each cell.
Step 7: Add Depth and Texture
To enhance the three-dimensional look of the honeycomb, add shading and texture to each cell. Start by lightly shading one side of each cell, opposite to the light source. This will create the illusion of depth and dimension. You can also add tiny curved lines within each cell to represent the texture of the honeycomb.
Step 8: Color the Honeycomb (optional)
If you prefer a colorful honeycomb, now’s the time to bring out your coloring materials. Select a palette of colors and fill in each cell, alternating between shades for a vibrant effect. Consider using warm hues like yellows and oranges to mimic the appearance of honey.
Conclusion
Congratulations on completing your honeycomb drawing! By following these step-by-step instructions, you’ve learned how to create a realistic honeycomb pattern from scratch. This versatile pattern can be used in various artworks, illustrations, or even as a standalone design. Remember to experiment with different shading techniques and color choices to make your honeycomb truly unique. So grab your materials and start exploring the endless possibilities of this fascinating geometric pattern!


