Welcome to this step-by-step guide on how to draw a vulture! Whether you’re an aspiring artist or just looking for a fun and creative activity, this tutorial will help you create a realistic and detailed representation of this fascinating bird. Vultures are known for their unique appearance and graceful movements in the sky. So, let’s grab our art supplies and get started!
Materials Required
Before we begin, make sure you have the following materials on hand:
- Pencil: A good quality pencil will allow you to easily create light and dark shades as needed.
- Eraser: An eraser will come in handy for correcting any mistakes or making small adjustments.
- Paper: Choose a smooth and sturdy paper that can handle the shading techniques we’ll be using.
- Fine tip pens: These will be used for adding finer details and outlines to your drawing.
- Colored pencils (optional): If you want to add color to your vulture drawing, having some colored pencils available can be helpful.
- A reference image of a vulture.
Now that you have your materials ready, let’s dive into the step-by-step process of drawing a vulture!
Step 1: Basic Framework
Start by lightly sketching a circle for the vulture’s head. Then, draw a large oval shape underneath the head, which will be the body. Don’t worry about making it perfect at this stage, as you can always refine the shapes later.
Step 2: Outline the Wings
Extend two long, curved lines from the body to create the vulture’s wings. Remember that vultures have broad wings, so make sure to capture that shape. Don’t forget to add smaller feathers along the edges of the wings.
Step 3: Define the Tail
Sketch a long triangular shape for the tail of the vulture, extending from the lower part of the body. The tail should be slightly spread out, with some feathers overlapping each other.
Step 4: Add Legs and Feet
Draw two straight lines extending down from the body to form the vulture’s legs. At the bottom, sketch long, curved lines for the feet, with sharp claws at the ends. Vultures have large and powerful feet, so make sure to capture that aspect in your drawing.
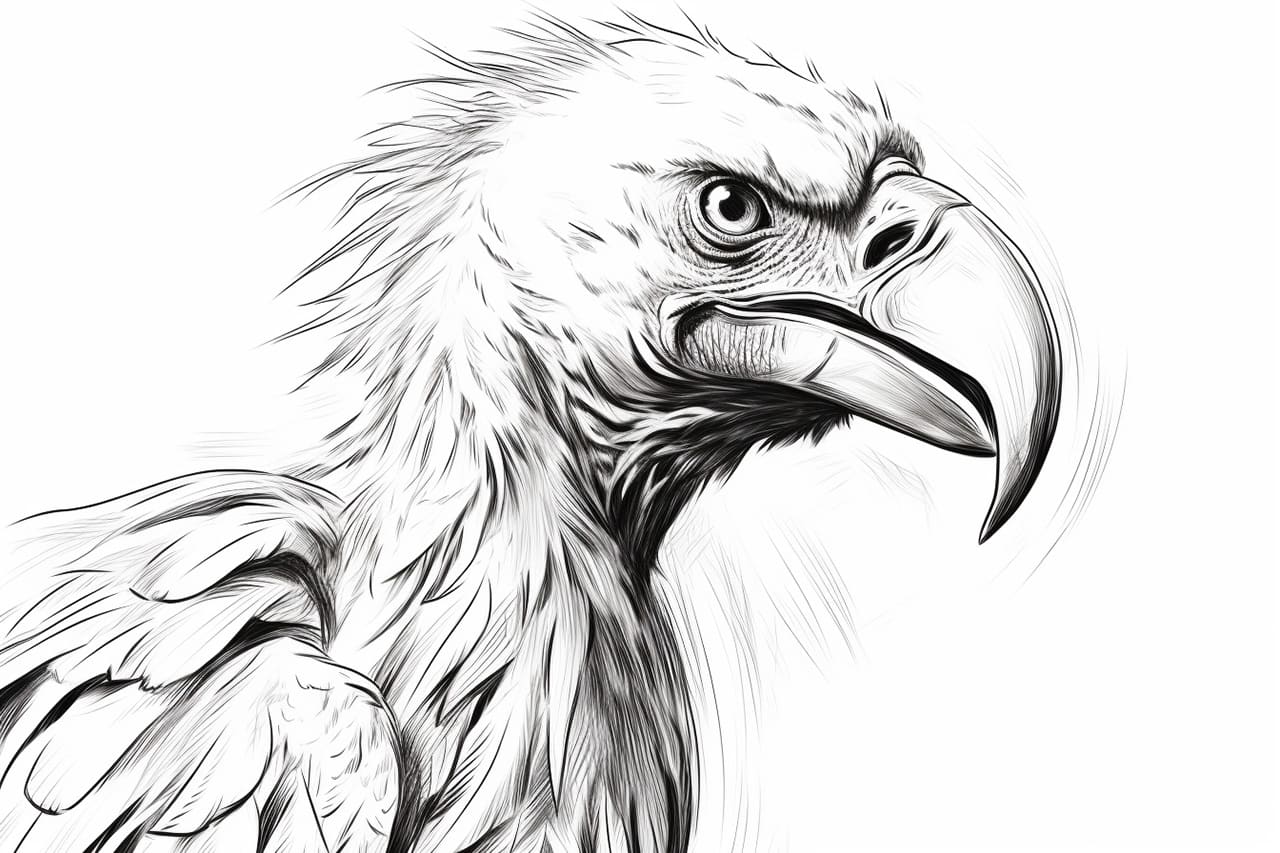
Step 5: Refine the Head
Now it’s time to add some details to the vulture’s head. Draw a long, curved beak extending from the circle you sketched earlier for the head. Vultures have a hooked beak, which is perfect for scavenging. Next, add the eyes on either side of the head, using small circular shapes. Don’t forget to add a small nostril at the base of the beak.
Step 6: Draw the Feathers
One of the most defining features of a vulture is its feathers. Start by adding feather shapes along the wings, tail, and body. Pay attention to the direction of the feathers and their arrangement. Vultures’ feathers are generally arranged in a neat and orderly manner.
Step 7: Refine the Details
Take a step back and evaluate your drawing so far. This is the perfect time to refine any areas that need adjustment. Erase any unnecessary lines and make any necessary changes to ensure that the proportions and shapes look accurate.
Step 8: Shading
Now, let’s bring your vulture drawing to life by adding shading. Start by identifying the light source in your drawing. This will help you determine where the shadows will fall. Use your pencil to gently shade the areas that are farther away from the light source. Gradually build up the shading, using different pressure on your pencil to create depth and dimension.
Step 9: Add Texture
To make your vulture drawing even more realistic, add texture to the feathers. Using short, curved lines, create a feathery texture on the wings, body, and tail. Take your time and observe reference images to accurately represent the details of the vulture’s feathers.
Step 10: Finishing Touches
Lastly, use a fine tip pen to outline the important features of your vulture drawing. Define the beak, eyes, feet, and feathers with clean and confident lines. This will make your drawing stand out and give it a polished look. Feel free to add any additional details or highlights using your pen or colored pencils if desired.
Congratulations! You’ve successfully learned how to draw a vulture. By following these step-by-step instructions and adding your personal touch, you’ve created a beautiful representation of this majestic bird.
Conclusion
In this tutorial, we went through the process of drawing a vulture from start to finish. We began by creating a basic framework and gradually added detail and shading to bring our vulture drawing to life. Remember to practice regularly and observe real-life vultures or reference images to improve your skills.
Drawing animals can be a great way to explore different shapes, proportions, and textures. So, grab your art supplies and start drawing! The more you practice, the better you’ll become. Enjoy the process and have fun creating your own vulture masterpiece!