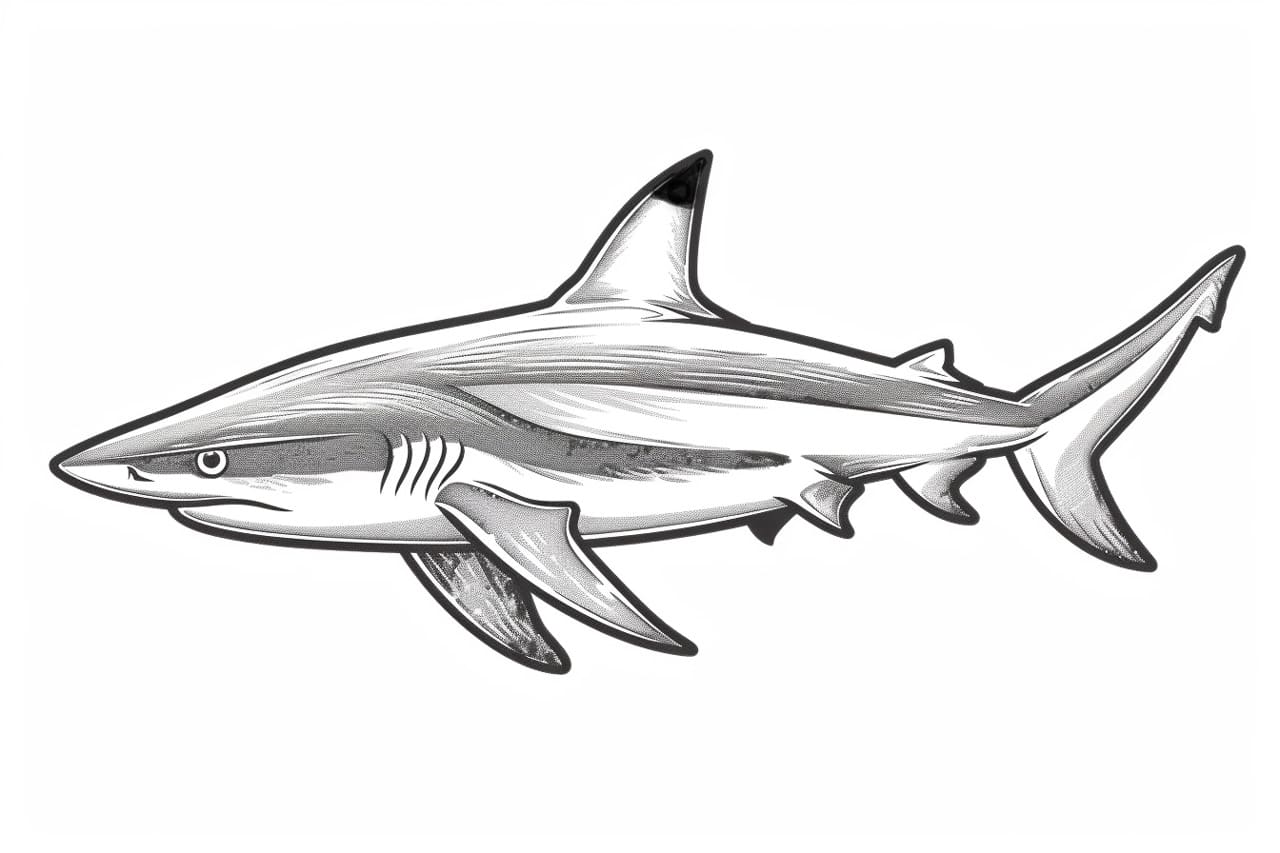
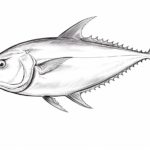
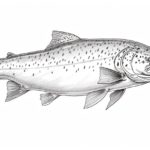
Welcome to this step-by-step guide on how to draw a blacktip shark! Blacktip sharks are fascinating creatures found in various oceans around the world. With their sleek bodies and distinguishable black-tipped fins, they make for an excellent subject to draw. Whether you’re an experienced artist or just starting, this tutorial will help you create a realistic representation of a blacktip shark. So, grab your drawing materials, follow along, and let’s dive into the world of shark drawing!
Materials
Before we begin, make sure you have the following materials ready:
- Drawing paper or sketchbook
- Pencil (preferably an HB or 2B)
- Eraser
- Black ink pen (optional for outlining)
- Colored pencils or markers (optional for adding color)
Now that we have our materials ready, let’s get started with the step-by-step process to draw a blacktip shark!
Step 1: Basic Shapes
Start by lightly sketching a large oval shape for the shark’s body. This oval will serve as the main framework for the shark. Then, draw a smaller oval shape towards the front of the first oval to represent the shark’s head.
Step 2: Outline the Body
Using the basic shapes as a guide, start outlining the shark’s body. Pay attention to the gentle curves and tapering shape of the blacktip shark’s body. Add the distinctive triangular dorsal fin on the top of the body, near the middle-back area. Also, sketch the pectoral fins on both sides of the body, near the head.
Step 3: Draw the Tail
Extend a long, curved line from the back of the body to create the upper lobe of the shark’s tail. Then, draw another curved line below it to form the lower lobe of the tail. Make sure to taper the tail towards the end, giving it a pointed appearance.
Step 4: Add the Fins
Draw the pelvic fins, which are located on the shark’s underside, just below the pectoral fins. These fins are smaller and more rounded compared to the pectoral fins. Next, add the anal fin located near the tail, and the caudal fin (tail fin) by connecting the two tail lobes with a curved line.
Step 5: Define the Head
Refine the shape of the shark’s head by adding details such as the eyes and mouth. The eyes are small and located on either side of the head, towards the front. They have a distinctive almond-like shape. For the mouth, draw a curved line with a small triangular shape at the end to represent the shark’s jaws.
Step 6: Refine the Body
Take your time to refine the outline of the shark’s body, erasing any unnecessary lines and adjusting the shape as needed. Pay attention to the smooth transitions between the different body parts and the overall proportions of the shark.
Step 7: Add Details
Now it’s time to add some of the characteristic features of the blacktip shark. Draw a series of small, triangular shapes along the top edges of the pectoral, dorsal, and caudal fins to represent the black tips. These tips are what give the blacktip shark its name and make it easily recognizable. You can also add a series of thin lines running along the side of the shark’s body to represent the gill slits.
Step 8: Ink or Outline
If you prefer a clean, finished look, you can go over your pencil lines with a black ink pen. This step is optional but can help emphasize the details and make your drawing stand out. Once the ink is dry, erase any remaining pencil marks.
Step 9: Add Color (Optional)
If you’re using colored pencils or markers, this is the step where you can add color to your drawing. Blacktip sharks typically have a grayish-blue or brownish-gray color on their upper body and a lighter shade on the underside. Feel free to experiment with different color combinations to bring your blacktip shark to life!
Conclusion
Congratulations! You have successfully drawn a blacktip shark! By following these step-by-step instructions, you’ve captured the essence of this magnificent ocean creature. Remember, practice makes perfect, so keep honing your drawing skills and exploring different subjects, including different types of sharks. We hope you enjoyed this tutorial and feel inspired to continue your artistic journey. Happy drawing!

