Welcome to this step-by-step guide on how to draw a blobfish. Known for its unique appearance and resemblance to a blob, the blobfish is a fascinating creature to capture on paper. In this tutorial, we will walk through the process of drawing a blobfish in an easy and approachable way. So, grab your drawing materials and let’s get started!
Materials Required
Before we begin, make sure you have the following materials ready:
- Drawing paper
- Pencil
- Eraser
- Fine-tipped markers or pens
- Colored pencils or markers (optional)
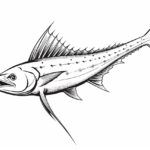
- Reference image of a blobfish (for guidance)
Now that you have all your materials prepared, let’s dive into the step-by-step process of drawing a blobfish.
Step 1: Outline the Basic Shape
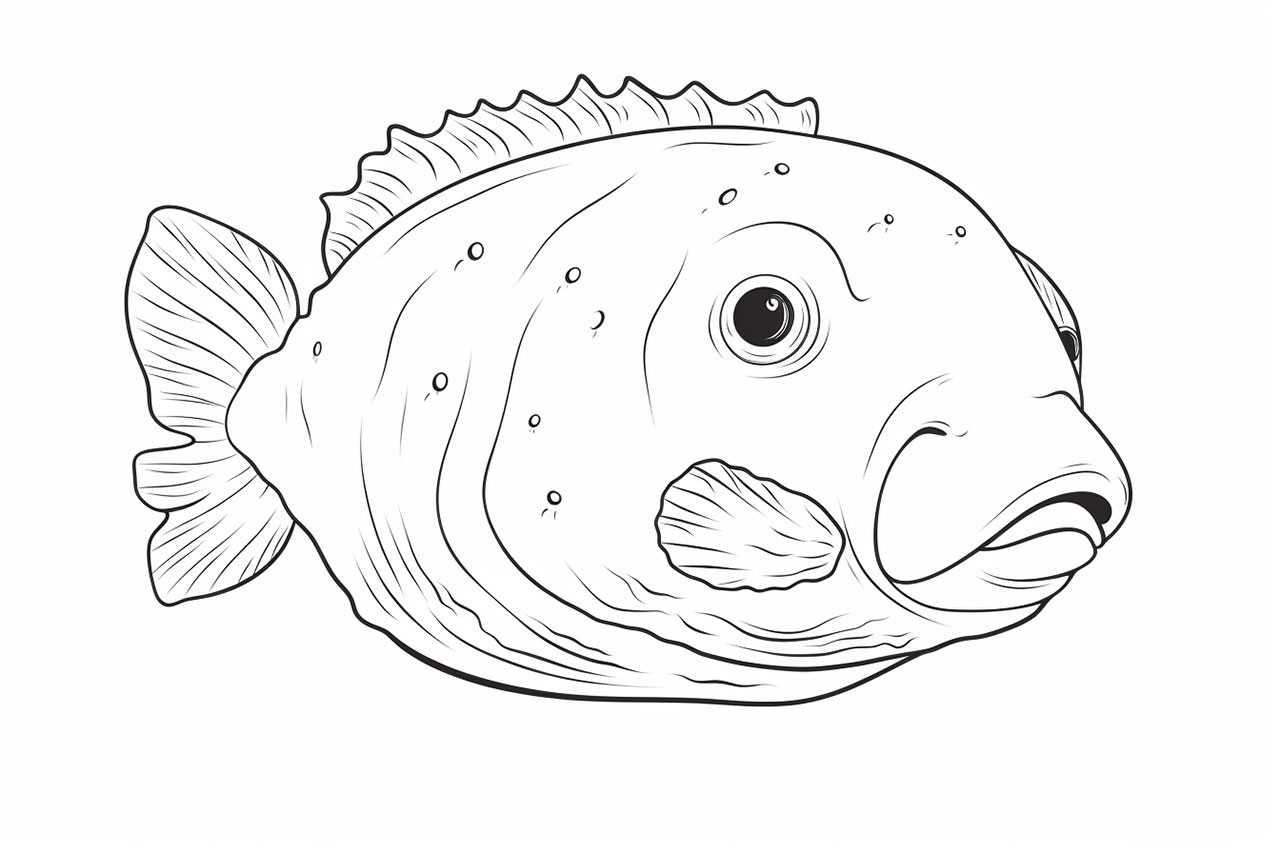
Start by lightly sketching an oval shape in the center of your paper. This will serve as the body of the blobfish. Keep in mind that blobfish often have a round body with a slightly tapered bottom, so adjust the shape accordingly.
Step 2: Add Facial Features
Now, let’s add some facial features. Draw two small circular eyes near the top of the oval shape. Blobfish have tiny eyes, so keep them small. Then, draw a small, curved line just below the eyes to indicate the fish’s mouth.
Step 3: Define the Body
Next, it’s time to add some definition to the blobfish’s body. Start by drawing a series of curved lines around the oval shape to give it a wrinkled and textured appearance. These lines should follow the contour of the body and be irregular in nature.
Step 4: Sketch the Fins
Blobfish have two pectoral fins on each side of their body. To draw these fins, start by adding a small curved line on each side, just below the blobfish’s head. Then, draw two more curved lines extending from these initial lines, tapering towards the ends. These fins should be relatively short and rounded.
Step 5: Add Tail Details
Blobfish have a short and stubby tail. Draw a curved line at the bottom of the body, extending outwards. Then, add some texture to the tail by drawing short, curved lines along its length.
Step 6: Refine the Facial Features
Now it’s time to refine the blobfish’s facial features. Start by darkening the outline of the eyes and adding small pupils within them. You can also add some tiny dots or lines above the eyes to indicate eyebrows. For the mouth, darken the line and add a small curve at each end to give the impression of a smiling expression.
Step 7: Add Texture and Shadows
To add more depth and texture to your drawing, you can now start adding some shading. Use your pencil to lightly shade the areas where shadows would naturally fall, such as the bottom of the body, the folds, and the fins. This will give your drawing a three-dimensional look.
Step 8: Ink Your Drawing
Once you’re satisfied with your pencil sketch, carefully go over the lines with a fine-tipped marker or pen. Start with the outline and then work your way through the details, such as the fins, facial features, and texture. Ink your drawing slowly and confidently, making sure to leave out any unwanted pencil lines.
Step 9: Color Your Blobfish (Optional)
If you prefer to add some color to your drawing, now is the time to do so. Use colored pencils or markers to add a splash of vibrancy to your blobfish. Blobfish are generally a pale pink or gray color, but you can get creative and experiment with different hues and shades.
Conclusion
Congratulations! You have successfully learned how to draw a blobfish. By following these step-by-step instructions, you were able to capture the unique features and essence of this fascinating creature. Remember to practice and have fun with your drawings. Keep exploring different techniques and styles to develop your own artistic skills. Enjoy your newfound ability to draw a blobfish!