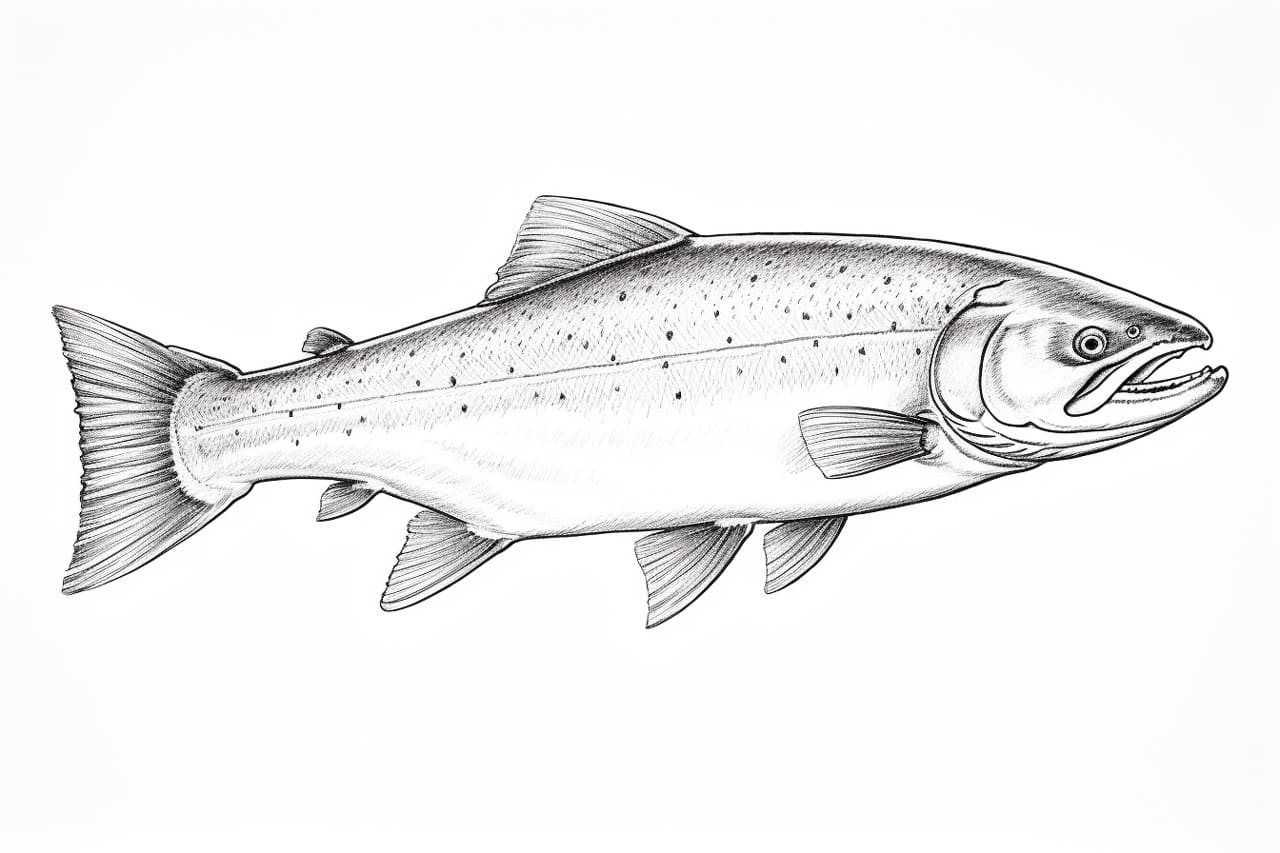
Drawing a salmon can be a fun and rewarding experience. Whether you are an experienced artist or just starting out, this step-by-step guide will help you create a realistic and detailed depiction of this magnificent fish. In this article, we will cover the materials you will need, as well as provide clear instructions on how to draw a salmon. So, let’s dive in and get started!
Materials Required
Before we begin, gather the following materials:
- A pencil
- Drawing paper
- Eraser
- Fine-tipped markers or pens
- Colored pencils or watercolors (optional)
With these materials ready, you are all set to begin your salmon drawing.
Step 1: Basic Shape
Start by lightly sketching an elongated oval shape on your drawing paper. This will serve as the basic outline of the salmon’s body. Keep the lines light, as you will be refining the shape later on.
Step 2: Head and Tail
Using the oval as a guide, add the head and tail to your salmon. The head should be slightly pointed on one end, while the tail should be more forked. Make sure to maintain the overall shape and proportion of the fish as you draw these features.
Step 3: Fins and Scales
Next, add the fins and scales to your salmon. Start with the pectoral fins located on each side of the body, followed by the dorsal fin along the back, and the anal fin towards the tail. Remember to reference a picture of a salmon or use your imagination to ensure accuracy.
Step 4: Detailing the Head
Now it’s time to add more detail to the salmon’s head. Sketch the eye, which should be almond-shaped, and add a small circle for the pupil. Define the mouth by drawing a curved line, and add a few small lines to represent the gills on the side of the head.
Step 5: Body Texture
To give your salmon a realistic look, it’s important to add texture to its body. Draw diagonal lines along the length of the fish, starting from the head and continuing to the tail. These lines will represent the scales of the salmon and add depth to your drawing.
Step 6: Shading and Shadows
To make your salmon drawing even more lifelike, add shading and shadows. Determine the light source in your drawing and shade the areas that would be in shadow. Use a soft pencil or a fine-tipped marker to create smooth transitions between light and dark areas.
Step 7: Color or Additional Details (Optional)
If you prefer to add color to your drawing, you can use colored pencils or watercolors to bring your salmon to life. Research the specific colors and patterns of the type of salmon you are drawing and apply them accordingly. Additionally, you can add more details such as water bubbles or a riverbed to enhance the overall composition.
Conclusion
Drawing a salmon may seem challenging at first, but with some practice and the right techniques, you can create a stunning representation of this magnificent fish. By following the step-by-step instructions provided in this article and using the materials listed, you’ll be able to create a realistic and detailed salmon drawing. So, grab your drawing materials and give it a try!

