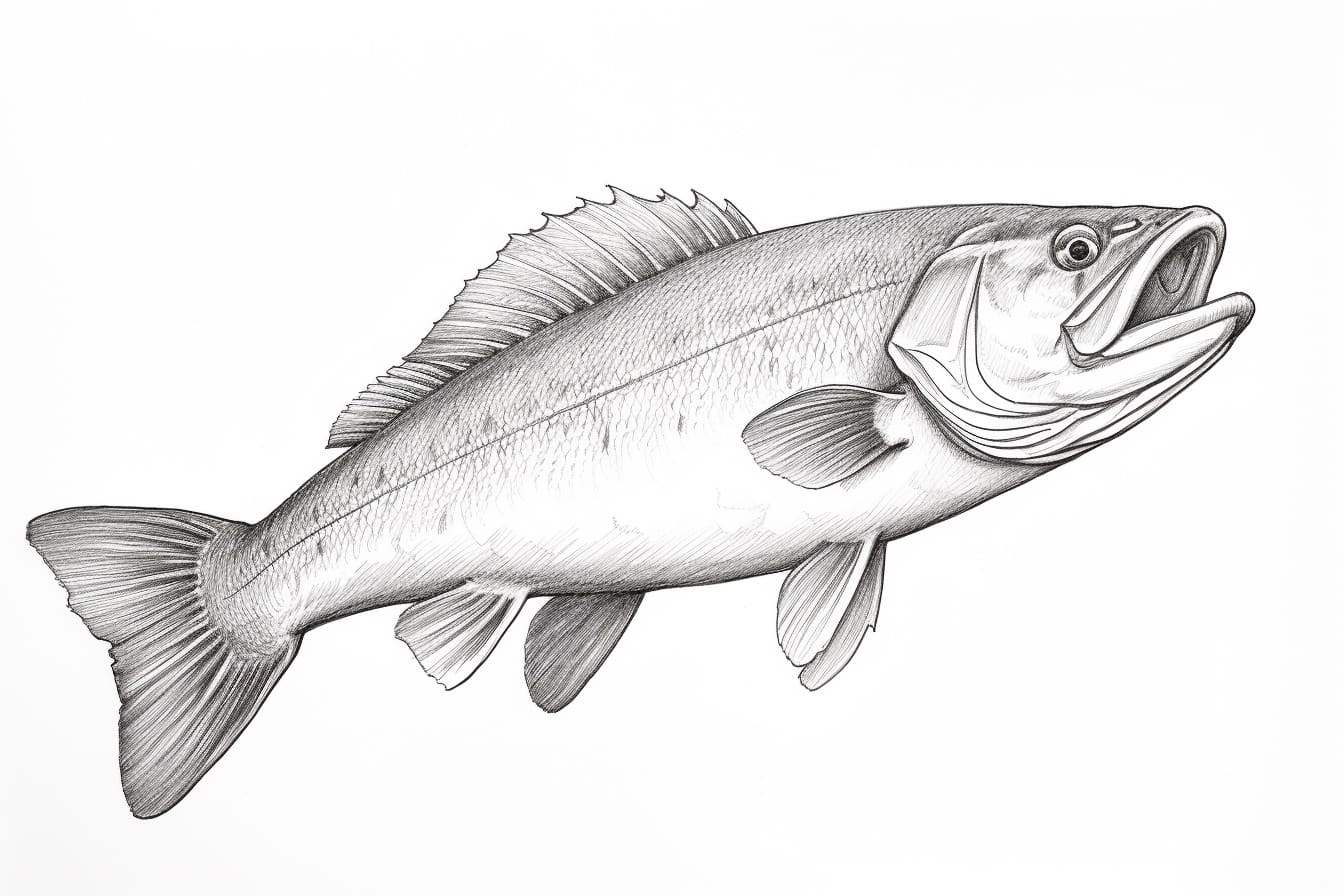
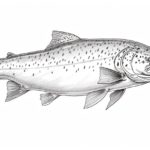
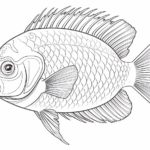
Welcome aspiring artists! In this step-by-step tutorial, I will guide you on how to draw a walleye, a popular game fish known for its distinct appearance. Even if you’re a beginner, don’t worry! With a little patience and practice, you’ll be able to create a realistic and detailed representation of this beautiful fish.
Materials Required
To get started, gather the following materials:
- Drawing paper
- Pencils (HB, 2B, 4B)
- Eraser
- Blending stump or cotton swabs
- Pencil sharpener
- Reference photo of a walleye (optional)
Now that you have your materials ready, let’s dive into the process of drawing a walleye.
Step 1: Outline the Basic Shape
Begin by lightly sketching the basic shape of the walleye. Start with an elongated oval shape for the body, slightly wider in the middle and tapering towards the tail. Then, add a smaller oval on one end for the head, with a curved line connecting the head and body.
Step 2: Add the Fin Structures
Next, draw the fin structures of the walleye. This fish has three main fins: the dorsal fin, the caudal fin (tail), and the pectoral fin. The dorsal fin is located on the top of the body, near the middle. The caudal fin is at the end of the body, while the pectoral fin is positioned near the head. Pay attention to the shape and curvature of these fins as they contribute to the walleye’s distinctive appearance.
Step 3: Sketch the Eye and Mouth
Now, let’s bring the walleye to life by adding its characteristic eye and mouth. Draw a large oval shape for the eye, slightly tilted downward. Within the eye, add a smaller circle to represent the pupil. On the opposite side of the head, sketch a small, curved line for the mouth.
Step 4: Refine the Body
Start refining the shape of the walleye’s body by adding details. Along the body, lightly sketch short, curved lines to represent the scales. Pay attention to the direction of the scales, as they generally follow the contours of the body. Also, add more definition to the fins, making them appear more bony and rigid compared to the rest of the body.
Step 5: Shade the Body
Now it’s time to add depth and dimension to the walleye’s body. Using a 2B or 4B pencil, carefully shade the body of the fish. Start with light, even strokes, gradually building up the darkness as you move along. Pay attention to areas where the light hits the fish, creating highlights, as well as the shadows that are formed by the shape of the body and fins.
Step 6: Add Texture and Detail
To achieve a realistic look, focus on adding texture and detail to the walleye’s body. Use a sharp pencil to carefully draw in individual scales, emphasizing the irregular pattern they create. Take your time with this step, as the details will enhance the overall appearance of the final drawing.
Step 7: Work on the Fin Structures
Continue adding depth and texture to the fin structures. Pay close attention to the bony and rigid nature of the fins, using short, overlapping lines to depict this characteristic. Additionally, add any distinguishing features or patterns that may be present on the particular walleye you are drawing.
Step 8: Refine the Eye and Mouth
Now, let’s refine the eye and mouth of the walleye. Darken the pupil, leaving a small highlight to give it a lifelike appearance. Shade the area around the eye to create depth, and add a few small lines to indicate texture. For the mouth, carefully outline the shape and darken it slightly, paying attention to the unique shape of the walleye’s mouth.
Step 9: Final Touches and Blending
With most of the drawing complete, take a step back and evaluate your work so far. Make any necessary adjustments or additions to ensure accuracy. Once you’re satisfied, gently blend some areas of shading using a blending stump or cotton swab. This technique smooths out pencil strokes and creates a softer, more realistic effect.
Conclusion
Congratulations! You have successfully learned how to draw a walleye. By following these step-by-step instructions and adding your own artistic touches, you have created a stunning representation of this remarkable fish. Remember, practice makes perfect, so don’t be discouraged if your first attempt isn’t exactly what you envisioned. Keep honing your skills, and soon you’ll be able to capture the beauty of other aquatic creatures as well.
Now go grab your drawing materials and dive into the world of art as you create your very own walleye masterpiece!

