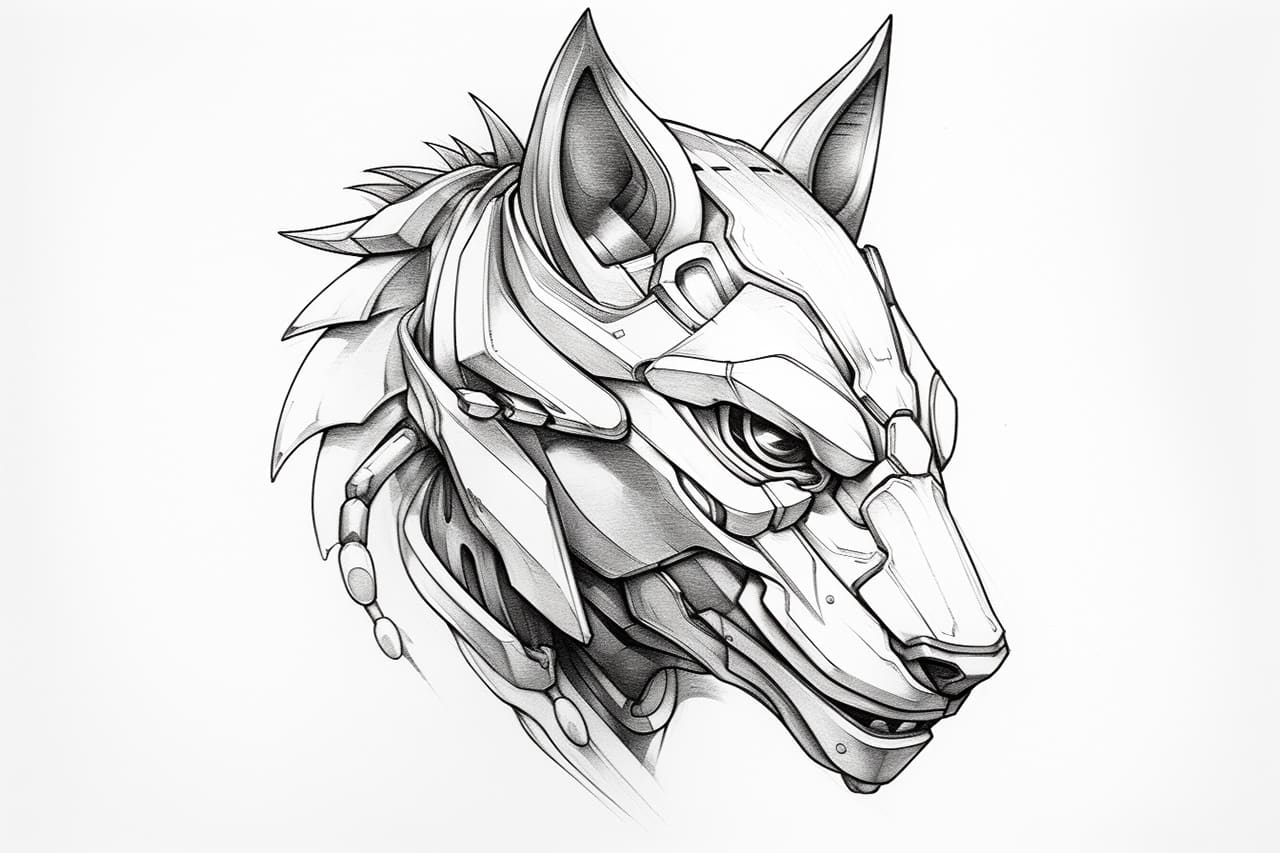
Welcome to this step-by-step guide on how to draw a protogen! Protogens are a popular species of robotic creatures with unique features and characteristics. Whether you are a beginner or an experienced artist, this article will provide you with the techniques and instructions you need to create your very own protogen artwork. So grab your drawing materials and let’s get started!
Materials Required
Before we begin, here are the materials you will need for this drawing:
- Paper: Choose a smooth, high-quality paper that is suitable for drawing. You can use either a sketchbook or loose sheets of paper.
- Pencils: A set of graphite pencils ranging from H to B is ideal. These will allow you to create different shades and textures in your drawing.
- Eraser: A kneaded eraser or a soft vinyl eraser will be useful for correcting mistakes or adjusting details.
- Drawing Tools: You may also find it helpful to have a ruler, a compass, and a circle template for drawing neat and precise shapes.
Now that you have your materials ready, let’s dive into the step-by-step process of drawing a protogen!
Step 1: Basic Structure
Start by lightly sketching the basic structure of your protogen. Begin with a large oval shape for the head, followed by a slightly elongated oval for the body. Add guidelines to indicate the position of the eyes, ears, and mouth. Don’t worry about the details at this stage, as we will refine them later.
Step 2: Facial Features
Next, focus on the facial features of your protogen. Draw two large circular eyes within the guidelines, leaving some space between them. Add two smaller circles within the eyes to represent the pupils. Above the eyes, draw a curved line for the brow ridge. Then, draw a rectangular shape for the mouth, with rounded corners.
Step 3: Ears
Protogens have unique ear designs, so let’s draw them next. Start by drawing two triangular shapes on top of the head, pointing upwards. Add some details to the ears, such as small antennas or mechanical parts. Feel free to get creative and customize the design to your liking.
Step 4: Body and Limbs
Now it’s time to add more details to the body and limbs of your protogen. Extend the body by drawing two outward curves from the sides of the head. These curves will form the shoulders and upper body. Then, draw the arms and legs by adding two sets of curved lines. Remember to keep the proportions balanced and symmetrical.
Step 5: Tail and Additional Details
Protogens often have long, mechanical tails that enhance their futuristic appearance. Draw a tail extending from the back of your protogen, using curved lines or geometric shapes. Add any additional details you like, such as buttons, switches, or patterns on the body. These details will bring your protogen to life and make it unique.
Step 6: Refine and Shade
Once you are satisfied with your protogen’s overall appearance, it’s time to refine the drawing and add shading. Use a darker pencil, such as a 2B or 4B, to trace over your initial sketch and define the outlines. Erase any unnecessary guidelines or stray lines.
To create depth and dimension, add shading to your protogen. Imagine a light source and shade the areas that would be in shadow, such as the sides of the head, under the chin, and the interior of the ears. Use a blending tool or your finger to smoothly blend the shading for a more realistic effect.
Step 7: Final Touches
To make your protogen even more visually appealing, add some final touches to your drawing. You can experiment with different textures and patterns on the body, or you can add highlights to the eyes and metallic parts. Don’t be afraid to add your own artistic flair and make the drawing uniquely yours.
Conclusion
Congratulations! You have successfully learned how to draw a protogen from start to finish. By following these step-by-step instructions, you have created your very own robotic creature with intricate details and unique characteristics. Keep practicing and refining your skills, and soon you’ll be able to create even more amazing artwork.
Remember, drawing is all about expressing your creativity and enjoying the process. So have fun, experiment with different styles, and let your imagination run wild. Happy drawing!


