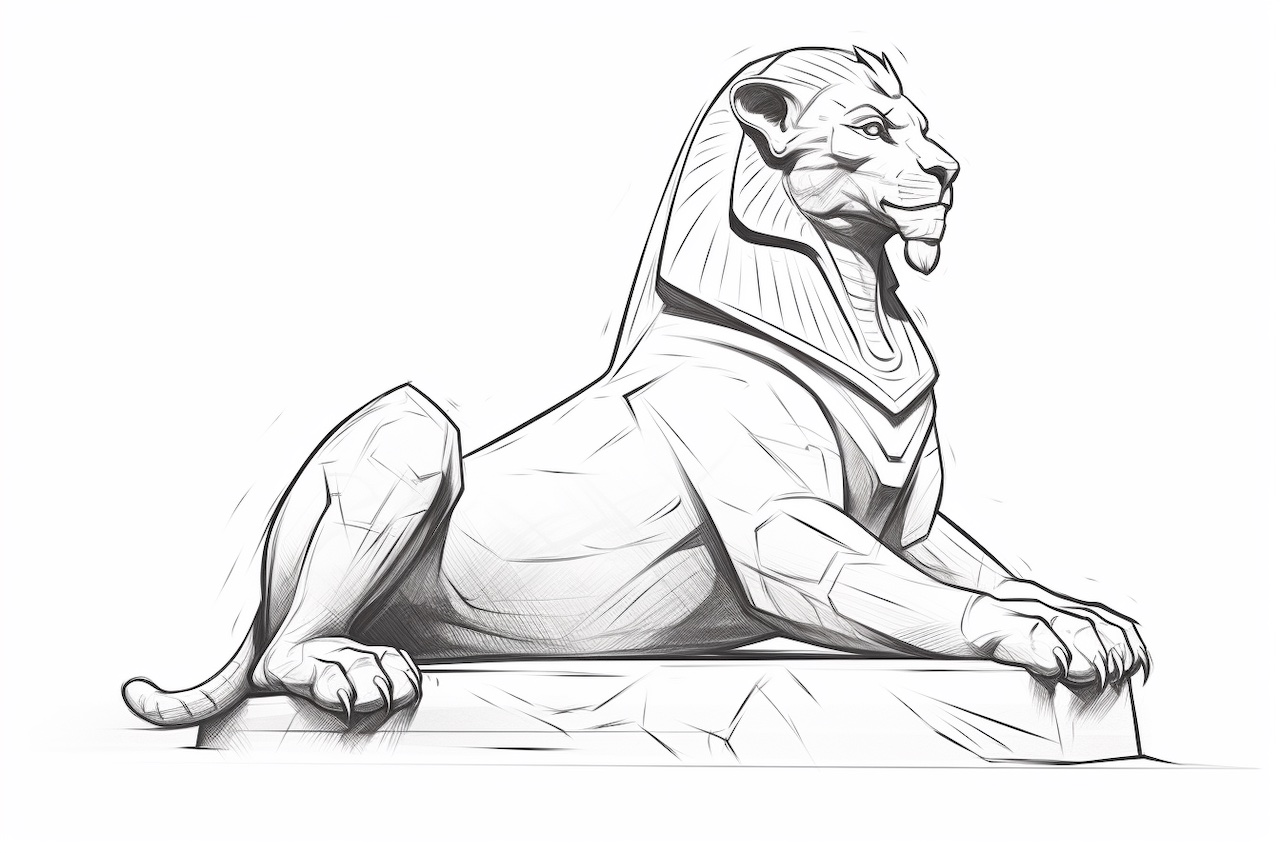
Are you interested in learning how to draw a sphinx? In this step-by-step guide, I will show you how to create your own stunning representation of this mythical creature. With a few simple techniques and a little practice, you can capture the captivating beauty of the sphinx on paper. So, let’s get started!
Materials Required
Before we begin, gather the following materials:
- Drawing paper
- Pencil
- Eraser
- Fine-tip markers (optional)
- Colored pencils or markers (optional)
Now that you have all your materials ready, let’s dive right into the drawing process.
Step 1: Sketch the Sphinx’s Body
Start by drawing a large oval shape for the sphinx’s body. This will serve as the foundation for the rest of the drawing. Keep in mind that the proportions and size of the body will determine the overall look of your sphinx.
Step 2: Add the Sphinx’s Head
Next, sketch a smaller oval shape above the body to represent the sphinx’s head. Make sure it is proportionate to the body, and try to position it slightly tilted as if the sphinx is looking up into the distance.
Step 3: Define the Face
Within the head shape, draw a line in the center to indicate the sphinx’s face. Then, add two angled lines starting from the top of the head, curving inward towards the center line. These lines will help you position the facial features later.
Step 4: Draw the Facial Features
Using the guidelines from the previous step, draw the sphinx’s eyes, nose, and mouth. The eyes should be almond-shaped and set slightly apart. The nose should be narrow and elegant, blending into the face. The mouth can be a simple curve or you can add more detail if you prefer.
Step 5: Create the Sphinx’s Ears and Mane
On top of the sphinx’s head, draw two triangular shapes to represent the ears. Position them above and slightly behind the eyes. Then, draw a flowing mane by creating a series of curved lines that start from behind the ears and flow down towards the body.
Step 6: Add the Sphinx’s Wings
Extend two curved lines starting from the sides of the body, just below the head, to create the sphinx’s wings. Make the wings large and graceful, sweeping slightly upwards at the ends.
Step 7: Detail the Body and Wings
Now it’s time to add more details to the sphinx’s body and wings. Start by drawing a few lines across the body to indicate the fur texture. For the wings, add feather-like shapes along the outer edges, giving them a realistic appearance.
Step 8: Refine the Facial Features
Go back to the sphinx’s face and refine the details. Add more depth and definition to the eyes by shading in the pupils. You can also add eyelashes and eyebrow-like lines above the eyes for added realism. Don’t forget to erase any unnecessary guidelines.
Step 9: Fine-tune the Mane, Ears, and Wings
Refine the shapes and lines of the sphinx’s mane, ears, and wings. Add more definition and texture by using short strokes or lines to create the appearance of individual fur strands or feathers.
Step 10: Finalize the Drawing
Take a step back and assess your drawing. Make any necessary adjustments or refinements to ensure everything looks balanced and proportionate. Darken the lines you want to emphasize and erase any remaining guidelines.
Conclusion
Congratulations! You have successfully learned how to draw a magnificent sphinx. By following these step-by-step instructions, you were able to capture the essence of this mythical creature on paper. Remember, practice makes perfect, so keep honing your drawing skills and exploring your creativity. Enjoy the process, and don’t be afraid to add your own unique touches to make your sphinx truly one of a kind.


