Welcome to this step-by-step tutorial on how to draw a Pikachu, the beloved yellow Pokémon. Whether a beginner or an experienced artist, this guide will help you create your Pikachu drawing. So grab your art supplies, and let’s get started!
Materials Required
Before we begin, make sure you have the following materials ready:
- Paper: Choose a smooth, white paper that is suitable for drawing. A sketchpad or drawing paper will work well.
- Pencils: Have a range of pencils with different lead hardness (HB, 2B, 4B) for sketching, shading, and details.
- Eraser: A good quality eraser will help you correct any mistakes.
- Sharpener: Keep a sharpener handy to keep your pencils sharp for precise lines.
- Colored Pencils or Markers (optional): If you want to add color to your drawing, have a set of colored pencils or markers available.
Now that you have your materials ready, let’s begin!
Step 1: Basic Shapes
To start, we’ll create a basic framework for Pikachu using simple shapes. Begin by drawing a medium-sized circle for the head. Right below the head, draw a smaller oval shape for the body. Connect the head and body with a curved line for the neck.
Step 2: Facial Features
Now, let’s focus on Pikachu’s face. Draw two large circles inside the head circle for the eyes. Leave a small space between them. Inside each eye, draw a smaller circle for the pupils, and shade them in, leaving a small white highlight for a lively effect.
Below the eyes, draw a small triangle shape for the nose. Just below the nose, draw a wide, curved line for the mouth, with a small curve in the middle to indicate a smiling expression.
Step 3: Cheeks and Ears
Pikachu is known for its rosy cheeks and pointy ears. Draw two circles on each side of the face for the cheeks. These circles should be slightly slanted and placed below the eyes.
Next, draw the ears. Start by drawing two long, curved lines that extend from the top of the head. At the top of each line, add a curved triangle shape for the tips of the ears.
Step 4: Body and Tail
Let’s work on Pikachu’s body. Begin by drawing the arms. Extend two curved lines from the body, bending them slightly inwards at the ends for the hands.
Next, draw the feet. Extend two curved lines from the bottom of the body, bending them slightly outwards at the ends to create the feet.
Now, draw Pikachu’s tail. Extend a long, zigzag line from the back of the body, curving it gently towards the end.
Step 5: Details
It’s time to add some details to our drawing. Start with Pikachu’s lightning-shaped tail markings. Draw two slanted lines along the tail and connect them with a series of zigzag lines.
Next, add the stripes on Pikachu’s back. Draw two slightly curved lines running vertically from the neck to the tail.
Draw the fingers on Pikachu’s hands by adding small curves to the ends of the arms. Similarly, add small, curved lines to the feet to create the toes.
Step 6: Shading and Final Touches
To give our drawing more depth and dimension, let’s add some shading. Identify the light source in your drawing (e.g., top-left corner) and imagine where the shadows would fall.
Begin by shading the areas that would be in shadow, such as under Pikachu’s head, body, and tail. Use smooth, light pencil strokes to build up the shading gradually.
Once you are satisfied with the shading, use an eraser to gently lighten specific areas, such as the highlights on Pikachu’s nose and cheeks, to add more contrast.
Conclusion
Congratulations! You have successfully learned how to draw Pikachu step by step. Remember, practice makes perfect, so don’t hesitate to try drawing Pikachu multiple times to improve your skills. With time and dedication, you’ll be able to create your very own unique Pikachu drawings.
We hope you enjoyed this tutorial on how to draw a Pikachu. Now you can showcase your artistic abilities and create amazing Pikachu artwork. Happy drawing!
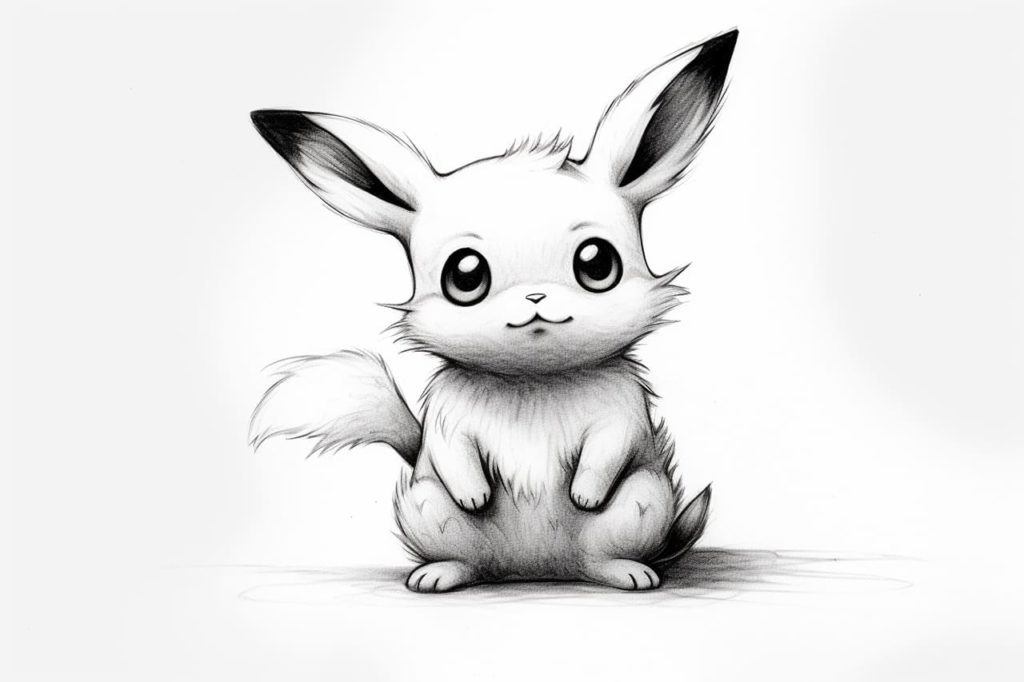
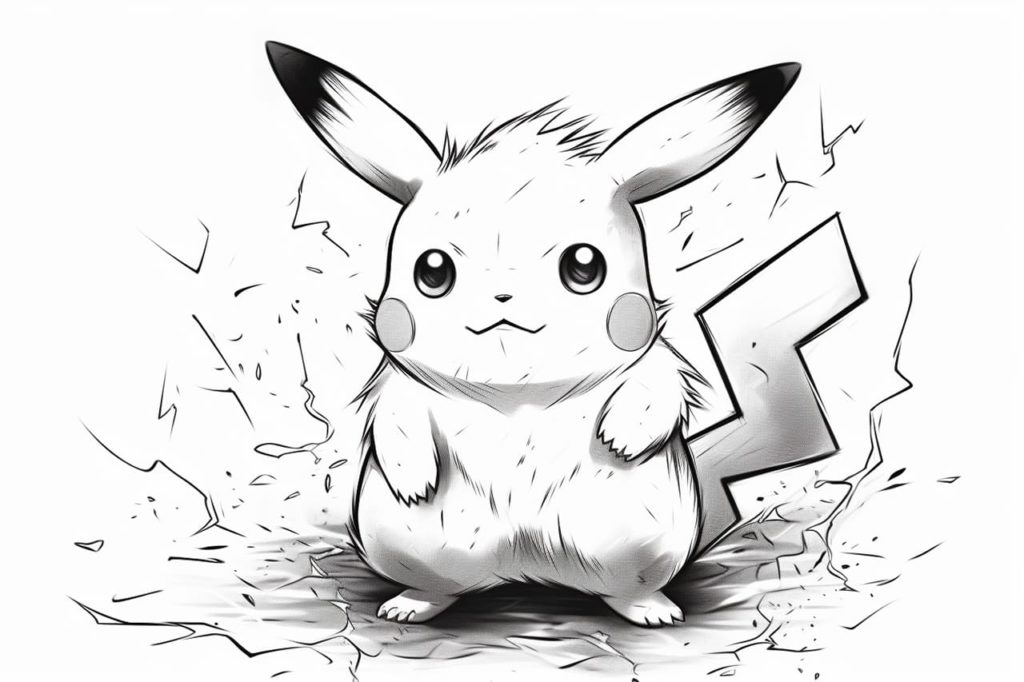
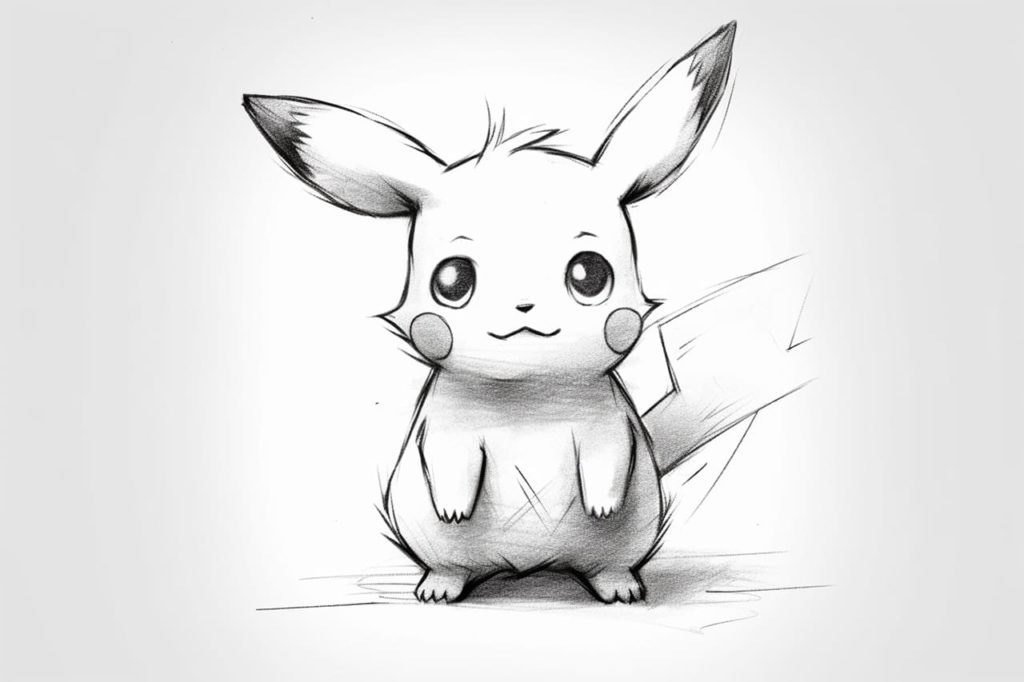
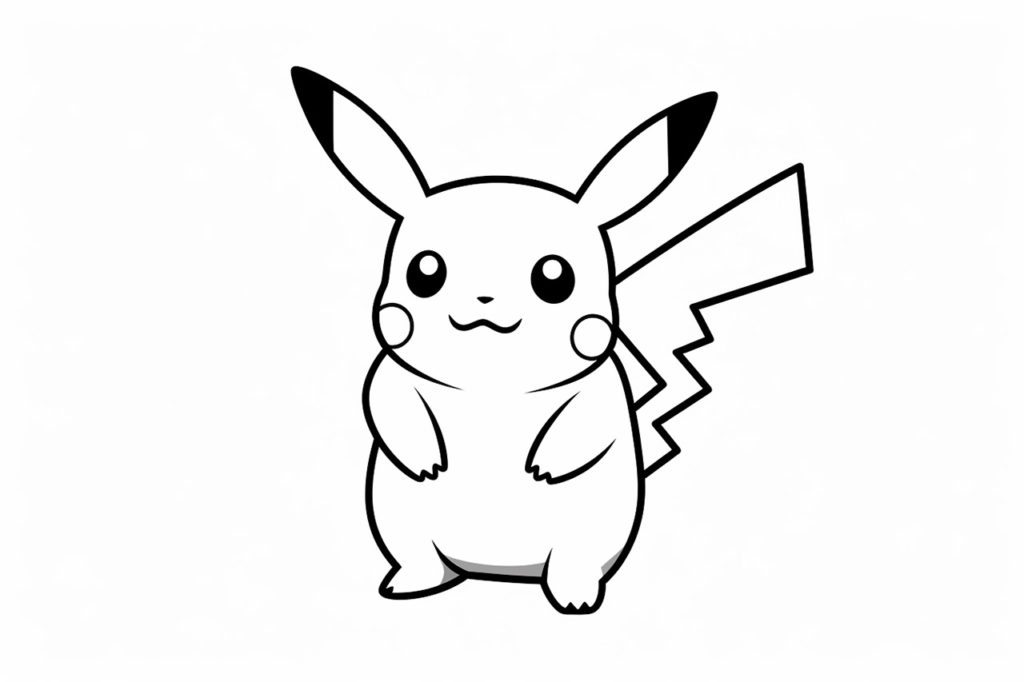
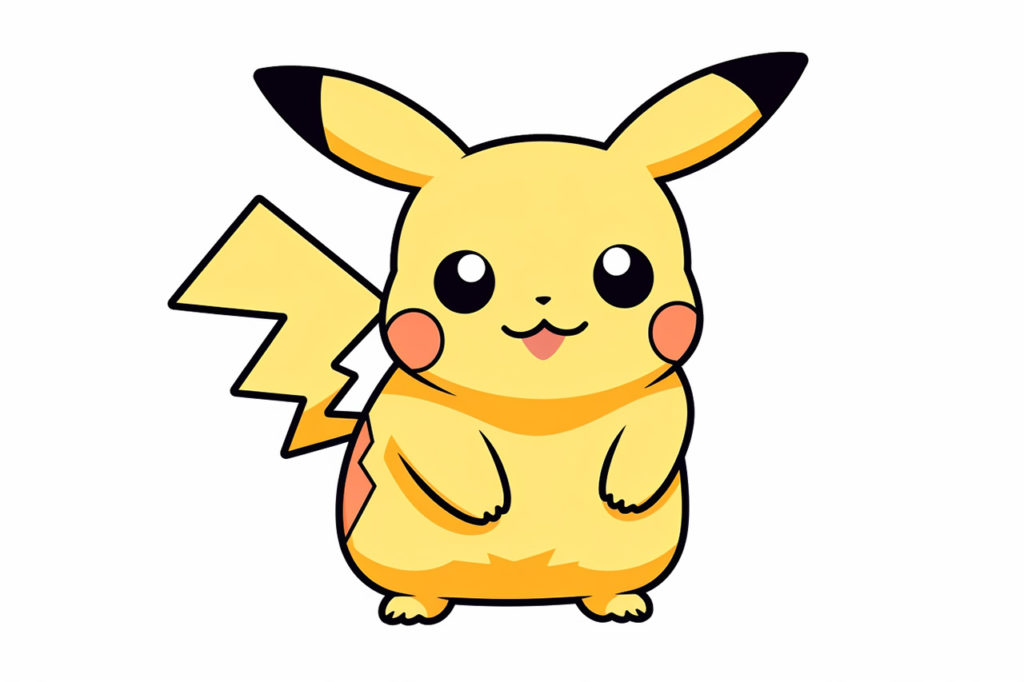
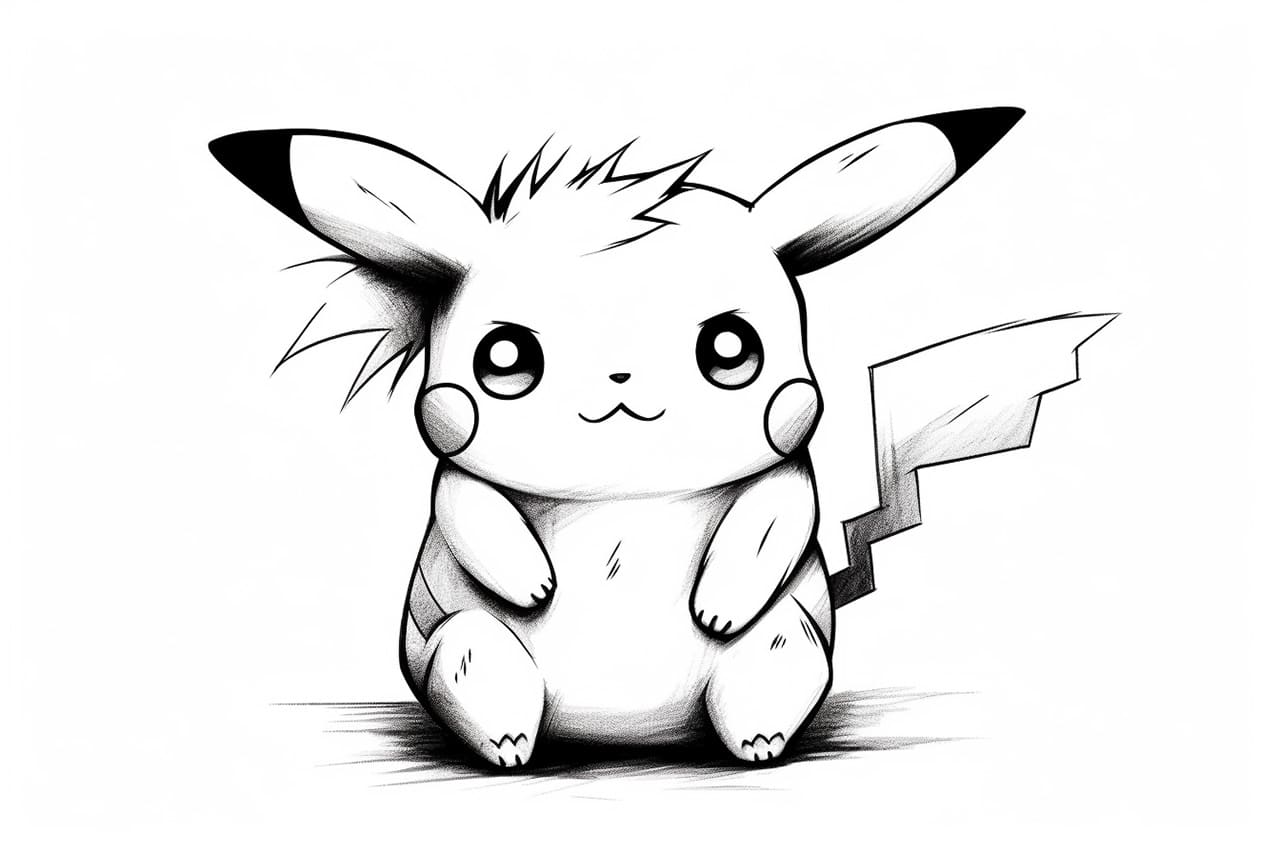
Gallery of Pikachu Drawings