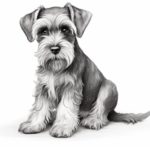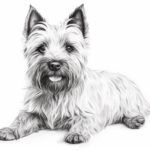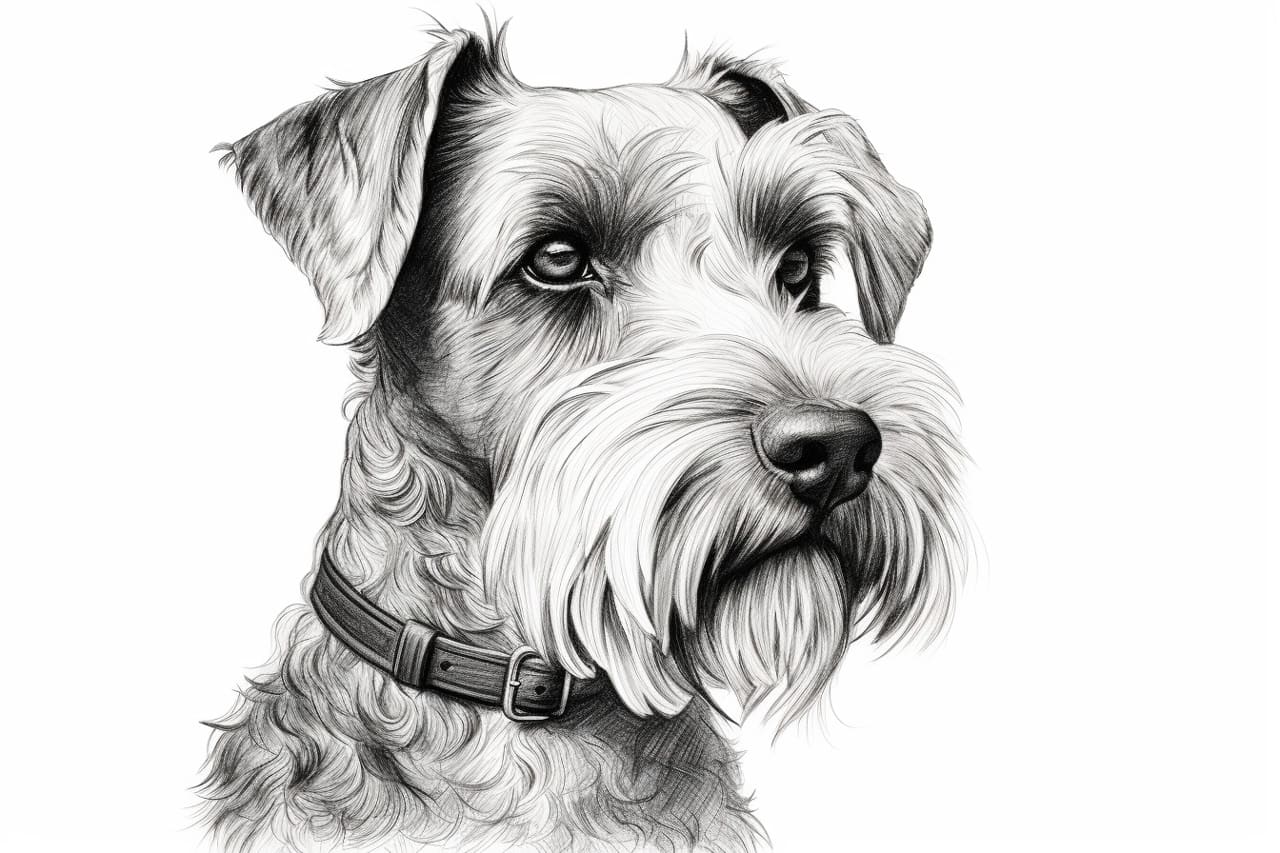
Welcome to this step-by-step guide on how to draw a Schnauzer. Schnauzers are a delightful breed of dog known for their distinctive look and playful personality. In this article, we will walk you through the process of drawing a Schnauzer from start to finish. Whether you are an experienced artist or just starting out, these easy-to-follow instructions will help you create a beautiful representation of this beloved pet.
Materials Required
Before we begin, make sure you have the following materials ready:
- Pencil
- Eraser
- Paper
- Colored pencils or markers (optional)
Now, let’s get started!
Step 1: Sketch the Basic Shapes
Start by lightly sketching the basic shapes that will serve as the framework for your Schnauzer drawing. Begin with an oval shape for the head, followed by a large circle for the body. Add two smaller circles for the ears and sketch a line to indicate the dog’s back.
Step 2: Define the Head and Facial Features
Using the basic shapes as a guide, start adding more details to the head. Sketch two almond-shaped eyes, making sure they are properly spaced apart. Add a small triangle-shaped nose just below the eyes and draw a mouth by adding a curved line that extends from the nose. Don’t forget to include the characteristic Schnauzer eyebrows by drawing two small curved lines above each eye.
Step 3: Add Ears, Fur, and Tail
Refine the shape of the ears by adding more detail, giving them a slightly triangular shape and pointing them upwards. Next, draw fur around the face and body to give your Schnauzer drawing a more realistic look. Add small, short strokes to represent the fur texture. Sketch a curved line to indicate the tail, making sure it’s proportionate to the body.
Step 4: Outline the Body and Legs
Using the basic circle as a guide, outline the body of the Schnauzer, making sure to define the shape of the chest, ribcage, and hindquarters. Draw a curved line to divide the body into two sections. Next, sketch the front and back legs, making them slightly curved to give the drawing a more dynamic appearance.
Step 5: Refine the Face and Features
Go back to the dog’s face and refine the shape of the eyes and nose. Add more details to the eyes by sketching a small circle within each eye to represent the iris. Darken the eyebrows to make them stand out. Draw a small tongue by adding a curved line within the dog’s mouth.
Step 6: Draw the Schnauzer’s Coat
One of the defining features of a Schnauzer is its wiry coat. To depict this, sketch short, thin lines all over the body. Start from the head and work your way down to the tail. Pay attention to the direction of the fur and make sure your lines follow the contours of the body.
Step 7: Finalize the Drawing
Now that you have all the essential elements in place, it’s time to finalize your Schnauzer drawing. Go over your pencil lines with either a darker pencil or a pen to make them more defined. Erase any unnecessary guidelines and smudges. If desired, you can add color using colored pencils or markers to bring your drawing to life.
Conclusion
Congratulations on completing your Schnauzer drawing! By following these step-by-step instructions, you have learned how to capture the unique characteristics of this lovable breed. Remember to practice and experiment with different techniques to improve your skills. With time and dedication, you will be able to create stunning drawings of Schnauzers and other subjects. Enjoy the process!