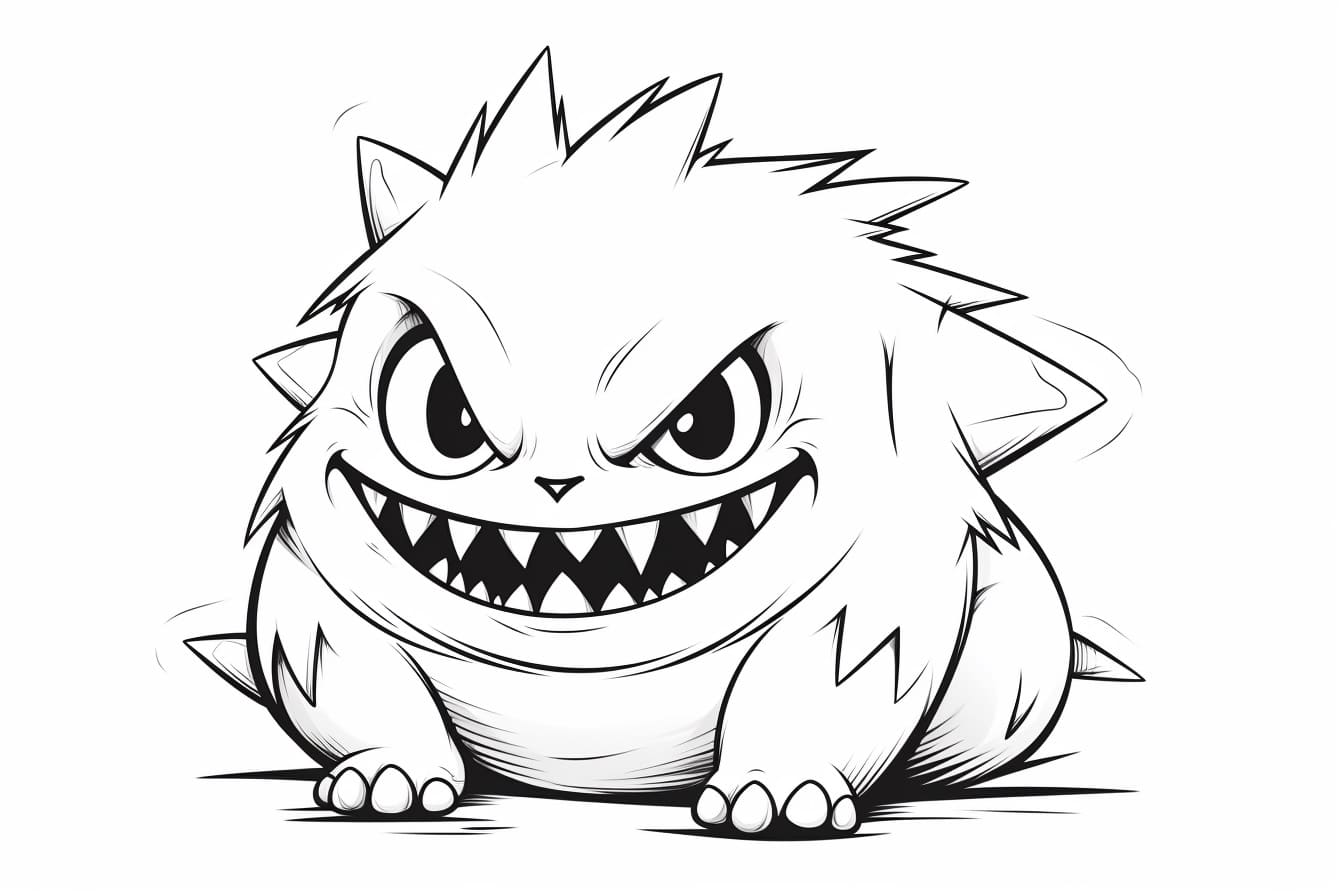
Welcome to this step-by-step guide on how to draw a Gengar! Gengar is a popular Pokémon known for its mischievous and ghostly appearance. By following these easy instructions, you can create your own Gengar masterpiece. So, grab your drawing materials and let’s get started!
Materials Required:
To draw Gengar, you’ll need the following materials:
- Pencil
- Eraser
- Paper
- Black fine-tip marker or pen (optional)
- Colored pencils or markers (optional)
Now that you have everything ready, let’s begin the drawing process!
Step 1: Outline the Head
Start by drawing a large oval in the center of your paper. This will be the basic shape of Gengar’s head. Try to make the oval slightly elongated, as Gengar has a more oblong-shaped head.
Step 2: Add the Eyes and Mouth
Inside the oval, draw two large circles for Gengar’s eyes. Leave some space between the eyes for the mouth. Gengar has a mischievous grin, so draw a curved line underneath the eyes to represent the open mouth. Add a few small triangular-shaped teeth along the curve of the mouth.
Step 3: Detail the Eyes
Within each eye, draw two smaller circles – one larger than the other. Shade the larger circle, leaving a smaller unshaded circle for the highlight. This will give Gengar’s eyes a more sinister look.
Step 4: Draw the Body
Extend two curved lines on either side of Gengar’s head to form its body. The body should be slightly wider than the head and taper towards the bottom.
Step 5: Add Arms and Legs
Gengar has short and stubby arms and legs. Draw two small ovals on each side of Gengar’s body for the arms. Then, draw two more ovals at the bottom of the body for the legs. The arms and legs should be about the same length.
Step 6: Detail the Hands and Feet
On each arm, draw three small ovals to represent Gengar’s fingers. For the feet, draw two ovals at the bottom of each leg. These ovals will become Gengar’s pointed toes.
Step 7: Sketch the Tail and Shadow
At the back of Gengar’s body, draw a long curved line to create its tail. The tail should be spiky at the end. Underneath Gengar’s body, draw a curved line to represent its shadow. This will give your drawing a more three-dimensional appearance.
Step 8: Refine the Outline
Using a darker pencil or a black fine-tip marker, go over the main outline of Gengar’s body and features. Erase any unnecessary guidelines or faint pencil marks.
Step 9: Add Shading and Details
To give your drawing more depth, add shading to certain areas. Start by shading the eyes, leaving the highlights unshaded. Then, add shading to the inside of Gengar’s mouth and the underside of its body. You can also add shading to the tail, arms, and legs to create a more dynamic effect.
Step 10: Color Your Drawing (Optional)
If you prefer a colored drawing, now is the time to bring Gengar to life! Gengar is typically purple, so use shades of purple to color its body, tail, and parts of its face. You can use darker shades for the shading areas and lighter shades for the highlights.
Conclusion
Congratulations! You have successfully drawn Gengar, the mischievous ghost Pokémon. Now you can showcase your artwork or try drawing other Pokémon characters. Remember, practice makes perfect, so don’t be afraid to try different techniques and styles. Have fun and keep on drawing!